 Save
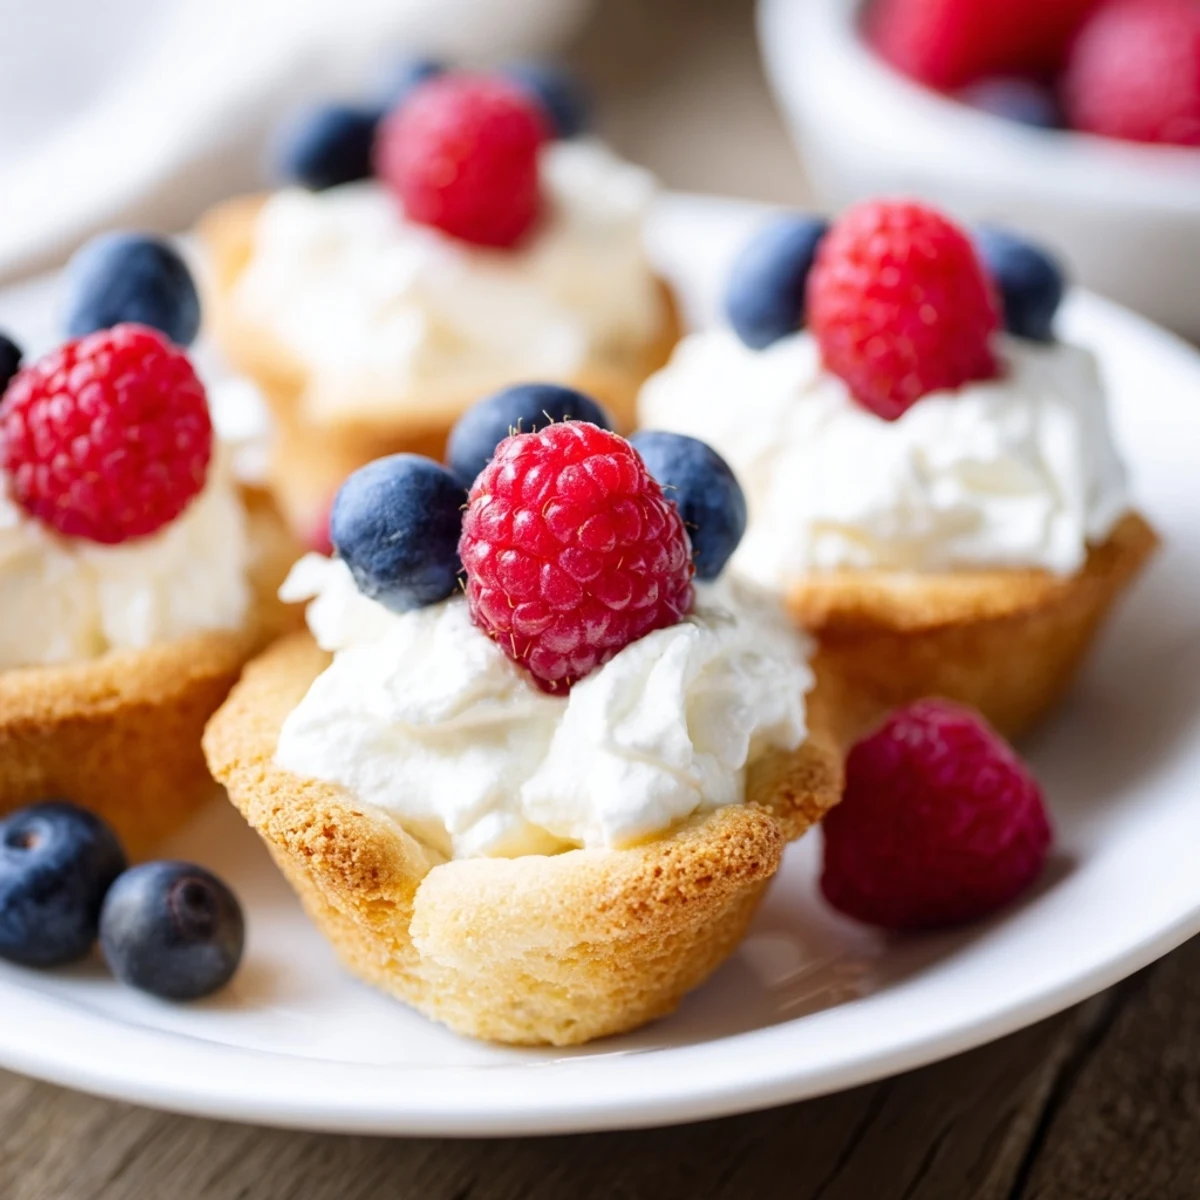
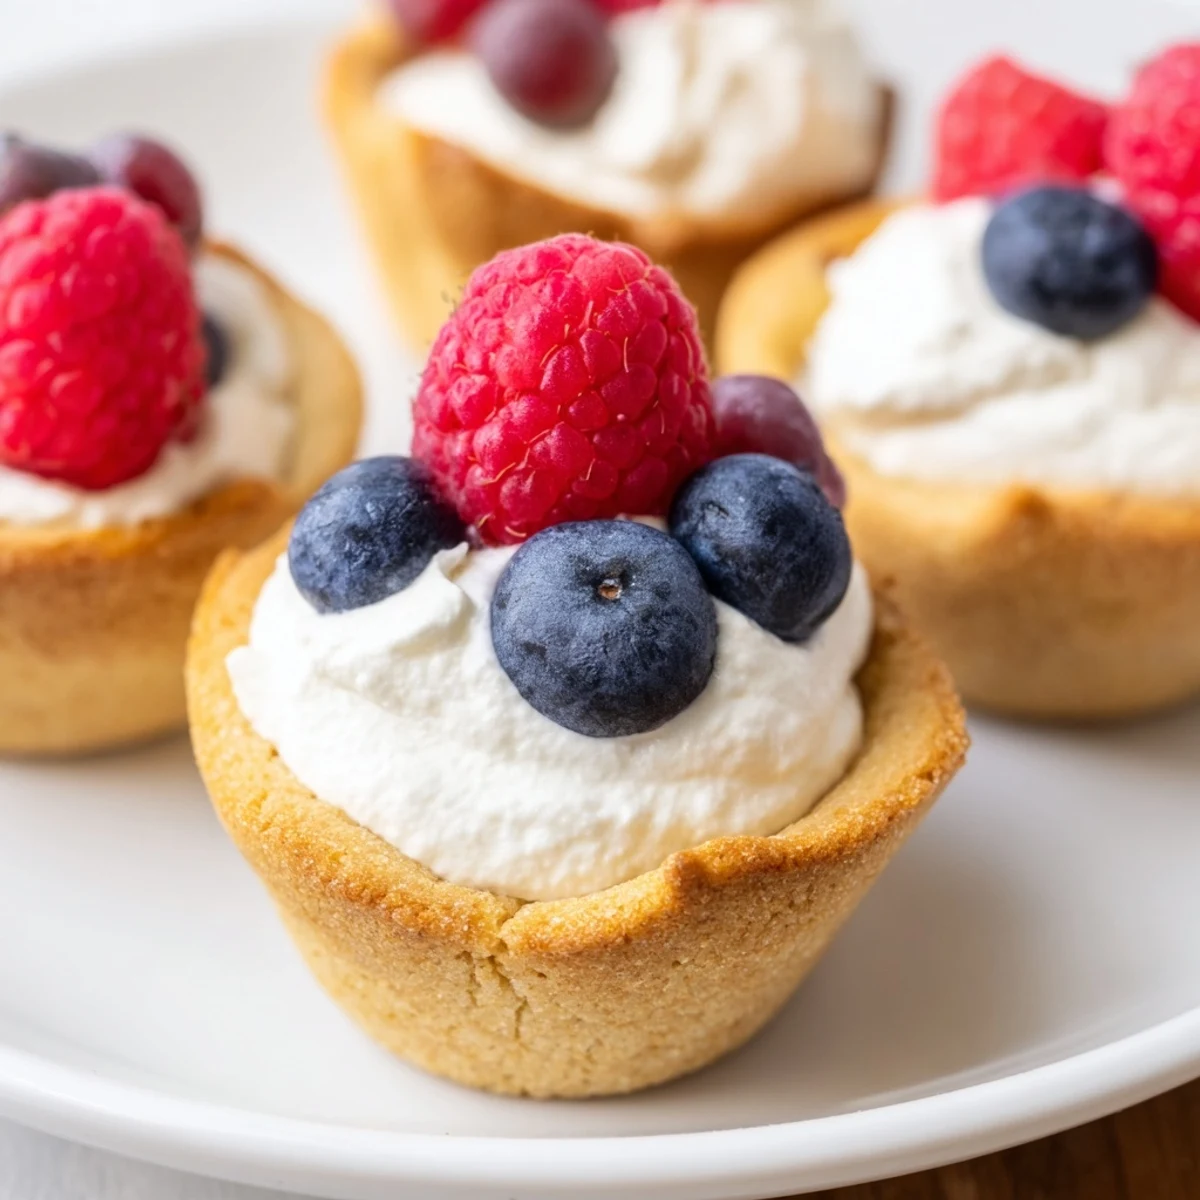
Save These delightful sugar cookie cups are baked in mini muffin tins to create perfect bite-sized treats. The classic sugar cookie dough forms edible cups that can be filled with homemade vanilla whipped cream, lemon curd, or chocolate ganache. Top with fresh berries, sprinkles, or mini chocolate chips for a colorful presentation. Ready in just 32 minutes, these handheld desserts are ideal for parties, school events, or whenever you want a fun twist on traditional cookies. The cups can be made ahead and stored unfilled for up to 3 days.
Last summer, my neighbor's daughter ran across the street clutching a plastic container. She'd made these tiny cookie cups at school and couldn't wait for me to try one. That first bite—crispy edges, creamy center, and her beaming face—convinced me these needed to be in my regular rotation.
I brought three dozen to my sister's baby shower, arranged on a vintage cake stand I thrifted for five dollars. My pregnant sister ate six before anyone else arrived. We laughed about how the mini size somehow makes them acceptable to eat by the handful.
Ingredients
- All-purpose flour: Provides structure for the cup shape while staying tender
- Baking soda: Just enough lift to create that perfect hollow center
- Salt: Balances sweetness and enhances vanilla flavor
- Unsalted butter: Softened to room temperature for proper creaming
- Granulated sugar: Creates crisp edges that hold the filling
- Large egg: Binds everything together for a sturdy cookie shell
- Pure vanilla extract: The backbone of classic sugar cookie flavor
- Heavy cream: Whipped into clouds for the lightest filling
- Powdered sugar: Sweetens and stabilizes the whipped cream
Instructions
- Preheat your oven and prepare the pan:
- Set your oven to 350°F and grease every cup of a 24-cup mini muffin tin thoroughly. The dough sticks more than you'd expect.
- Whisk the dry ingredients:
- Combine flour, baking soda, and salt in a medium bowl. Give it a quick whisk to aerate the mixture.
- Cream the butter and sugar:
- Beat softened butter and granulated sugar for about 2 minutes until pale and fluffy. Dont rush this step.
- Add the egg and vanilla:
- Beat in one egg and vanilla extract until fully incorporated. Scrape down the sides of the bowl.
- Combine everything:
- Gradually mix in the dry ingredients until just combined. Overmixing makes tough cookie cups.
- Shape the cups:
- Scoop one tablespoon of dough into each muffin cup. Press up the sides with your thumb to create a bowl shape.
- Bake until golden:
- Bake for 10 to 12 minutes until edges are lightly golden. Watch closely after 10 minutes.
- Form deeper cups while warm:
- Press the center of each cookie with a spoon immediately after removing from oven. Cool in the tin for 10 minutes.
- Whip the cream filling:
- Whip heavy cream, powdered sugar, and vanilla in a chilled bowl until stiff peaks form.
- Fill and garnish:
- Pipe or spoon cream into cooled cups. Top with berries, sprinkles, or chocolate chips.
 Save
Save My nephew discovered that if you fill them with chocolate pudding instead of cream, they become mini chocolate cups. He ate four before dinner and still asked for more. Now I always make two filling options.
Making Ahead
Bake the cookie cups up to two days before your event and store them in an airtight container. Fill them an hour before serving so they stay crisp but taste freshly made.
Filling Variations
Beyond whipped cream, try lemon curd for a bright contrast or chocolate ganache for something rich. Cookie butter fillings have become my personal weakness.
Serving Ideas
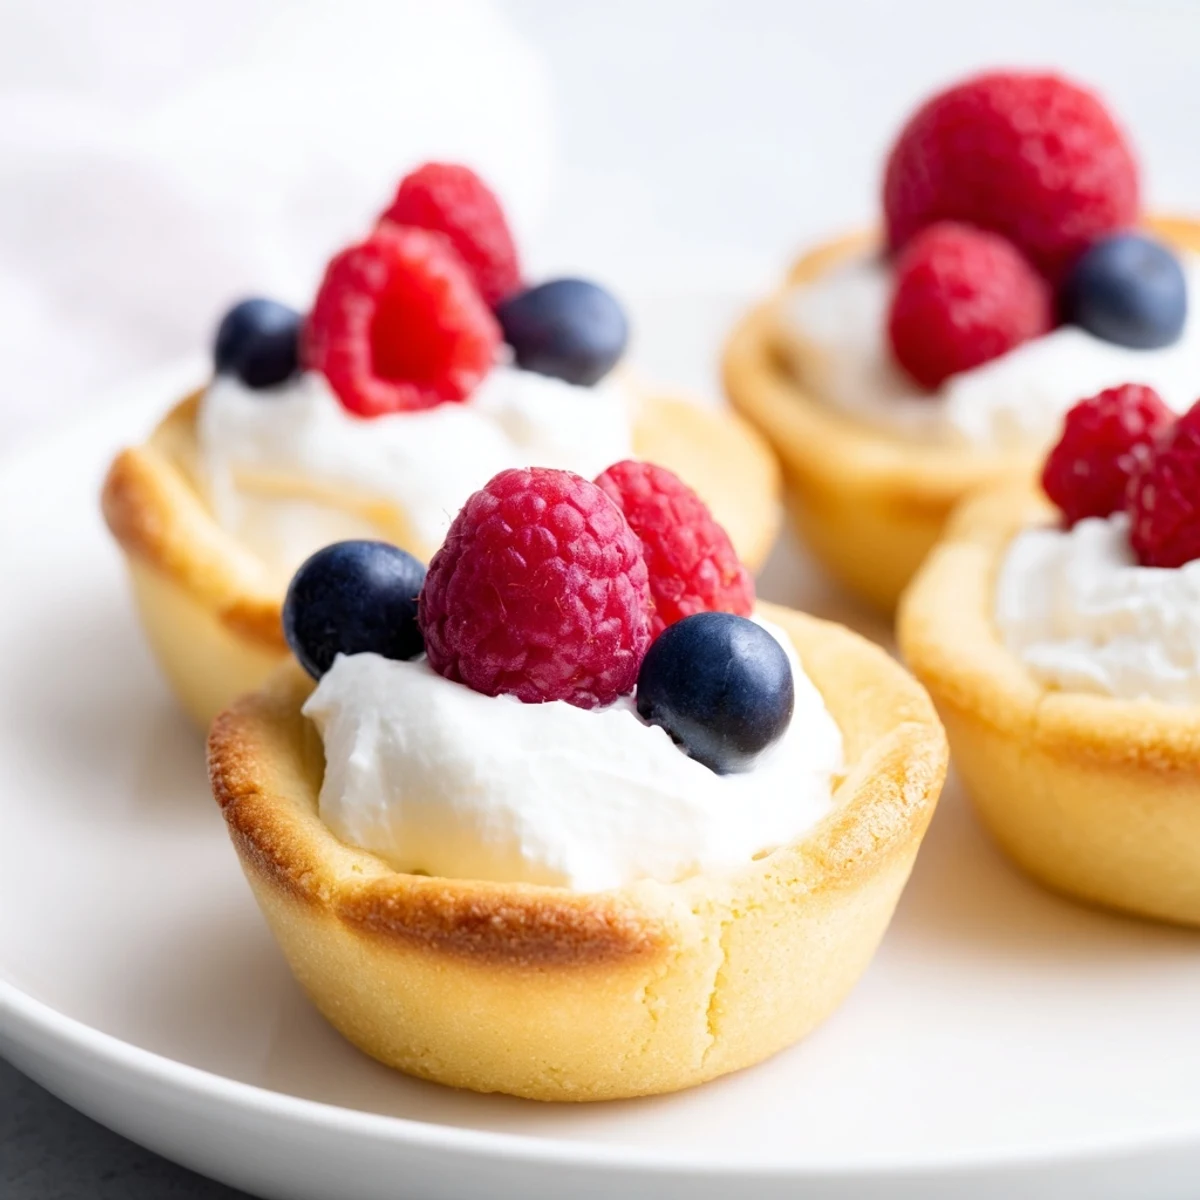
These shine on dessert tables where guests can grab two or three without needing a plate. They're also perfect for packaging individually as party favors.
- Arrange them on a tiered stand for maximum visual impact
- Match sprinkles to your party colors for a cohesive look
- Set up a DIY filling bar and let guests create their own combinations
 Save
Save Watch how quickly people gravitate toward these at your next gathering. Something about the adorable size makes them absolutely irresistible.
Recipe FAQs
- → Can I make the cookie dough ahead of time?
-
Yes, the cookie dough can be prepared up to 2 days in advance and stored refrigerated in an airtight container. Let it come to room temperature for about 15 minutes before shaping and baking.
- → What other fillings work well in these cups?
-
Beyond vanilla cream, try lemon curd for a tangy contrast, chocolate ganache for richness, cream cheese frosting, or even fruit preserves like raspberry or strawberry. Nutella and peanut butter are also delicious options.
- → How do I prevent the cups from sticking to the muffin tin?
-
Lightly grease the mini muffin tin with butter or cooking spray. Let the cups cool in the tin for exactly 10 minutes after baking, then carefully loosen the edges with a small knife before transferring to a wire rack.
- → Can I freeze these cookie cups?
-
Yes, bake and cool the cups completely without filling, then freeze in a freezer-safe container for up to 3 months. Thaw at room temperature and fill before serving for the best texture and appearance.
- → Why do I need to press the center again after baking?
-
As the cookies bake, they puff up slightly. Gently pressing the center while warm creates a deeper well for filling and ensures you have enough space for your choice of cream, fruit, or other toppings.
- → Can I use a standard muffin tin instead?
-
You can use a standard muffin tin, but you'll need to increase the baking time to 14-16 minutes and adjust the dough amount to about 2 tablespoons per cup. This yields larger treats, about 12 instead of 24.