 Save
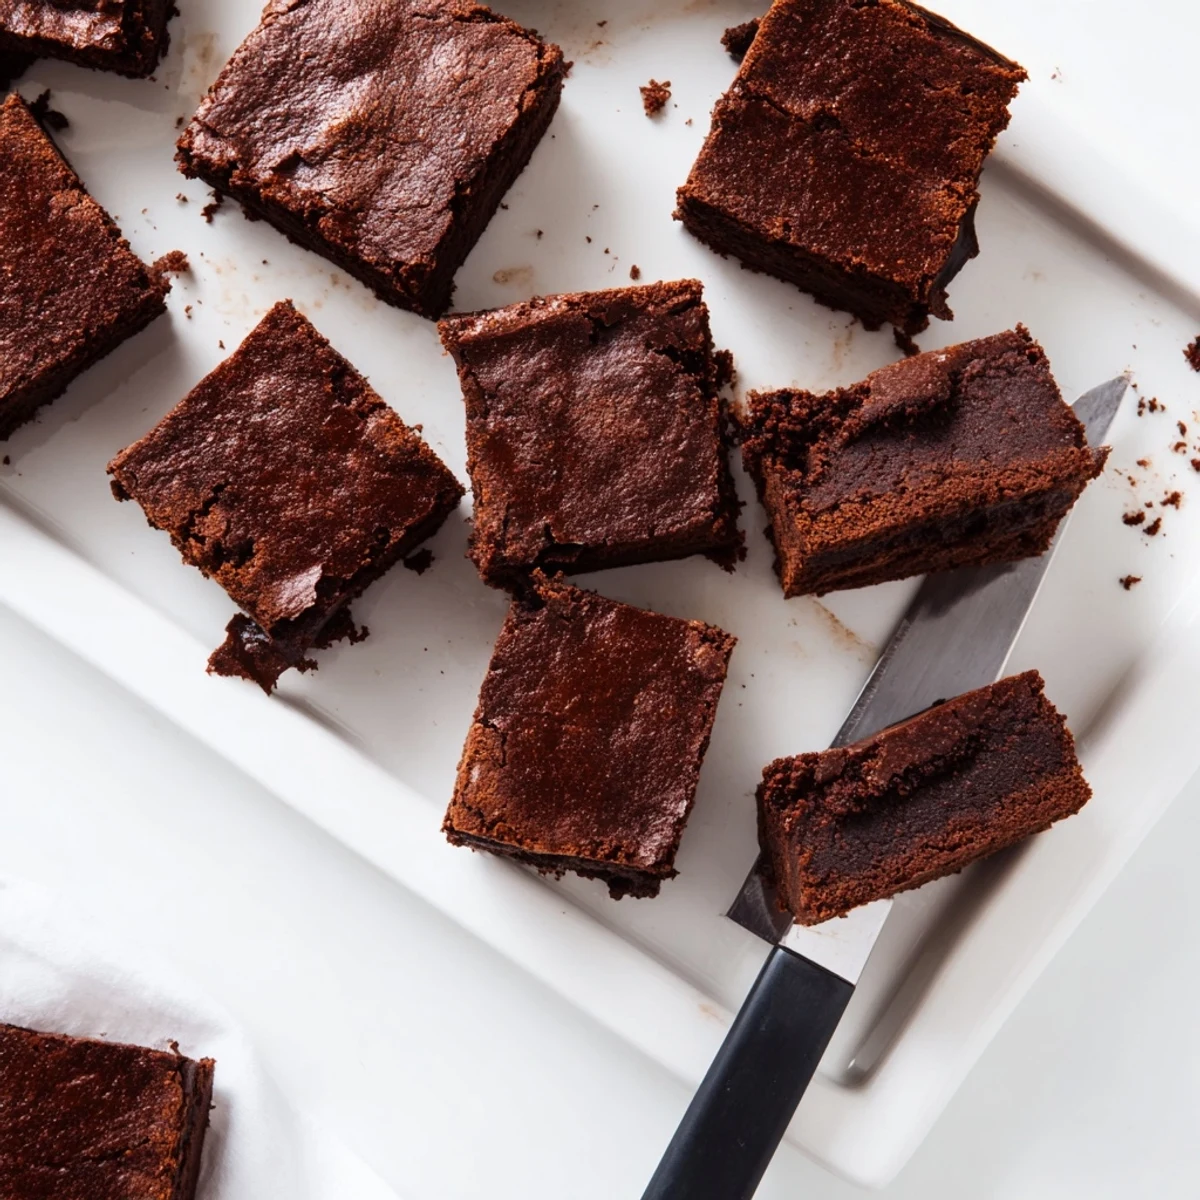
Save These brown butter mochi brownies deliver the perfect fusion of chewy and fudgy textures. The browned butter adds a rich, nutty depth that complements the intense chocolate flavor, while sweet rice flour creates that signature mochi chewiness. Each square offers a delightful contrast—crispy edges, soft center, and satisfyingly dense bite. The combination of bittersweet chocolate, both granulated and brown sugars, creates complexity that develops beautifully during baking. Perfect for chocolate lovers seeking something beyond traditional brownies, these gluten-free treats bridge American dessert comfort with Japanese mochi tradition.
The smell of brown butter bubbling away on the stove always stops me in my tracks. I discovered this recipe during a rainy weekend experiment, trying to merge my love of fudgy brownies with the chewy texture of mochi my grandmother used to make. The first batch disappeared so fast at a dinner party that my friends demanded I write down the recipe before leaving.
I brought these to a potluck last summer and watched three different people ask for the recipe within ten minutes of arriving. Something about that chewy-fudgy combo just makes people's eyes light up, especially when they realize its not your typical chocolate dessert.
Ingredients
- Sweet rice flour (mochiko): This is the magic ingredient that creates that signature chewy mochi texture. Do not substitute with regular rice flour or the recipe will not work.
- Unsweetened cocoa powder: Use a good quality brand for the deepest chocolate flavor possible.
- Baking powder: Just enough to give these a slight lift while maintaining their dense fudgy nature.
- Kosher salt: Balances the sweetness and enhances the chocolate flavor.
- Unsalted butter: We will brown this for a nutty complex flavor that elevates the entire recipe.
- Granulated sugar: Creates a crisp top layer and sweetness throughout.
- Light brown sugar: Adds moisture and a subtle caramel note.
- Large eggs: Room temperature eggs incorporate better into the batter.
- Vanilla extract: Pure vanilla extract makes a noticeable difference here.
- Whole milk: Adds necessary moisture for the perfect texture.
- Heavy cream: Makes these incredibly rich and fudgy.
- Bittersweet chocolate: High quality chocolate chopped into small pieces melts evenly into the brown butter.
Instructions
- Preheat your oven and prepare the pan:
- Set your oven to 350°F (175°C) and line an 8x8-inch baking pan with parchment paper. Leave some overhang on two sides so you can easily lift the brownies out later.
- Brown the butter:
- Melt the butter in a small saucepan over medium heat. Keep cooking and swirling occasionally until it foams and turns a deep golden brown with a wonderful nutty aroma, about 4 to 6 minutes. Pour it immediately into a large mixing bowl to cool slightly.
- Melt the chocolate:
- Add your chopped chocolate to the hot brown butter and stir until completely melted and smooth.
- Whisk in the sugars:
- Add both the granulated sugar and brown sugar to the chocolate mixture, whisking until everything is well combined.
- Add the eggs and vanilla:
- Whisk in the eggs one at a time, making sure each one is fully incorporated before adding the next. Stir in the vanilla extract.
- Mix the dry ingredients:
- In a separate bowl, whisk together the sweet rice flour, cocoa powder, baking powder, and salt until combined.
- Combine wet and dry ingredients:
- Add half of the dry ingredients to the wet mixture and stir until just combined.
- Add the liquids:
- Pour in the milk and heavy cream and mix until smooth.
- Finish combining:
- Add the remaining dry ingredients and fold gently until no streaks remain.
- Bake the brownies:
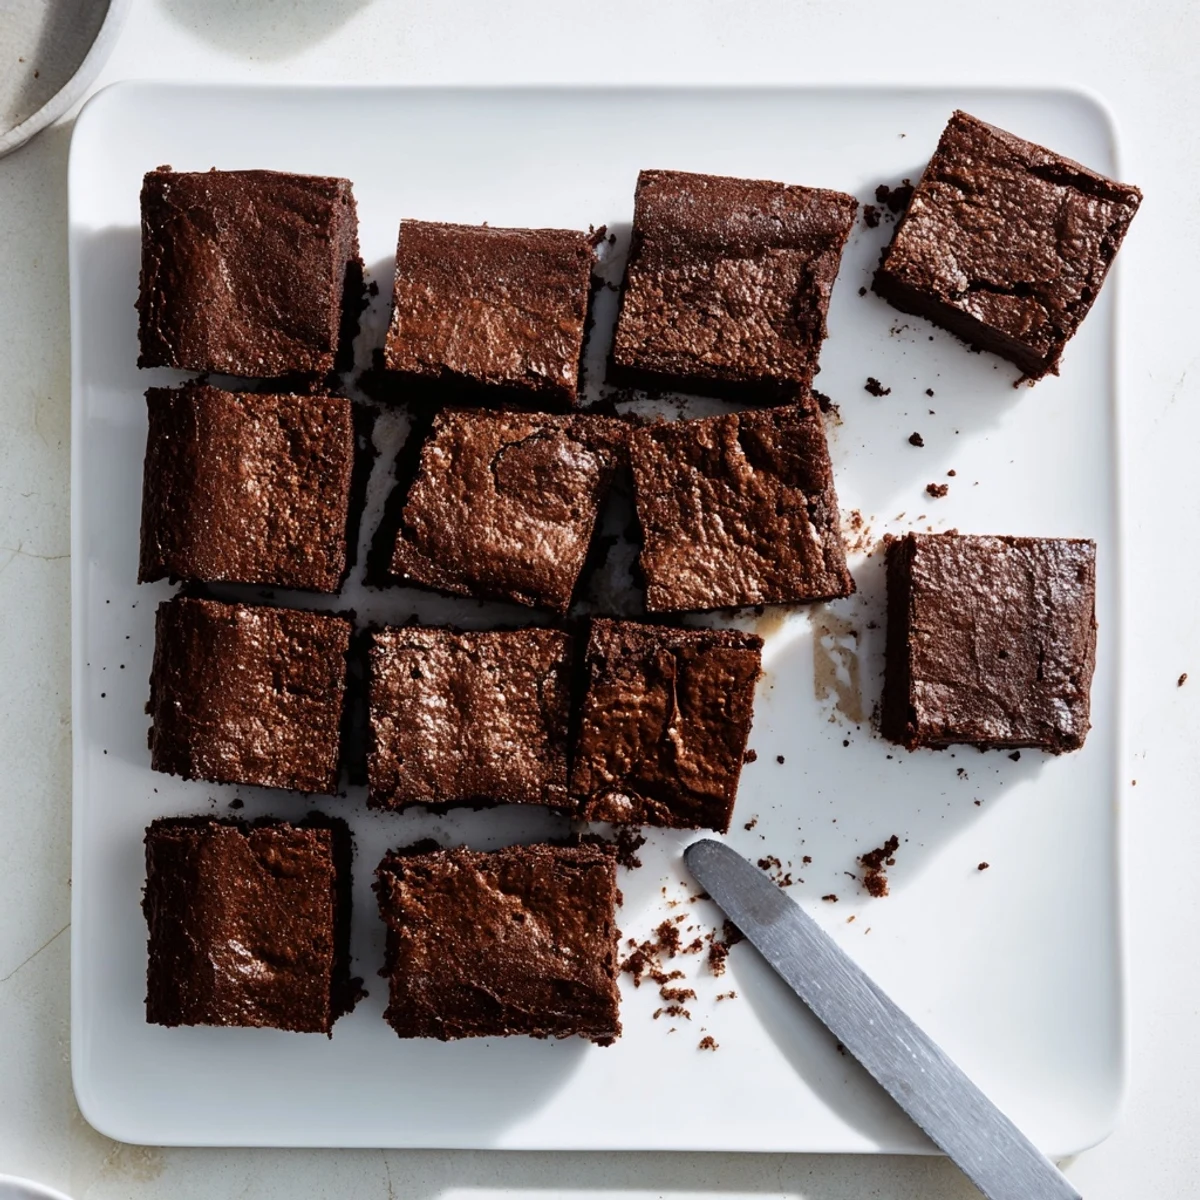
- Pour the batter into your prepared pan and smooth the top with a spatula. Bake for 40 to 45 minutes until the top is set and a toothpick inserted in the center comes out with a few moist crumbs.
- Cool completely:
- Let the brownies cool completely in the pan before lifting them out and slicing into squares.
 Save
Save My sister called me after making these for her book club saying everyone went quiet during dessert because they were so busy eating and asking questions about the texture. Thats when I knew these brownies were something special.
Getting The Perfect Texture
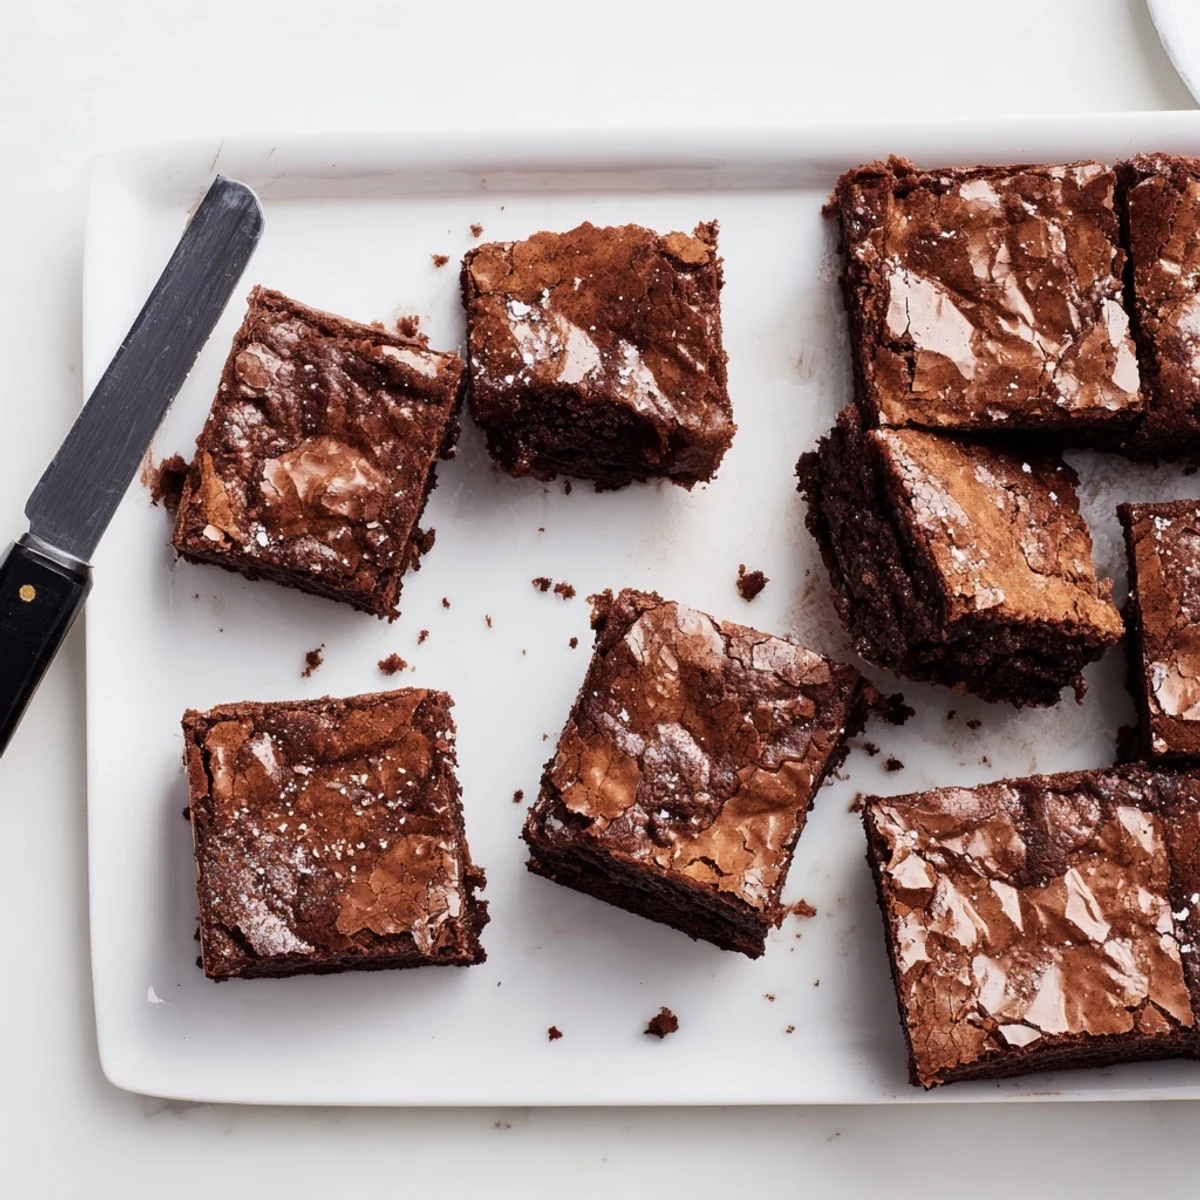
The key to that irresistible chewy-fudgy balance is in the sweet rice flour and proper baking time. I have found that different ovens vary, so start checking at 40 minutes. The center should still feel slightly soft to the touch, not firm like a cake.
Making Them Your Own
Sometimes I swirl in some peanut butter or add toasted pecans on top. A sprinkle of flaky sea salt before baking takes these to a whole new level, especially if you are serving them to chocolate lovers who appreciate that sweet-salty combination.
Storage And Serving
These brownies keep beautifully at room temperature for up to three days, though in my house they rarely last that long. For longer storage, wrap them tightly and freeze for up to a month. They thaw surprisingly well and taste just as good.
- Warm slightly in the microwave before serving for that freshly baked experience.
- A scoop of vanilla ice cream on top turns these into an impressive dessert.
- Fresh berries on the side add a nice tart contrast to all that rich chocolate.
 Save
Save These brownies have become my go-to whenever I need to bring something that guarantees smiles and requests for the recipe. Hope they become a favorite in your kitchen too.
Recipe FAQs
- → What makes these brownies different from regular ones?
-
Sweet rice flour (mochiko) replaces wheat flour, creating a distinctively chewy, elastic texture similar to mochi while maintaining a fudgy, dense consistency unlike traditional cakey brownies.
- → Can I substitute the sweet rice flour?
-
No, sweet rice flour is essential for the unique chewy texture. Regular rice flour, almond flour, or gluten-free blends will not produce the same mochi-like consistency.
- → Why brown the butter first?
-
Browning butter removes water content and creates toasty milk solids, adding deep nutty flavor and caramel notes that enhance the chocolate intensity and overall richness.
- → How do I know when they're done baking?
-
The edges should be set and slightly pulling away from the pan, while the center may still look slightly underbaked. A toothpick should come out with moist crumbs, not wet batter.
- → Can I make these dairy-free?
-
Substitute coconut oil or vegan butter for the butter, and use coconut cream or oat milk combined with a splash of vinegar for the dairy liquids. The texture may vary slightly.
- → How should I store these brownies?
-
Keep in an airtight container at room temperature for up to 3 days, or refrigerate for up to a week. They actually become more fudgy and flavorful on the second day.