 Save
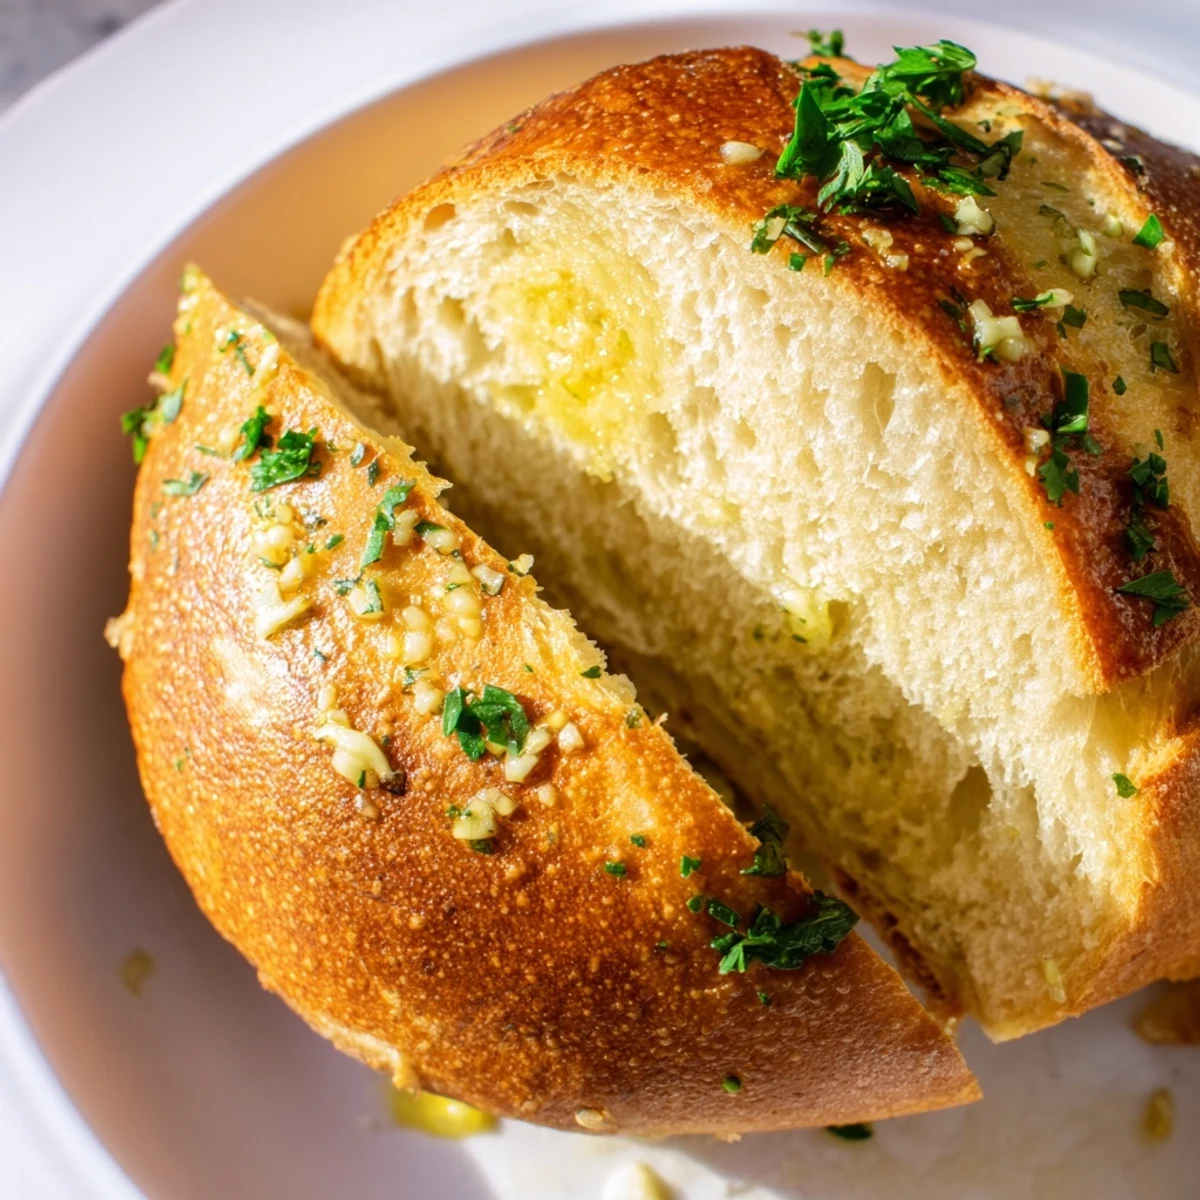
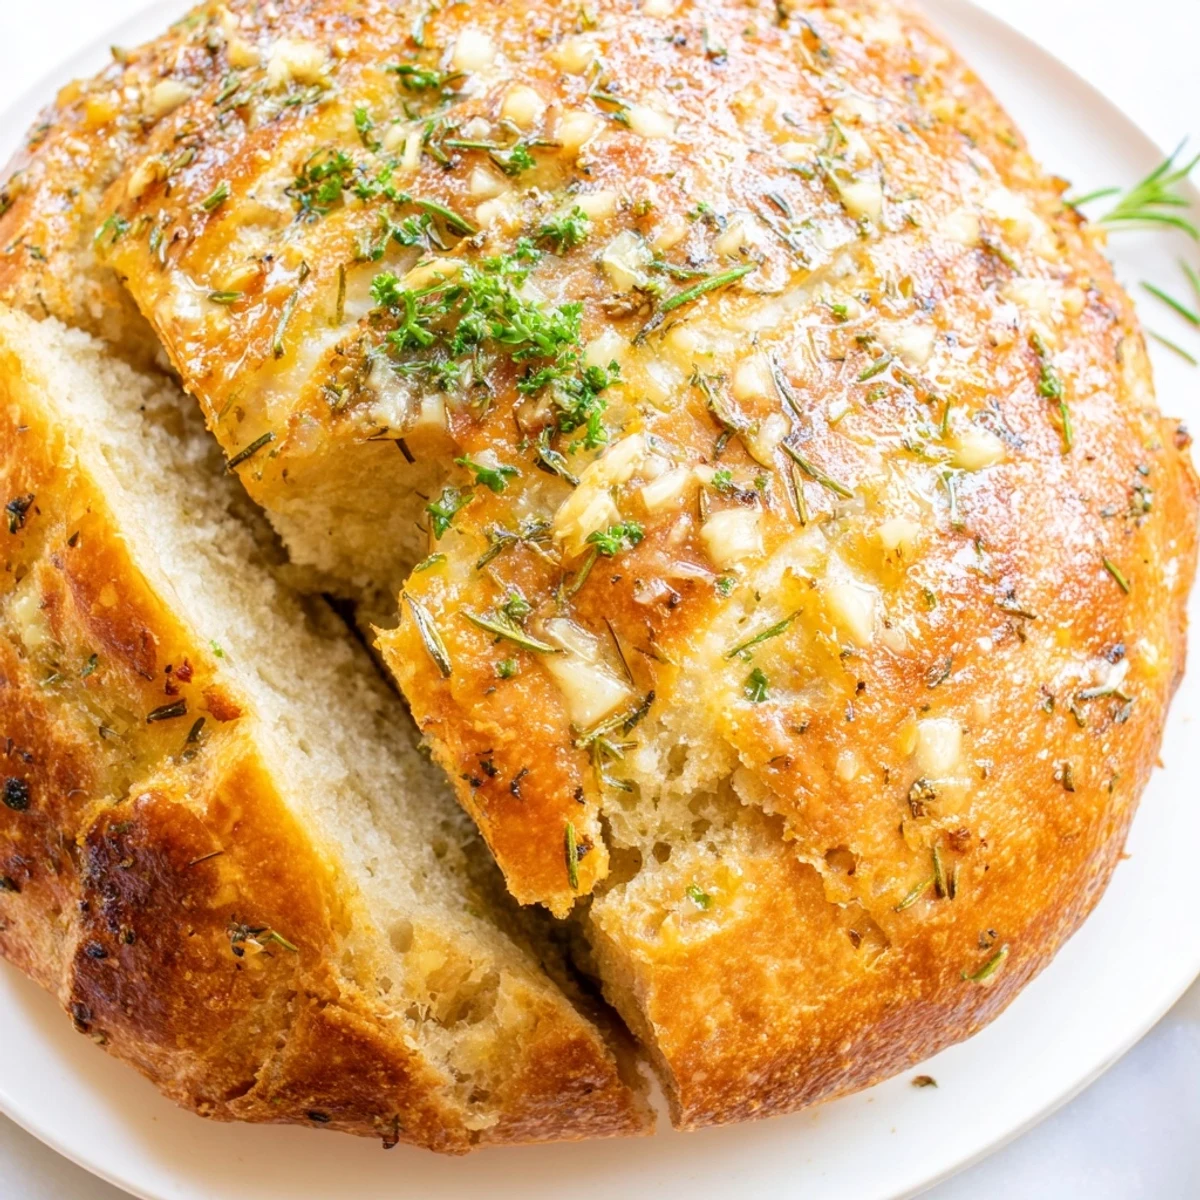
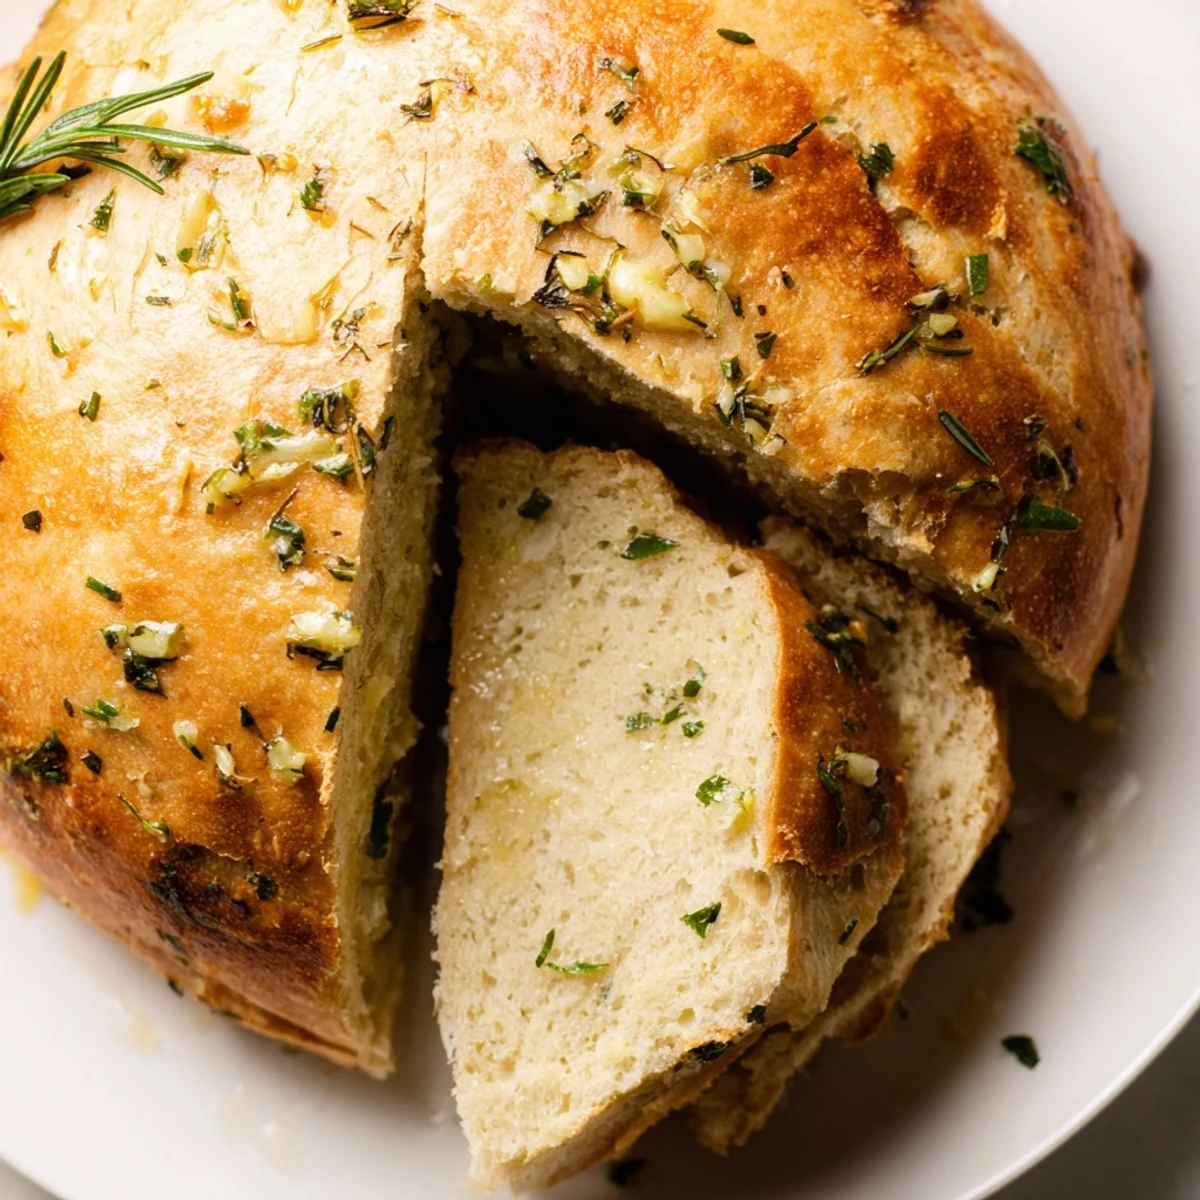
Save This artisan-style loaf combines the aromatic warmth of fresh garlic with rosemary, thyme, and parsley, creating a bread that fills your kitchen with incredible aromas as it bakes. The Dutch oven method creates professional bakery results at home, trapping steam for that coveted crackly crust and airy, tender crumb inside.
The dough comes together quickly with just a few pantry staples, requiring only patience during the rise time. Brushing the hot loaf with melted butter right after baking adds richness and helps fresh herbs cling to the golden crust. Perfect alongside soups, for sandwiches, or simply torn and dipped in olive oil.
The smell of garlic and rosemary hitting hot butter is something that stopped me in my tracks at a friend's dinner party years ago. She pulled this bread from her Dutch oven, and I spent the rest of the evening hovering near the kitchen, watching people tear off pieces and disappear into conversation. That bread became the reason I bought my first Dutch oven the very next week.
I made this during a snowstorm once when the grocery stores were closed and my pantry was running low. My roommate emerged from her room with her eyes closed, following the garlic scent like a cartoon character, and we stood over the counter eating warm slices until the loaf was gone. Snow days were made for bread like this.
Ingredients
- Bread flour: The higher protein content creates better structure and that chewy texture we love in artisan bread
- Active dry yeast: Warm water wakes it up—too hot and you kill it, too cool and it takes forever to work
- Warm water: Think bathwater temperature, around 110°F, perfectly comfortable to touch
- Olive oil: Keeps the dough tender and adds subtle richness that balances the sharp garlic
- Garlic cloves: Fresh minced garlic distributes beautifully through the dough, mellowing as it bakes
- Fresh rosemary and thyme: These woody herbs hold up to baking time better than delicate ones like basil
- Fresh parsley: Adds bright freshness and color to balance the earthier herbs
- Melted butter: The final brush gives the crust that gorgeous golden sheen and extra flavor
Instructions
- Combine the dry base:
- Whisk flour, salt, and sugar together in your largest bowl, then stir in the yeast until everything is evenly distributed
- Build the dough:
- Pour in warm water and olive oil, stirring with a wooden spoon until the flour disappears into a shaggy, sticky mass
- Add the aromatics:
- Fold in minced garlic and chopped herbs until they're scattered throughout—some will peek through the baked crust beautifully
- Let it rise:
- Cover the bowl and walk away for 2 hours, letting the yeast work its magic until dough has doubled in size
- Shape the loaf:
- Turn dough onto a floured surface and tuck edges underneath to form a tight round, then place on parchment for its final rest
- Preheat your Dutch oven:
- Put the empty pot and lid in a cold oven, then crank to 450°F and let it get seriously hot for 30 minutes
- Bake with steam power:
- Carefully lower dough into the screaming hot pot, score the top, and cover to trap steam for 30 minutes
- Crisp the crust:
- Remove the lid and bake another 15 to 20 minutes until the crust turns deep golden brown and sounds hollow when tapped
- Finish with flair:
- Brush hot bread with melted butter and sprinkle extra parsley while it's still warm so everything melts into the crust
 Save
Save My father in law took one bite of this and asked if I had a secret bread fairy. Now he requests it every time he visits, and I have learned to double the recipe because the first loaf disappears before dinner even hits the table.
Choosing Your Herbs
Fresh herbs make a massive difference here, but I have used dried in a pinch and the bread still turns out beautifully. The woody herbs like rosemary and thyme actually stand up to drying better than soft herbs, so use about one third the amount if you go that route. Sometimes I tuck in a few sage leaves for extra depth.
Mastering the Crust
The Dutch oven creates its own little steam chamber, which is exactly what gives bakery bread its blistered, crackling crust. If you do not have one, a heavy pot with a tight fitting lid will work similarly. The key is getting everything screaming hot before the dough goes in.
Make It Your Own
This dough is incredibly forgiving and welcomes experimentation. Once you have the basic method down, the variations are endless.
- Swap in whole wheat flour for up to half the bread flour for nutty depth
- Knead in shredded sharp cheddar or grated Parmesan with the herbs
- Add roasted garlic instead of fresh for a sweeter, mellow flavor
 Save
Save There is something deeply satisfying about pulling a steaming, golden loaf from your own oven. The house will smell incredible for hours.
Recipe FAQs
- → Why use a Dutch oven for bread?
-
The Dutch oven creates a steam-filled environment that mimics professional deck ovens, allowing the bread to rise fully before the crust sets. This results in an irresistibly crisp, crackly exterior and a soft, airy interior that's hard to achieve with regular baking methods.
- → Can I use dried herbs instead of fresh?
-
Absolutely. Substitute 1 teaspoon of each dried herb for the fresh varieties. Add them directly to the dry ingredients along with the flour, as dried herbs don't need the extra moisture distribution that fresh ones require.
- → How do I know when the bread is done?
-
The crust should be deep golden brown, and the loaf should sound hollow when tapped on the bottom. An instant thermometer inserted into the center should read between 190-200°F (88-93°C). The aroma will be deeply nutty and fragrant.
- → Can I refrigerate the dough overnight?
-
Yes. After the initial rise, place the covered bowl in the refrigerator for up to 24 hours. The cold fermentation develops deeper flavor. Let the dough come to room temperature for about 30 minutes before shaping and proceeding with the second rise.
- → What can I serve with this bread?
-
This versatile loaf pairs beautifully with hearty soups and stews, makes excellent sandwiches, or stands alone dipped in quality olive oil and balsamic vinegar. Try toasting slices and topping with ricotta and honey for a sweet variation.
- → Why score the top before baking?
-
Scoring creates controlled weak points in the dough's surface, allowing gases to escape during baking without causing unsightly ruptures. It also gives your loaf that distinctive professional bakery appearance and helps the bread expand evenly in the oven.