 Save
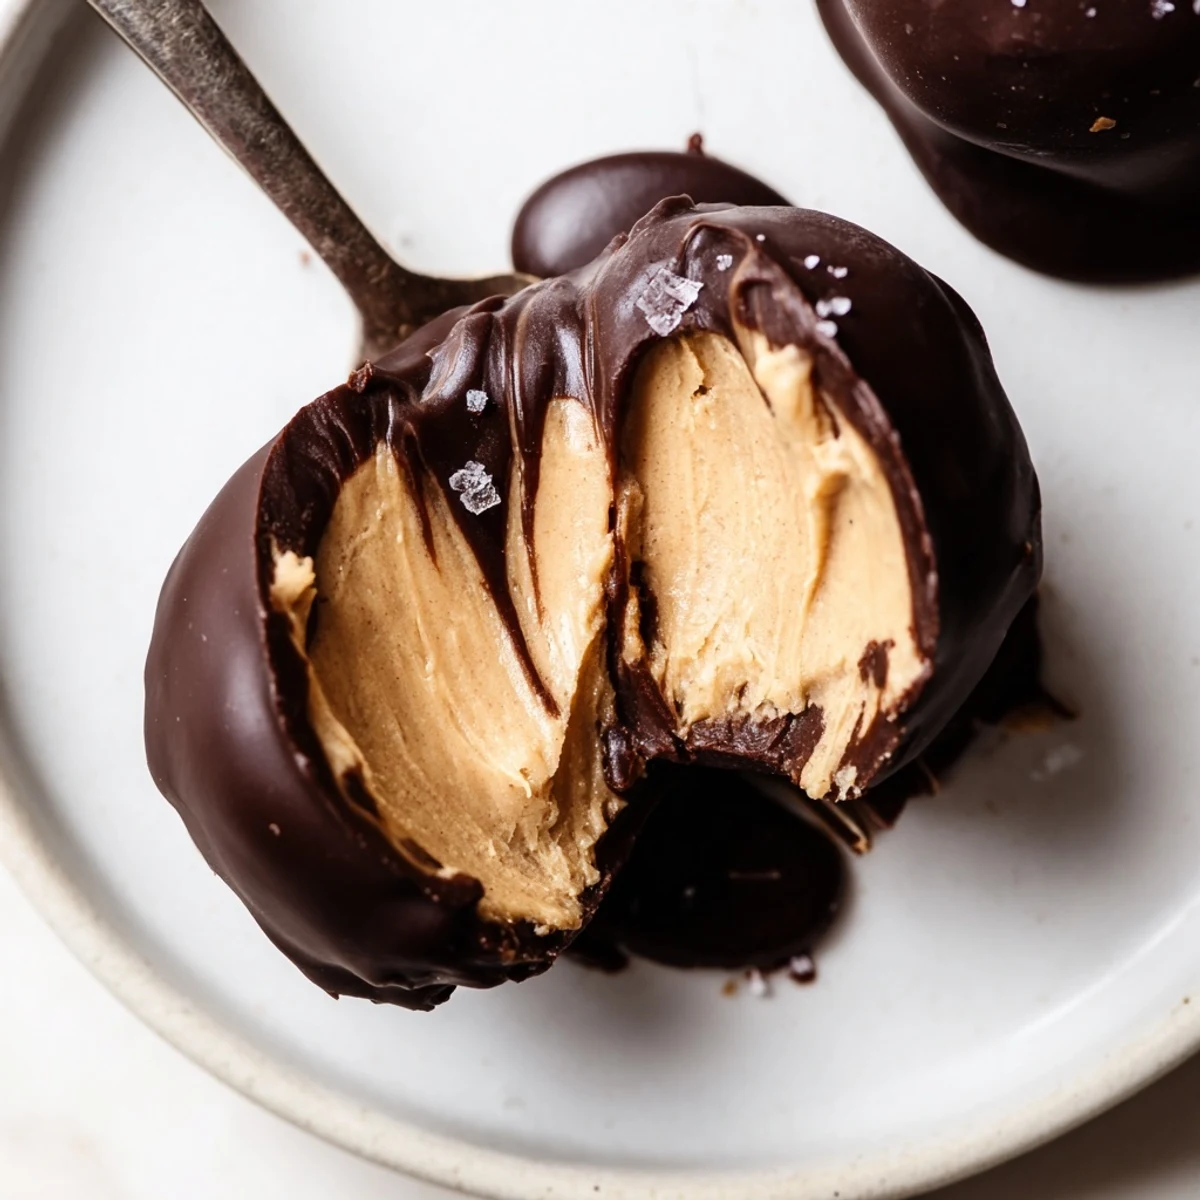
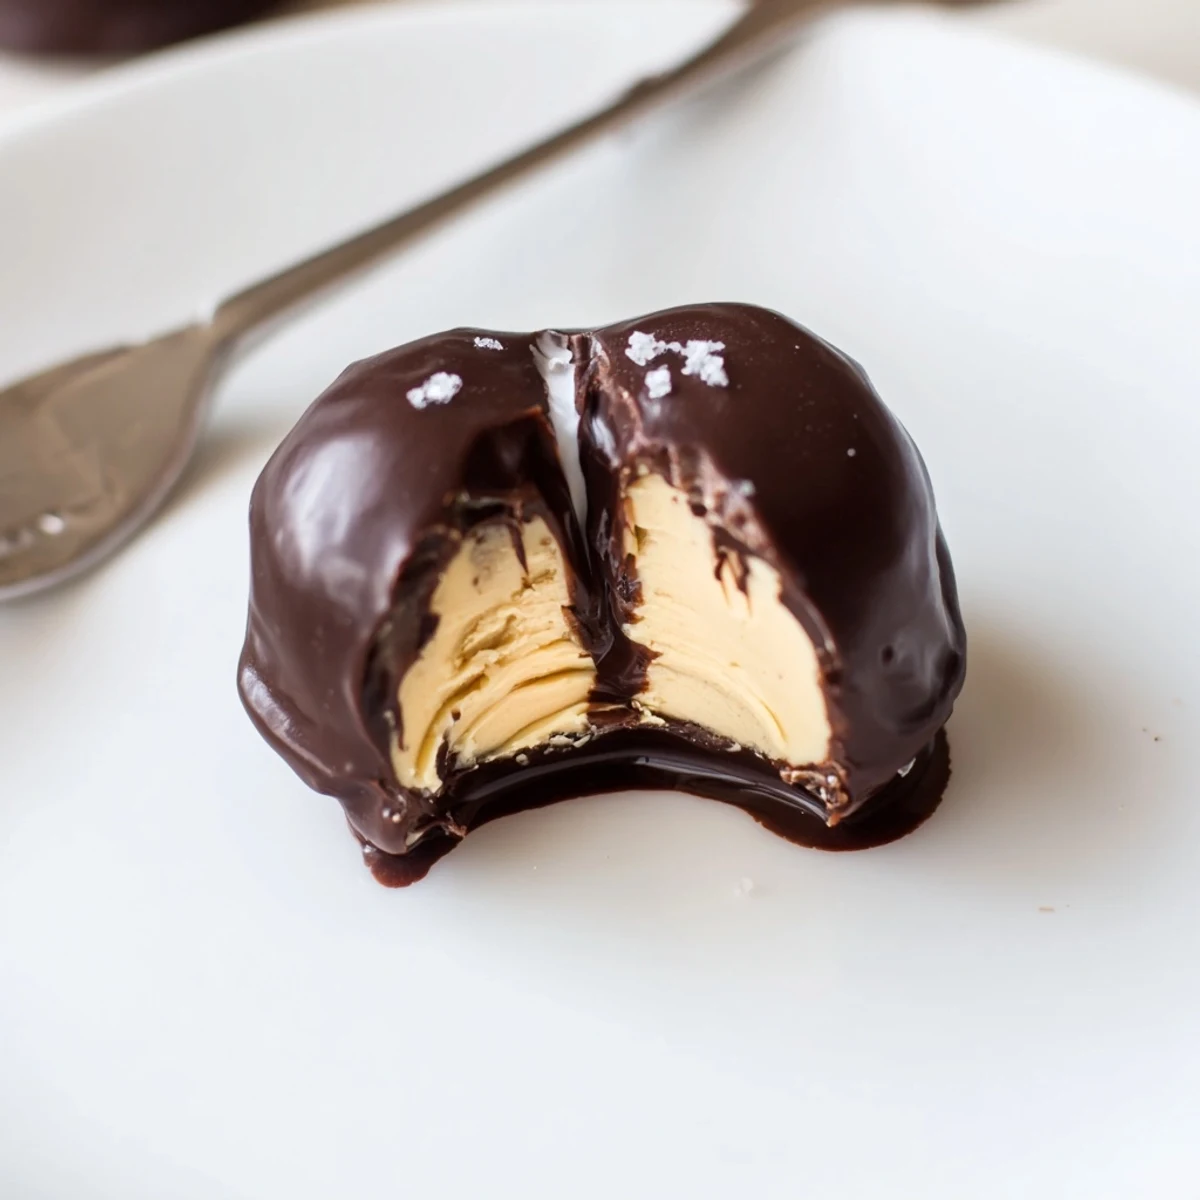
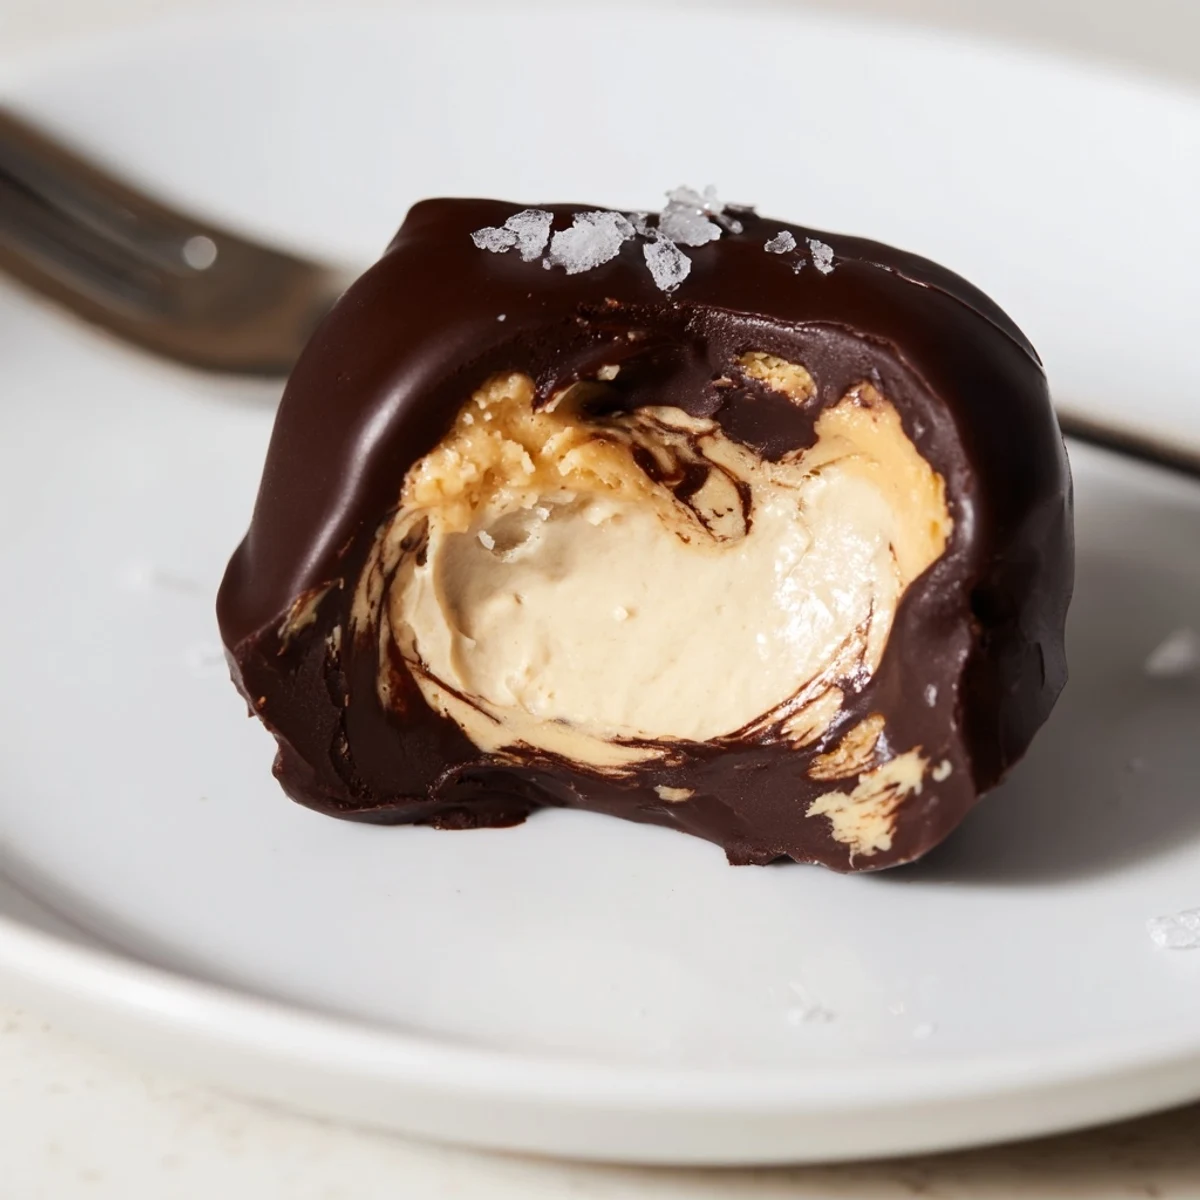
Save Blend creamy peanut butter with Greek yogurt, maple syrup and vanilla until smooth. Scoop into small mounds on parchment and freeze until firm. Melt dark chocolate (stir in a little coconut oil for shine) and dip frozen bites, then sprinkle with flaky sea salt and return to the freezer to set. Store in an airtight container frozen up to a month. Fold in chopped peanuts or swap nut butter to vary texture and flavor.
The空调 stopped working on the hottest July afternoon, and my solution was to make something frozen instead of fixing it. I had Greek yogurt, peanut butter, and a bar of dark chocolate sitting on the counter, and somehow those three things turned into the most addictive little bites I have ever pulled out of a freezer. My roommate ate eleven of them before dinner that night. We never did call the repair guy.
I brought a batch of these to a friends potluck last winter, expecting them to disappear among the brownies and pies. They were gone in fifteen minutes, and three people texted me the next day asking for the recipe. Now I make a double batch every time I know company is coming.
Ingredients
- 1 cup creamy peanut butter: Full fat, no stir peanut butter works best here because it holds its shape when frozen and blends smoothly.
- 1 cup plain Greek yogurt: Use full fat or low fat, but avoid nonfat since the creaminess carries the whole texture.
- 2 tbsp pure maple syrup or honey: Just enough sweetness without overpowering the tangy yogurt or salty peanut butter.
- 1 tsp pure vanilla extract: Rounds out the flavors and makes everything taste more like dessert.
- 200 g dark chocolate (at least 70% cocoa), chopped: The higher cocoa percentage balances the sweet filling and adds a beautiful snap.
- 1 tbsp coconut oil (optional): Helps the chocolate coat smoothly and gives a nicer shine when set.
- Flaky sea salt: This is not optional in my kitchen, it transforms each bite from good to unforgettable.
Instructions
- Set up your station:
- Line a baking sheet with parchment paper so nothing sticks when you freeze the bites later.
- Mix the filling:
- Stir together the peanut butter, Greek yogurt, maple syrup, and vanilla in a medium bowl until completely smooth and no streaks remain.
- Shape the bites:
- Scoop heaping teaspoons onto the prepared sheet, spacing them slightly apart, aiming for about 24 small mounds.
- Freeze until solid:
- Pop the tray into the freezer for at least two hours until every bite is completely firm to the touch.
- Melt the chocolate:
- About ten minutes before you plan to dip, melt the chopped chocolate and coconut oil together in a microwave safe bowl in short bursts, stirring between each until glossy.
- Dip each frozen bite:
- Using a fork, lower each frozen mound into the warm chocolate, tap off the excess, and set it back on the parchment.
- Finish with salt:
- Sprinkle flaky sea salt over each bite right away while the chocolate is still wet and tacky.
- Set and store:
- Return the tray to the freezer for another ten to fifteen minutes until the chocolate shell is completely firm, then transfer to an airtight container.
 Save
Save There is something about pulling a container of these out of the freezer on a random Tuesday night that makes an ordinary evening feel a little special.
Choosing Your Peanut Butter
Natural peanut butter that separates will make your filling greasy and hard to work with. I learned this after using a brand that pooled oil on top, and the bites never set properly. Stick with a commercial no stir creamy peanut butter for the best results. If you only have natural on hand, stir it extremely well and consider refrigerating the filling before scooping.
The Chocolate Matters More Than You Think
Chocolate is the first thing you taste, so grab something you would happily eat on its own. A 70 percent cocoa bar gives you that bittersweet snap that makes these feel like a truffle from a real chocolate shop. Chips work in a pinch but they contain stabilizers that make dipping thicker and less smooth.
Storing and Serving
Keep these in an airtight container in the freezer with parchment between layers so they do not stick together. They are best served straight from the freezer or after sitting out for about three minutes.
- Letting them thaw too long makes the filling mushy and the coating soft.
- You can absolutely double the batch because they disappear fast.
- Label the container or someone will think they are just frozen blobs and ignore them.
 Save
Save Once you master the basic version, start playing with almond butter, crushed pretzels, or even a drizzle of caramel on top. These little bites are forgiving, fun, and absolutely worth the freezer space.
Recipe FAQs
- → How long should the bites freeze before dipping?
-
Freeze the scooped mounds for at least 2 hours or until completely firm; partially frozen bites will soften and lose shape when dipped.
- → How do I get a smooth, glossy chocolate coating?
-
Melt chocolate gently in short bursts and stir frequently. Adding a tablespoon of coconut oil per 200 g of chocolate helps thin and gloss the coating for cleaner dipping.
- → Can I make these nut-free?
-
Yes. Substitute sunflower seed butter or a shelled seed spread for peanut butter and check the chocolate label for cross-contact warnings to keep them nut-free.
- → How should I store the bites and how long do they keep?
-
Layer bites between parchment in an airtight container and keep frozen. They maintain best quality for up to one month.
- → Any ideas for texture or flavor variations?
-
Fold in chopped roasted peanuts for crunch, use flavored Greek yogurt for added sweetness, or dust with cocoa powder, shredded coconut, or crushed pretzels instead of sea salt.
- → Best way to serve for ideal texture?
-
Serve straight from the freezer for firm, crisp chocolate or let sit 3–5 minutes at room temperature for a slightly softer, creamier bite.