 Save
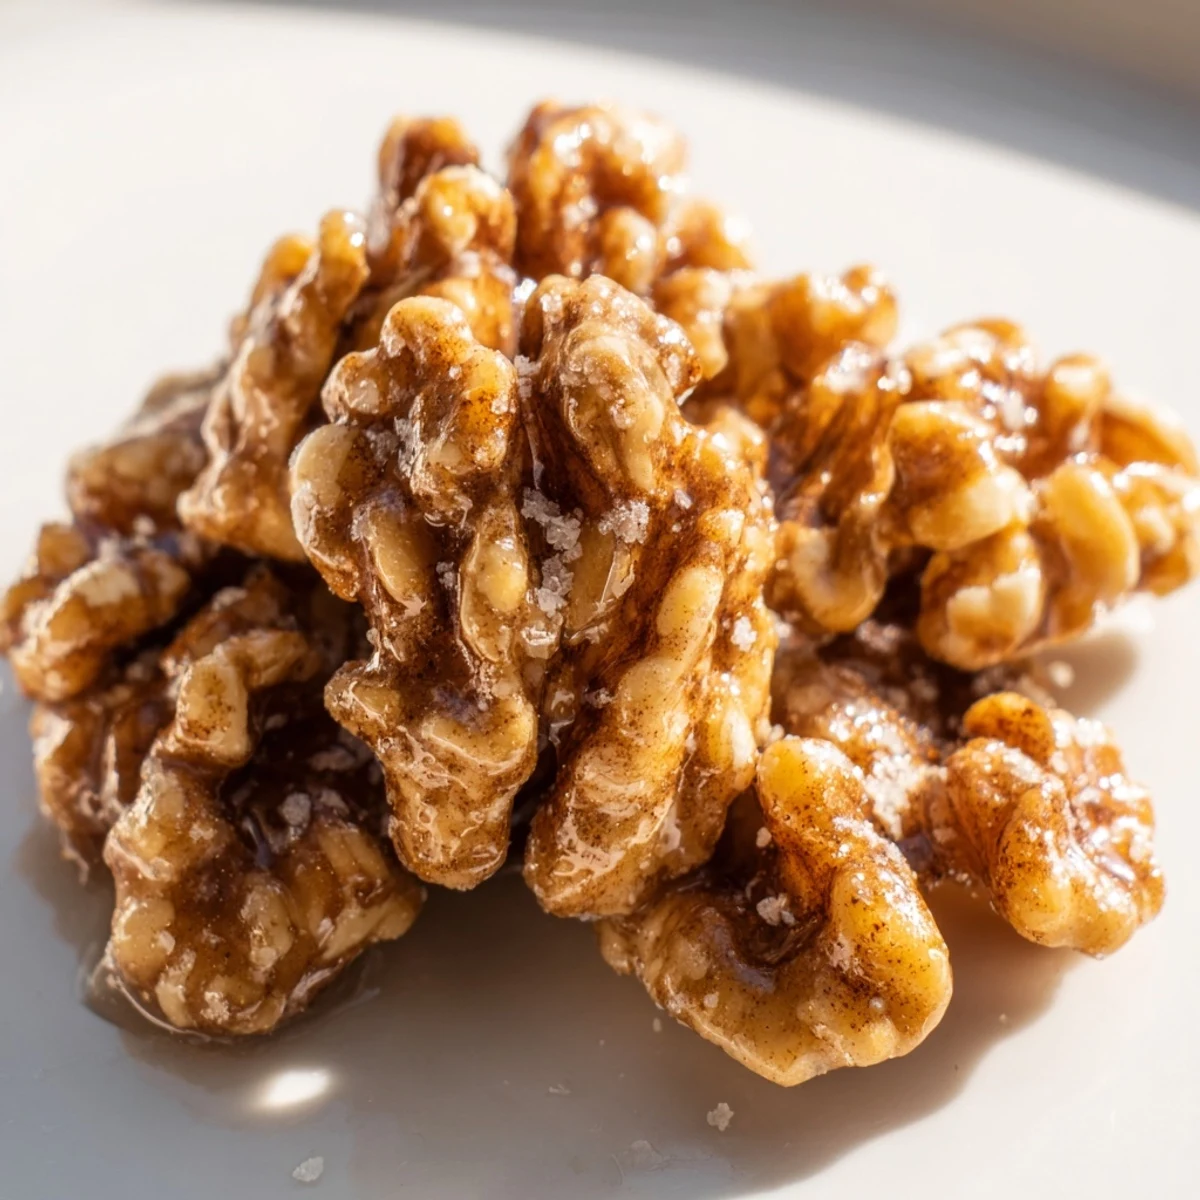
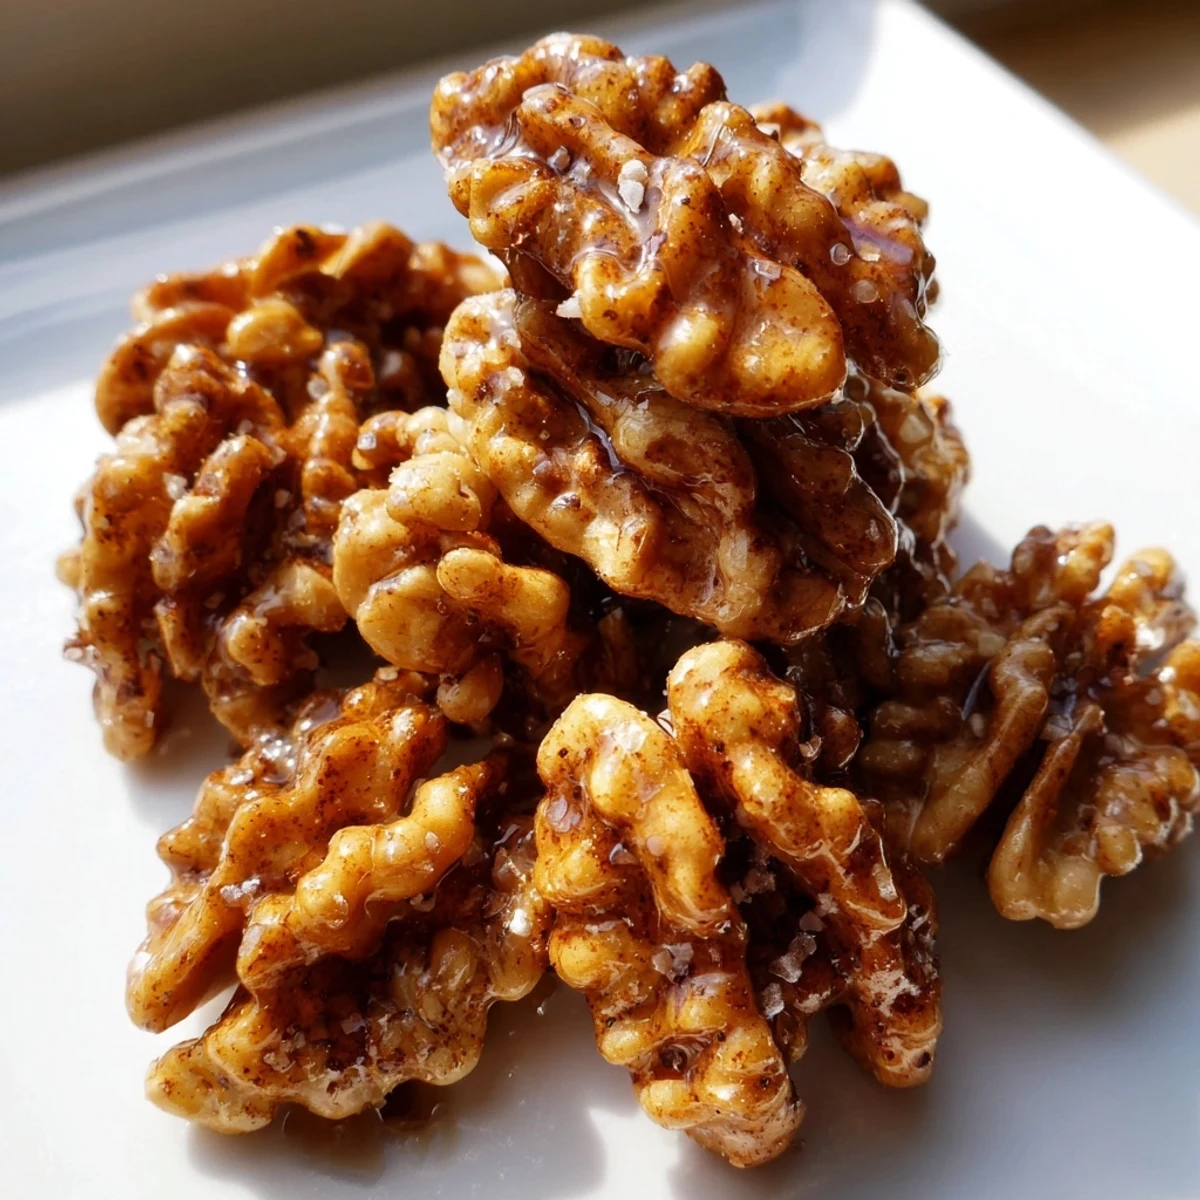
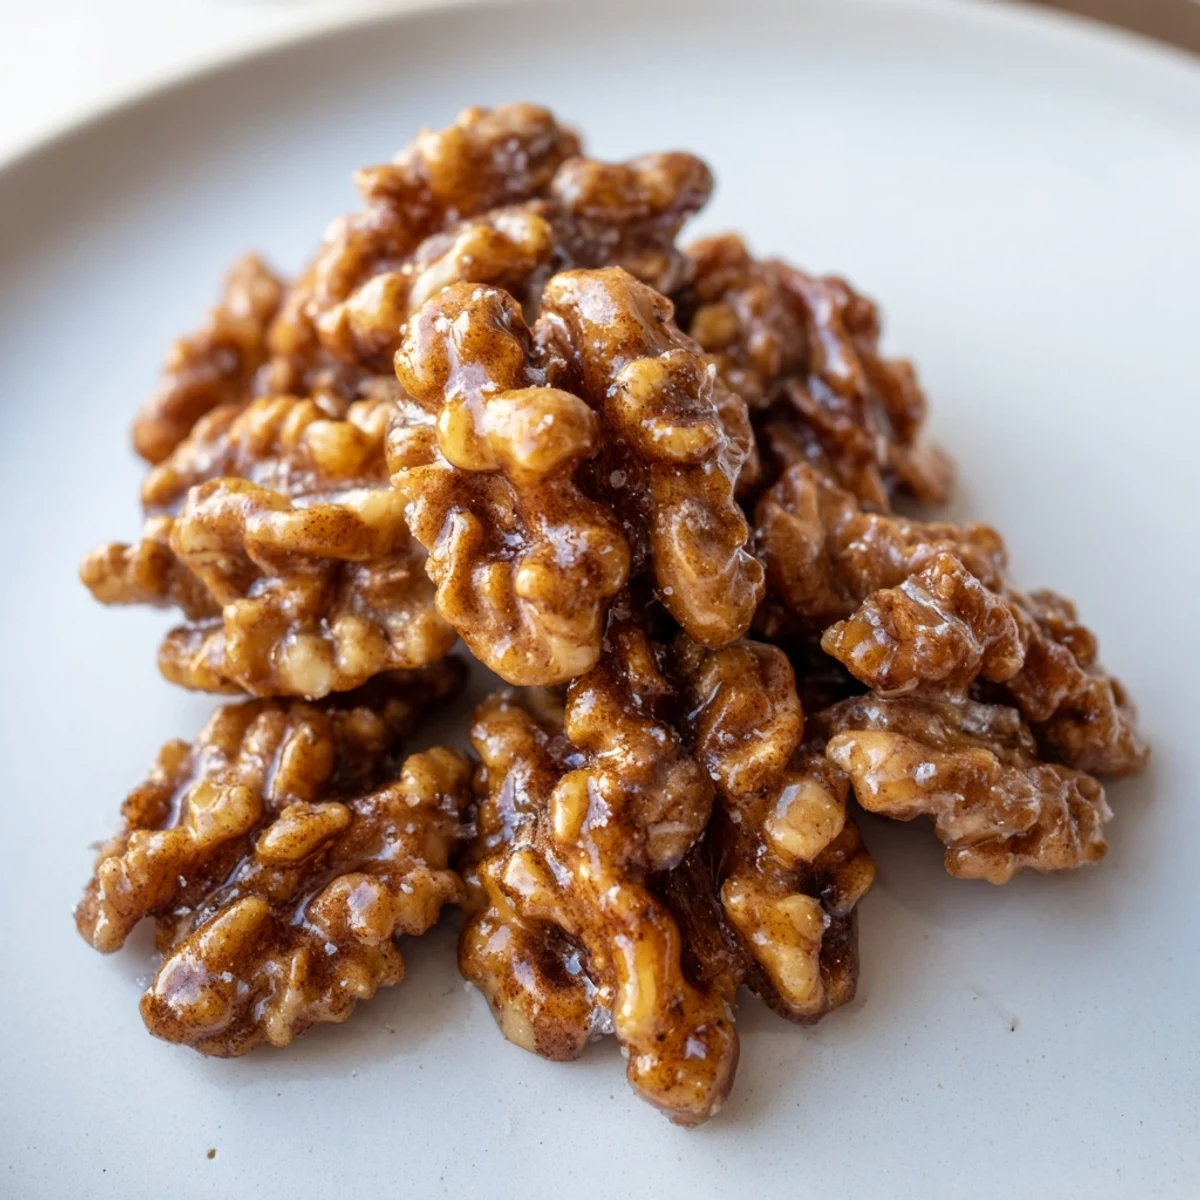
Save These maple cinnamon walnuts come together in just 20 minutes with a handful of pantry staples. Walnut halves are tossed in pure maple syrup, ground cinnamon, a pinch of sea salt, and vanilla extract, then baked until deeply golden and fragrant.
As they cool, the maple glaze hardens into a satisfying crunchy coating. They make an excellent standalone snack, a crunchy salad topping, or a thoughtful homemade gift during the holidays.
The smell of toasted walnuts drifting through my kitchen on a rainy Saturday afternoon is enough to make me forget whatever I was stressed about. I stumbled onto this maple cinnamon combination during a frantic attempt to make edible gifts for neighbors I had completely forgotten about during the holidays. What started as a desperate pantry raid turned into the most requested recipe in my household, and now I make double batches because they disappear faster than I can package them.
My friend Laura stopped by unannounced one evening and caught me mid batch with sticky fingers and a half eaten parchment sheet. She stood in the kitchen doorway shaking her head, grabbed a handful still warm from the oven, and then proceeded to eat the entire cooling rack worth before dinner. We ordered pizza that night because neither of us could stop long enough to cook anything else.
Ingredients
- 2 cups walnut halves: Pick through them and pull out any shriveled or dark ones because those turn bitter in the oven and ruin the whole batch.
- 1/3 cup pure maple syrup: Do not substitute with pancake syrup or artificial blends because the real stuff caramelizes properly and the fake stuff just burns into a sticky mess.
- 1 1/2 tsp ground cinnamon: Fresh cinnamon makes a noticeable difference so if your jar has been open for over a year it is time to replace it.
- 1/4 tsp fine sea salt: This tiny amount balances the sweetness perfectly and makes the maple flavor taste more like itself.
- 1 tsp vanilla extract (optional): I always include it because it rounds out the warmth but the recipe works beautifully without it too.
Instructions
- Prepare your baking setup:
- Preheat your oven to 350°F and line a baking sheet with parchment paper because these nuts will stick to bare metal and you will be scrubbing instead of snacking.
- Mix the glaze:
- Stir together the maple syrup, cinnamon, salt, and vanilla in a mixing bowl until it looks like liquid amber with tiny flecks of copper running through it.
- Coat the walnuts:
- Toss the walnut halves into the bowl and stir with a spatula until every single piece glistens with that maple mixture, making sure none are hiding dry patches in the crevices.
- Spread and bake:
- Arrange the coated walnuts in a single layer on your prepared sheet and bake for 12 to 15 minutes, pulling them out once halfway through to give everything a good stir so no edges burn.
- Let patience do its work:
- Remove the pan from the oven and resist every urge to taste test because the glaze needs to cool completely before it hardens into that satisfying crackle.
- Store properly:
- Transfer the cooled nuts to an airtight container and keep them at room temperature where they will stay crunchy and delicious for up to a week, though mine never last that long.
 Save
Save I packed a jar of these for my mother last winter and she called me three times in one week asking for the recipe, then again to tell me she had already made five batches for her book club friends.
Making It Your Own
Pecans and almonds both work beautifully with this same glaze, and honestly the pecan version might be even more addictive than the original. A friend of mine adds a tiny pinch of cayenne pepper to her batches and the gentle heat sneaking in behind all that sweetness is unexpectedly brilliant.
Serving Ideas Beyond Snacking
Crumbled over a bowl of warm oatmeal on a cold morning they turn an ordinary breakfast into something worth waking up early for. I also love them scattered across a simple arugula salad with shaved parmesan and a light vinaigrette, where the crunch and sweetness play beautifully against the peppery greens.
A Few Final Thoughts
Keep your eye on the oven during the last few minutes because the line between perfectly caramelized and slightly burnt is razor thin. Every oven runs differently so your first batch is really about learning how your own kitchen behaves.
- Always use pure maple syrup because the fake stuff contains corn syrup that burns at a lower temperature.
- Let them cool directly on the parchment for the cleanest release from the pan.
- Double the batch immediately because you will not want to share your first one.
 Save
Save Keep a jar of these on your counter and you will always have a small luxury within arm's reach. They are proof that the simplest recipes often leave the biggest impression.
Recipe FAQs
- → Can I use other types of nuts instead of walnuts?
-
Yes, pecans and almonds work beautifully with the same maple cinnamon glaze. Adjust baking time slightly depending on the nut size and thickness.
- → How should I store the finished walnuts?
-
Store them in an airtight container at room temperature for up to one week. For longer storage, refrigerate for up to three weeks or freeze for up to two months.
- → Why did my walnuts turn out sticky instead of crunchy?
-
They likely need more cooling time. The maple glaze hardens as it cools completely. Spread them out and allow at least 30 minutes at room temperature. Humidity can also affect crispness.
- → Can I add other spices to customize the flavor?
-
Absolutely. A pinch of cayenne pepper adds warmth and subtle heat. Nutmeg, cardamom, or pumpkin spice blend also pair wonderfully with the maple and cinnamon base.
- → Are these suitable for people with gluten sensitivity?
-
Yes, all the ingredients used are naturally gluten-free. Always verify labels on maple syrup and vanilla extract to confirm no cross-contamination, especially for those with severe sensitivities.
- → Can I double the batch for a larger crowd?
-
Yes, simply double all ingredients. Use two baking sheets rather than crowding one, and rotate the sheets halfway through baking for even results.