 Save
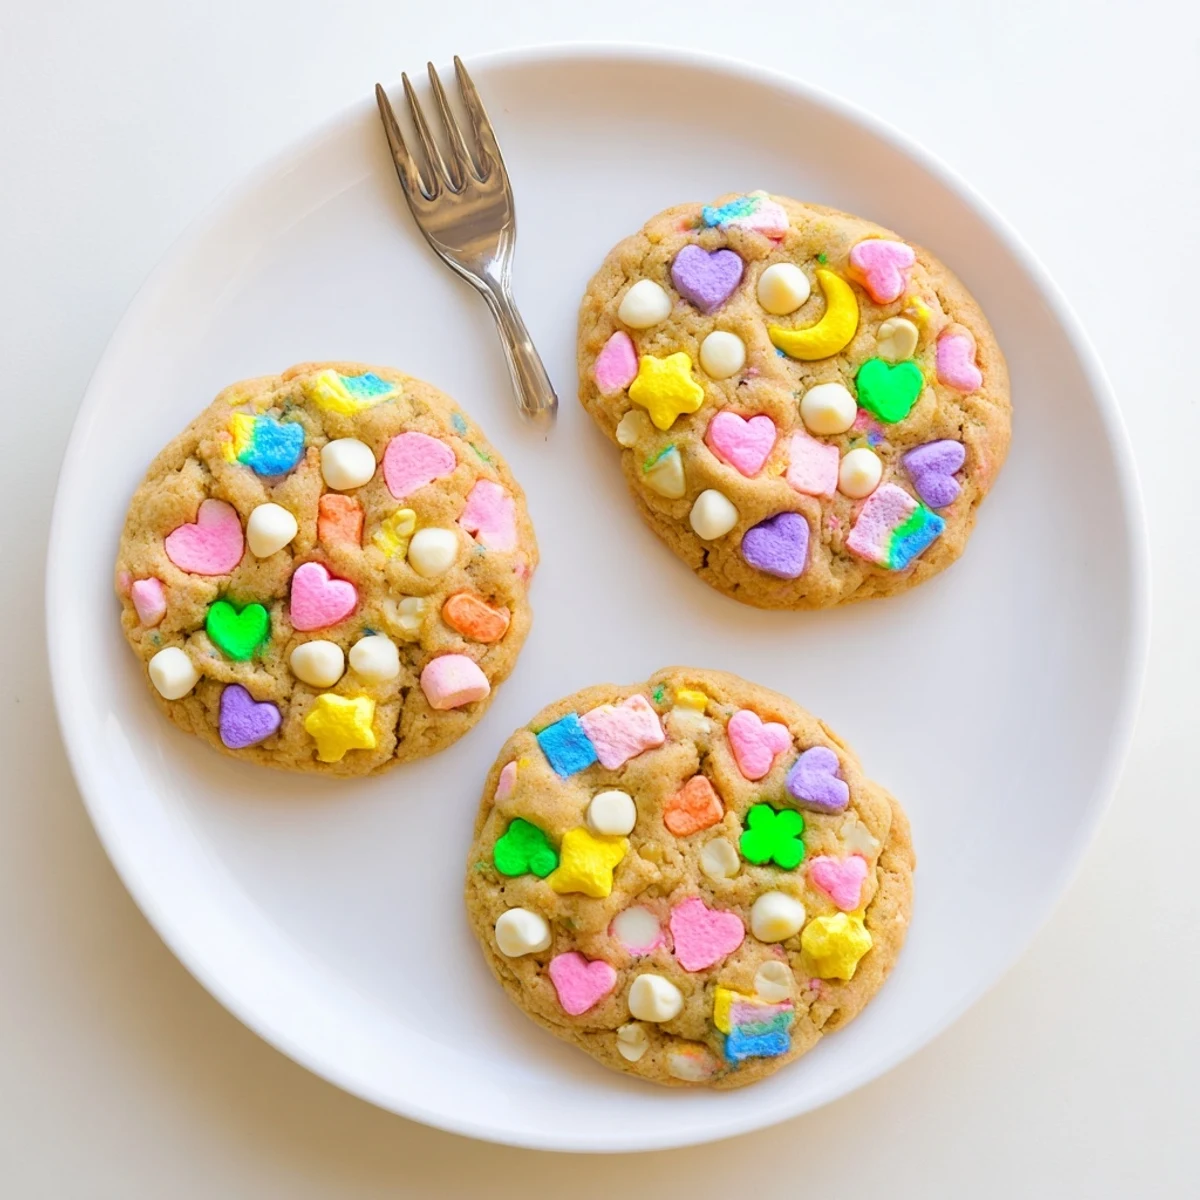
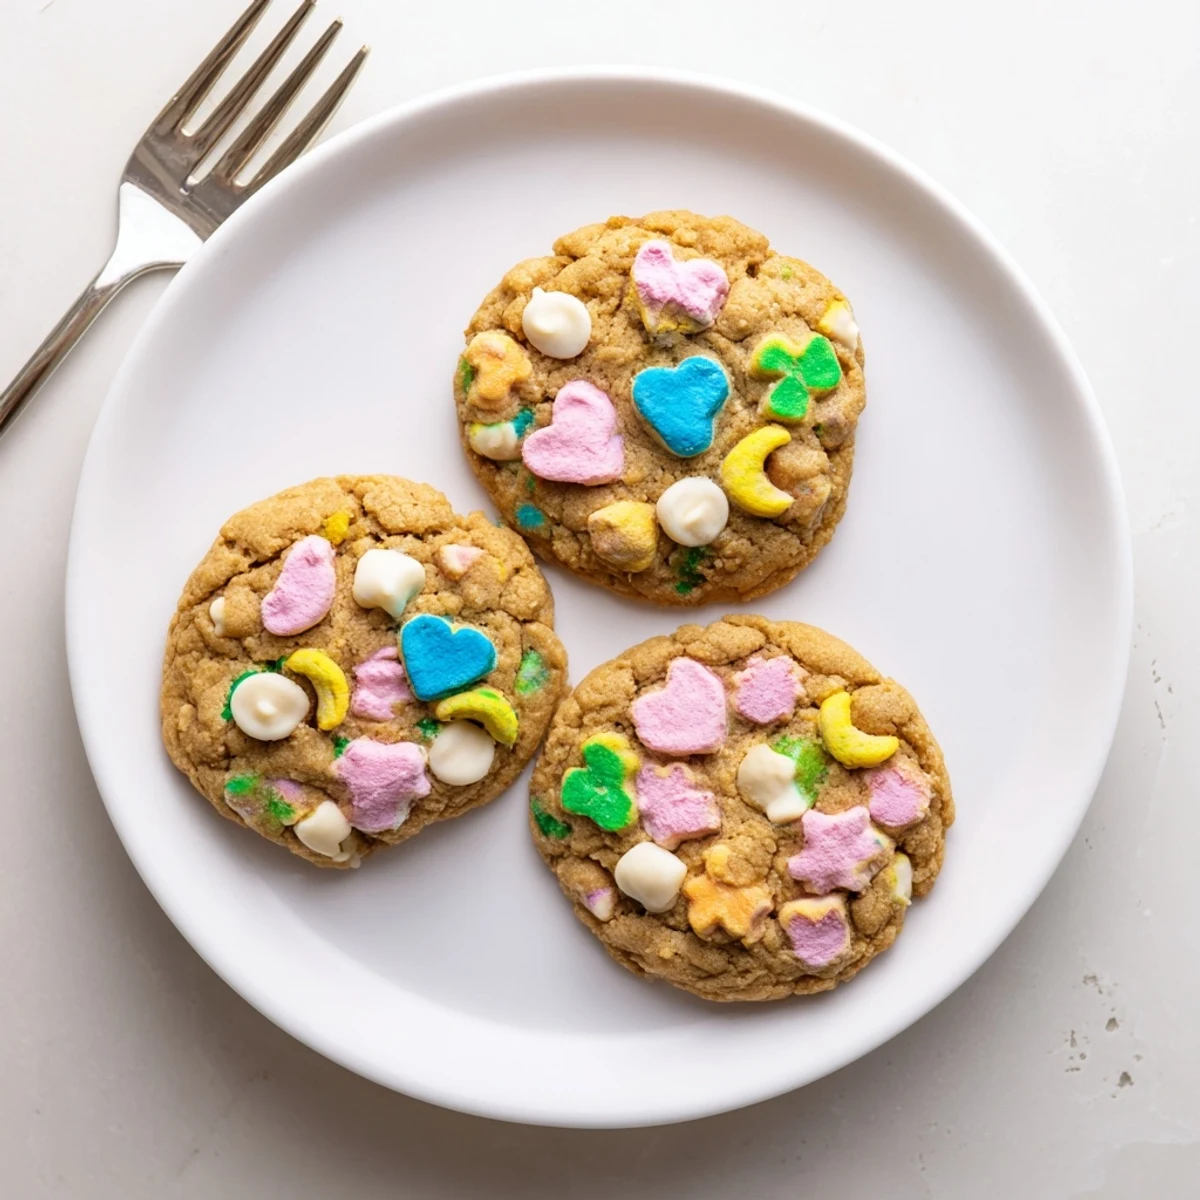
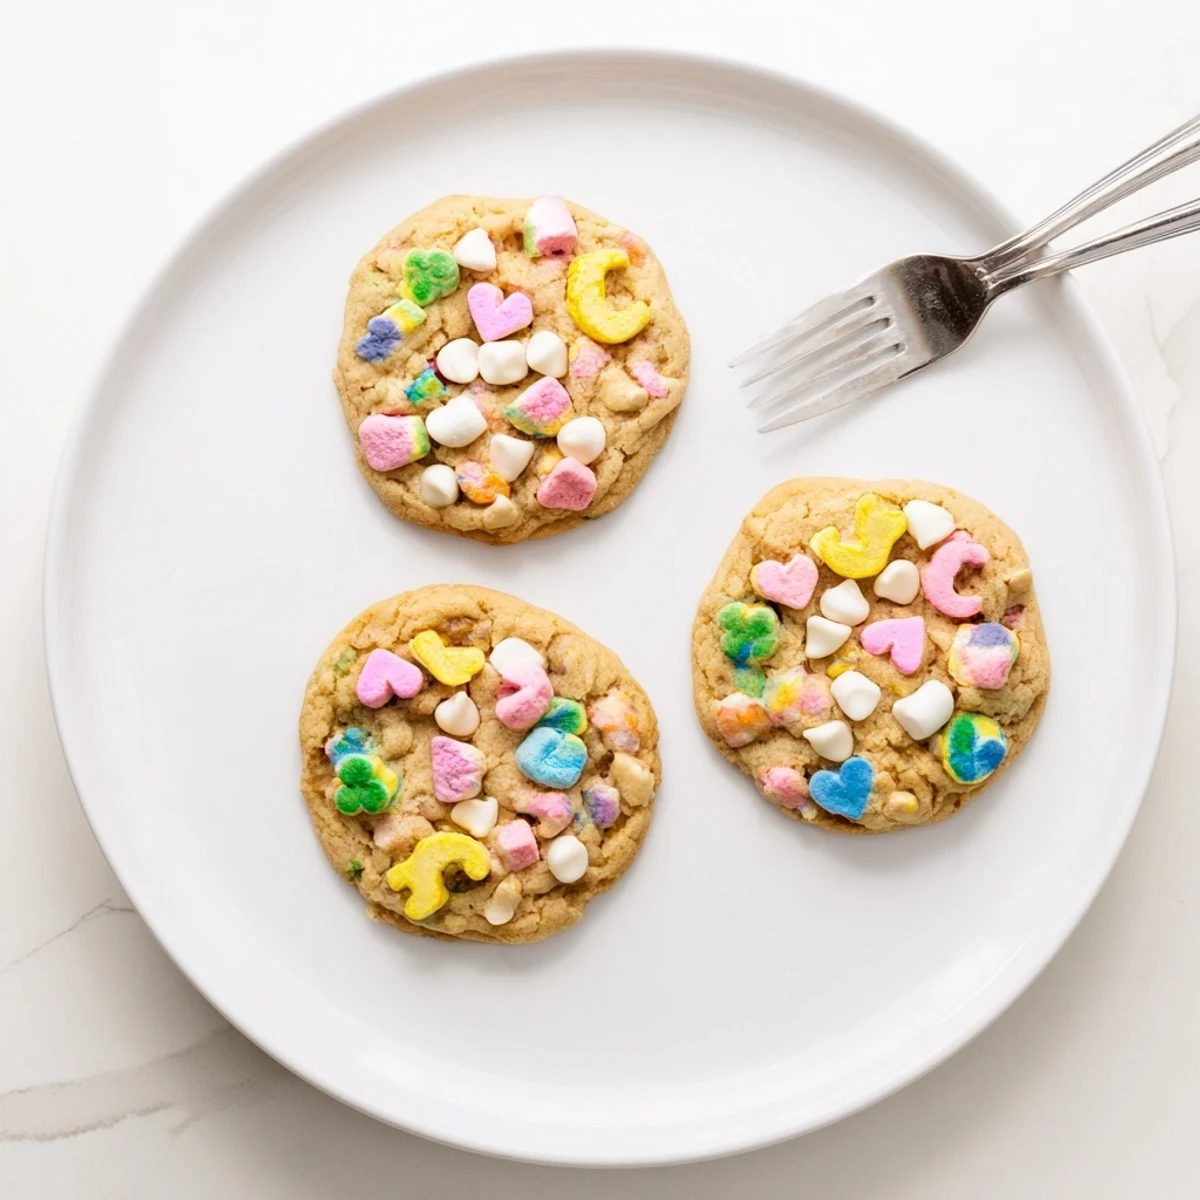
Save These delightful soft and chewy cookies bring the magic of Lucky Charms to your kitchen. Packed with colorful marshmallows separated from the cereal, each bite delivers a burst of sweetness and nostalgia.
The dough comes together quickly with melted butter for a rich, tender texture. White chocolate chips add creamy contrast to the playful marshmallows.
Perfect for birthday parties, bake sales, or anytime you want a whimsical homemade treat that sparks joy in both children and adults.
My niece declared these the best cookies shes ever eaten, and honestly, I think she meant it. The marshmallows puff up slightly in the oven, creating these little pockets of sweetness that catch you off guard in the most delightful way. I made them for a rainy afternoon playdate that turned into an impromptu kitchen experiment. Watching kids faces light up when they spot those colorful shapes is worth every minute.
The first batch I made disappeared before they even cooled completely. My brother in law kept sneaking back into the kitchen for just one more until we caught him with cookie crumbs on his shirt. Theres something about the nostalgia factor combined with a classic cookie base that makes grownups act like kids again.
Ingredients
- All purpose flour: The backbone of any good cookie, giving structure without toughness.
- Baking soda: Helps the cookies spread just enough while staying soft in the middle.
- Salt: Balances the sweetness and makes the flavors pop.
- Unsalted butter, melted: Creates a denser, chewier texture than creamed butter would.
- Light brown sugar: Adds moisture and a subtle caramel note.
- Granulated sugar: Keeps the edges slightly crisp.
- Egg plus egg yolk: The extra yolk makes these incredibly rich and tender.
- Vanilla extract: Dont skimp here, it ties everything together.
- Lucky Charms marshmallows: Pick through the cereal box and save the best shapes for topping.
- White chocolate chips: Optional but they add creamy sweetness that complements the marshmallows beautifully.
Instructions
- Prep your stations:
- Heat the oven to 350°F and line two baking sheets with parchment. This is also the perfect time to separate those marshmallows from the cereal.
- Whisk the dry stuff:
- Combine flour, baking soda, and salt in a medium bowl. Give it a good whisk to aerate everything.
- Build the cookie base:
- Mix melted butter with both sugars until smooth and glossy. The mixture should look like wet sand that smells incredible.
- Add the eggs and vanilla:
- Beat in the whole egg first, then the yolk, followed by vanilla. The dough gets glossy and almost pudding like.
- Bring it together:
- Gradually stir in the dry ingredients just until no flour streaks remain. Overmixing makes tough cookies.
- Fold in the magic:
- Gently incorporate the white chocolate chips and most of the marshmallows, saving the prettiest ones for later.
- Scoop and top:
- Drop rounded tablespoons of dough onto the sheets, leaving room for spreading. Press a few reserved marshmallows onto each one.
- Bake to perfection:
- Slide them in for 9 to 11 minutes, pulling them when edges are set but centers still look slightly underdone.
- Cool with patience:
- Let them rest on the hot baking sheet for 5 minutes before moving to a wire rack. Theyll finish cooking as they sit.
 Save
Save These cookies became my go to for school bake sales because they look impressive with almost no extra effort. One teacher actually asked if I had professionally decorated them. I just smiled and said the marshmallows do all the work.
Storing Your Cookies
Keep these in an airtight container at room temperature and they stay soft for about four days. I usually put a slice of white bread in the container to maintain moisture. The marshmallows might get slightly sticky but that just adds to the charm.
Fun Variations to Try
Once you master the basic recipe, try swapping the white chocolate for dark chocolate chips. The contrast between the sweet marshmallows and slightly bitter chocolate surprises people. My neighbor now requests that version specifically for her book club meetings.
Why These Work So Well
The melted butter technique creates that dense, chewy texture that holds up to the marshmallows without getting cakey. I learned this trick from my grandmother who made the best chocolate chip cookies I ever tasted.
- Chill the dough for 30 minutes if you want thicker cookies.
- Room temperature eggs blend more smoothly into the batter.
- Watch the oven closely during the last minute of baking.
 Save
Save Make a batch this weekend and watch how quickly they vanish. Something magical happens when childhood nostalgia meets fresh baked cookies.
Recipe FAQs
- → How do I separate the marshmallows from Lucky Charms cereal?
-
Pour the cereal into a large bowl and manually pick out the colorful marshmallows. One standard box typically yields about 1 1/4 cups of marshmallows, which is perfect for this batch.
- → Why do the cookies need to look slightly underbaked when removed from the oven?
-
Cookies continue cooking on the hot baking sheet after removal from the oven. Taking them out when centers look slightly soft ensures they remain soft and chewy rather than crisp or dry.
- → Can I use the entire Lucky Charms cereal instead of just marshmallows?
-
While possible, the cereal pieces become soggy in the dough. Using only the marshmallows maintains their distinctive texture and keeps the cookies visually appealing with bright, colorful bits.
- → How should I store these cookies to keep them soft?
-
Store completely cooled cookies in an airtight container at room temperature for up to 4 days. Adding a slice of white bread helps maintain moisture and softness.
- → Can I freeze the cookie dough for later baking?
-
Yes, scoop dough balls onto a tray, freeze until solid, then transfer to a freezer bag. Bake frozen dough balls by adding 1-2 extra minutes to the baking time. Dough keeps for 3 months.