 Save
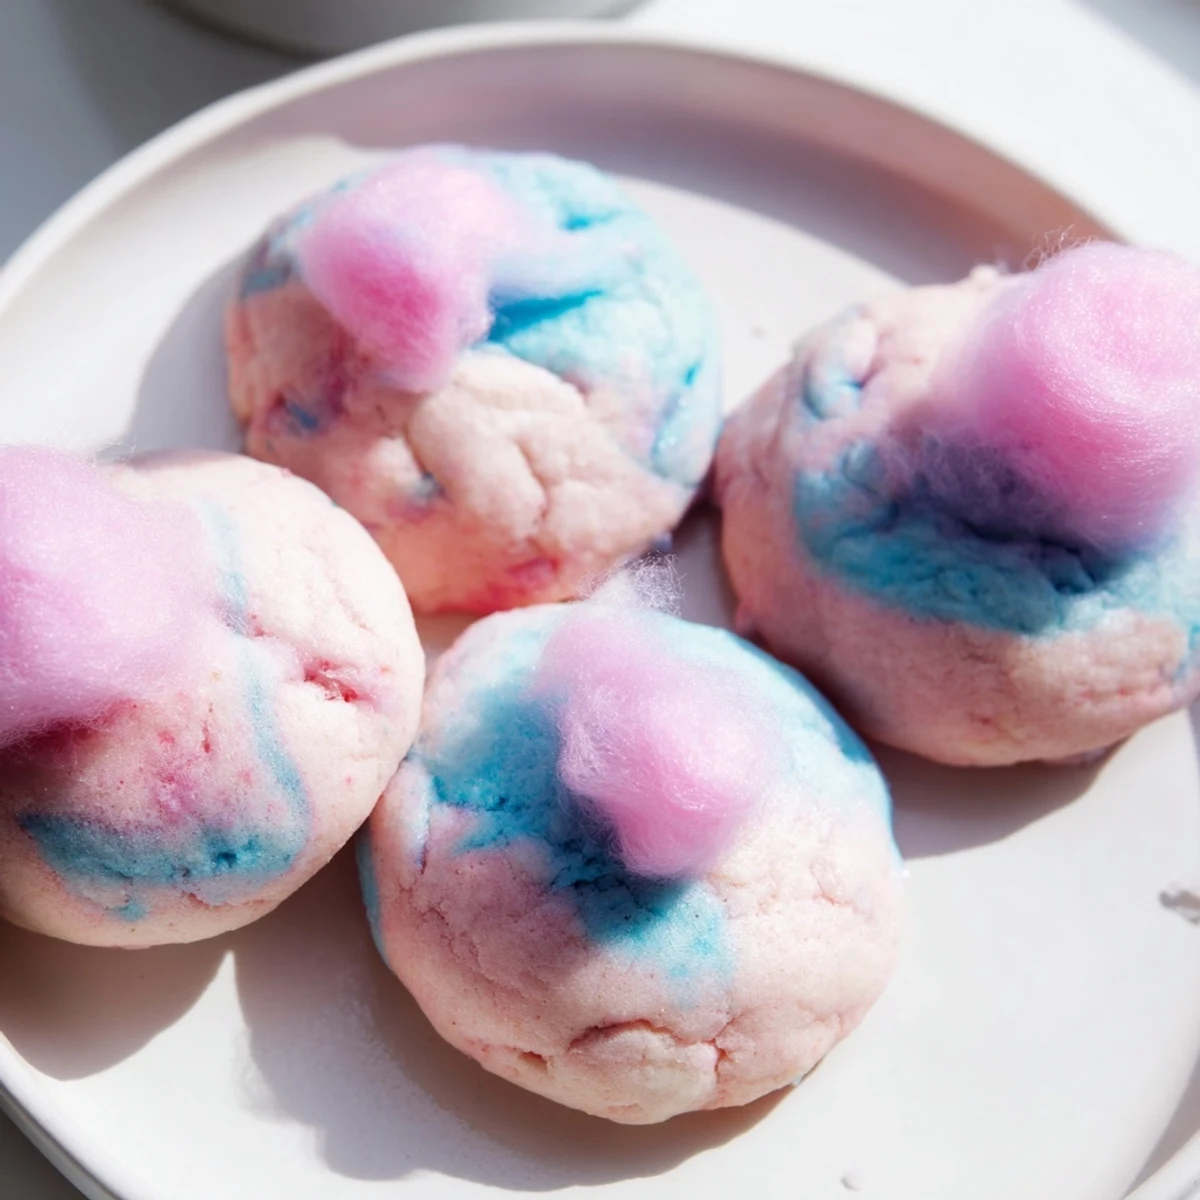
Save These cotton candy cookies combine a classic soft-baked sugar cookie base with cotton candy flavoring and a stunning marbled pink-and-blue design. The dough is divided and tinted, then gently swirled together to create a dreamy pastel effect that looks impressive but is surprisingly simple to achieve.
Each cookie bakes up soft and pillowy with a subtle sweetness reminiscent of the carnival treat. An optional cotton candy garnish on top adds an extra whimsical touch, making these the ultimate showstopper for birthday parties, baby showers, or any festive gathering.
Ready in just 30 minutes with basic pantry ingredients, this is an easy, beginner-friendly bake that delivers big on visual impact and flavor.
My niece turned seven last spring and asked for a cotton candy birthday cake, which I had zero confidence in pulling off, so I pivoted to these cookies instead and pretended it was the plan all along.
Twenty four kids stood around the kitchen island that afternoon, faces sticky with frosting from cupcakes I had also made, and not a single cookie was left on the tray by the time they sang happy birthday.
Ingredients
- All purpose flour (2 1/2 cups, 315 g): The backbone of these soft cookies, and spooning it into the cup rather than scooping prevents dense hockey pucks.
- Baking powder (1 tsp): Gives these cookies their gentle lift without spreading them too thin across the sheet.
- Baking soda (1/2 tsp): Works alongside the baking powder for a tender crumb that practically melts.
- Salt (1/2 tsp): Do not skip this, because it balances the sweetness and wakes up the cotton candy flavor.
- Unsalted butter, softened (3/4 cup, 170 g): Room temperature butter creams properly and traps the air that makes these cookies soft.
- Granulated sugar (1 cup, 200 g): Provides clean sweetness and helps achieve those slightly crisp golden edges.
- Light brown sugar, packed (1/2 cup, 100 g): The molasses here adds chewiness and depth that white sugar alone cannot manage.
- Large eggs (2): Bind everything together and contribute to the pillowy texture.
- Pure vanilla extract (2 tsp): A warm background note that rounds out the playful cotton candy flavoring beautifully.
- Cotton candy flavoring (1/2 tsp): This is the magic ingredient, so track it down at a baking supply shop or online before you start.
- Pink and blue gel food coloring: Gel is essential here because liquid coloring will thin the dough and muddy the pastel shades.
- Cotton candy for garnish (1/2 cup, 60 g, optional): A whimsical topping that makes everyone smile, but add it at the very last second since moisture melts it fast.
Instructions
- Preheat and prepare:
- Set your oven to 350°F (175°C) and line two baking sheets with parchment paper so nothing sticks and cleanup is effortless.
- Whisk the dry team:
- In a medium bowl, whisk together the flour, baking powder, baking soda, and salt until evenly distributed, then set it aside.
- Cream butter and sugars:
- Beat the softened butter with both sugars in a large bowl until the mixture turns pale, fluffy, and smells like every good thing ahead of you.
- Add the wet ingredients:
- Pour in the eggs, vanilla extract, and cotton candy flavoring, then beat until the batter is completely smooth and fragrant.
- Bring dough together:
- Gradually fold in the dry ingredients on low speed just until a soft dough forms, being careful not to overwork it.
- Color and marble:
- Split the dough evenly into two bowls, tint one bowl pink with a few drops of gel coloring and the other blue, then mix each until vibrant and uniform.
- Shape the swirls:
- Pinch off a small piece from each colored dough, gently roll them together in your palms to create a 1.5 inch marbled ball, and place them on the sheets two inches apart.
- Bake until just set:
- Slide the trays into the oven for 9 to 11 minutes, pulling them out when the edges are set but the centers still look slightly soft and underdone.
- Cool with patience:
- Let the cookies rest on the baking sheets for five minutes so they firm up gently, then transfer to a wire rack to cool completely.
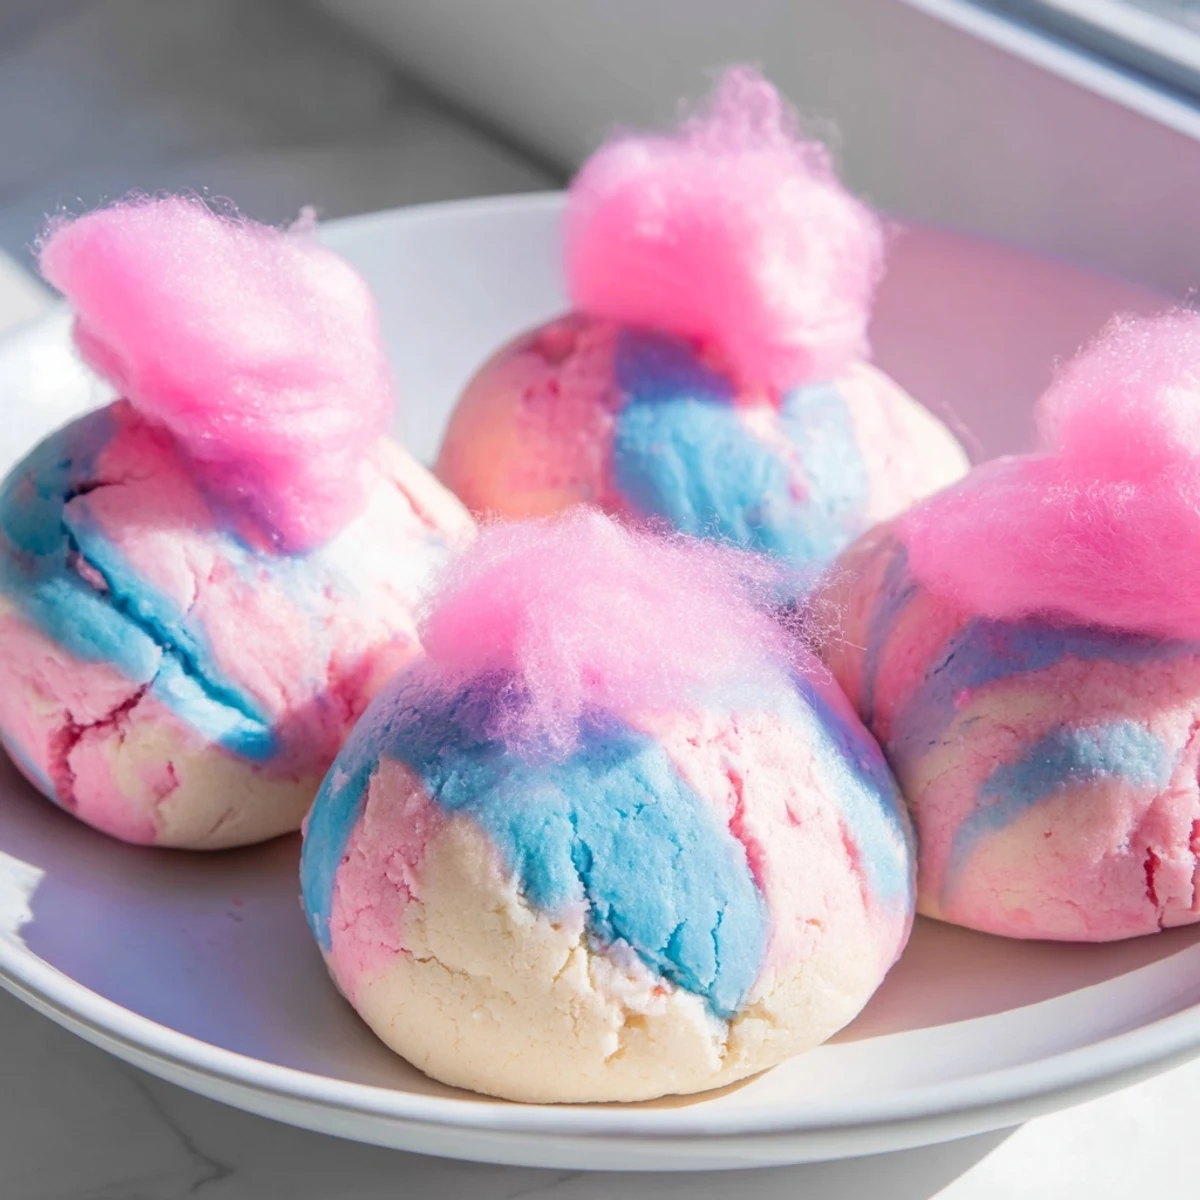
- Finish with flair:
- If using cotton candy garnish, press a small tuft onto each cooled cookie right before serving for a dreamy, fairground presentation.
 Save
Save Those cookies became a birthday tradition in my sisters house, and now every spring my niece calls to remind me that cotton candy cookies are not optional.
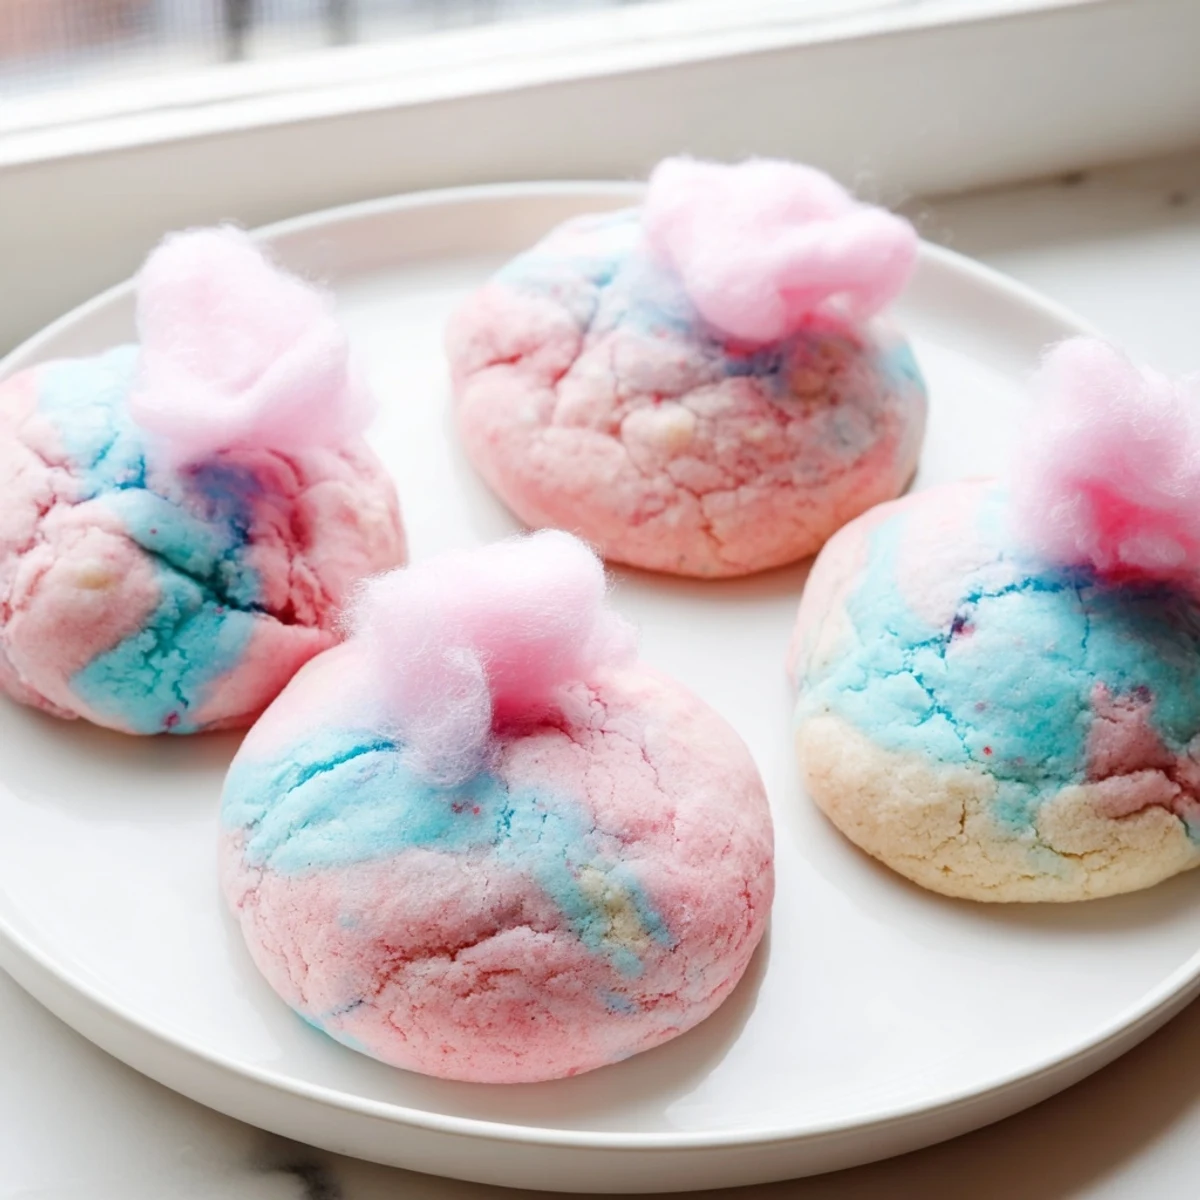
Getting the Marble Right
The first batch I made looked more like purple blobs than dreamy swirls because I kneaded the two colors together way too aggressively. A light touch when rolling the dough balls is all you need, letting the colors naturally streak through each other without fully blending.
Storing Without Losing the Magic
These cookies stay wonderfully soft for up to five days in an airtight container at room temperature, though they rarely last that long in my kitchen. If you stacked them with parchment between layers, the colors will not bleed into each other overnight.
Making Them Your Own
Once you master the basic technique, the color and flavor combinations are endless and adapting them for holidays is half the fun.
- Swap the cotton candy flavoring for almond extract and use pastel green and yellow for a spring brunch vibe.
- Try lavender and purple gel coloring for a baby shower that people will talk about for months.
- Always taste your flavoring on its own first, because potency varies wildly between brands.
 Save
Save Roll up your sleeves and have fun with these, because the whole point is joy and a little bit of kitchen whimsy. Someone you love is going to see that marbled dough and light up exactly the way you hope they will.
Recipe FAQs
- → Can I make cotton candy cookies without cotton candy flavoring?
-
Yes, you can substitute cotton candy flavoring with extra vanilla extract or almond extract for a different but still delicious flavor profile. The cookies will rely more on the visual appeal from the pink and blue swirls. Alternatively, look for cotton candy flavoring online or at specialty baking stores—it's typically a small bottle that lasts through many batches.
- → How do I get the marbled swirl effect in the dough?
-
Divide your cookie dough evenly into two portions and tint one pink and the other blue using gel food coloring. When forming each cookie, pinch off a small amount from each colored dough and gently roll them together in your hands. Don't overmix—just enough to create a swirled marble pattern. The less you work the two colors together, the more defined the swirls will be.
- → Why should I use gel food coloring instead of liquid?
-
Gel food coloring provides much more vibrant, concentrated color without adding extra liquid to your dough. Liquid food coloring can alter the dough's consistency, making it too wet and causing the cookies to spread too thin during baking. A few drops of gel coloring go a long way and produce the bright pastel hues that give these cookies their signature look.
- → How should I store cotton candy cookies?
-
Store baked cookies in an airtight container at room temperature for up to 5 days. If you're adding cotton candy as a garnish, only do so right before serving since cotton candy dissolves quickly when exposed to moisture and air. You can also freeze the undecorated baked cookies for up to 3 months—just thaw at room temperature and add the cotton candy topping fresh.
- → Can I prepare the cookie dough in advance?
-
Absolutely. The colored dough portions can be wrapped tightly in plastic wrap and refrigerated for up to 3 days before baking. You can also freeze the dough balls on a baking sheet, then transfer to a freezer bag for up to 3 months. Bake from frozen, adding just 1–2 extra minutes to the baking time. This makes party prep much easier since you can have the dough ready to go.
- → What makes these cookies stay soft and chewy?
-
The combination of using both granulated and brown sugar, plus not overbaking, is key to a soft texture. Brown sugar contains molasses which adds moisture and chewiness. Remove the cookies from the oven when they're just set but still look slightly underdone in the center—they'll continue to firm up on the hot baking sheet during the 5-minute rest before transferring to a wire rack.