 Save
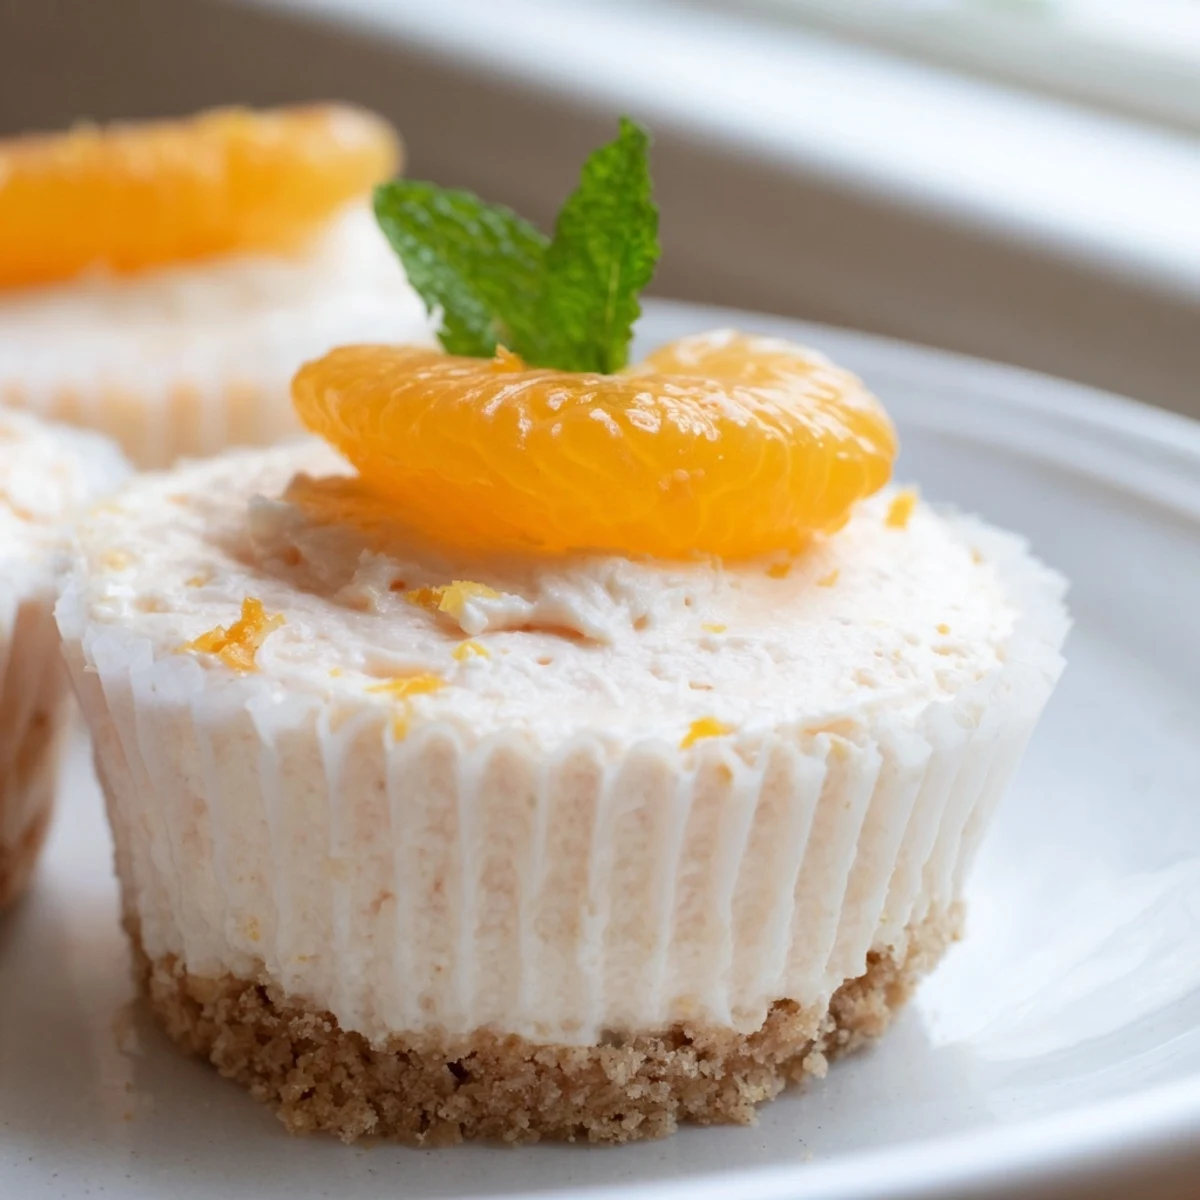
Save These mini no bake orange cheesecakes combine a buttery digestive biscuit crust with a luscious, citrus-kissed cream cheese filling. Fresh orange zest and juice infuse every bite with bright, sunny flavor.
Requiring just 25 minutes of hands-on preparation and no oven time, they're an ideal make-ahead dessert for gatherings, warm-weather entertaining, or a simple weekday indulgence.
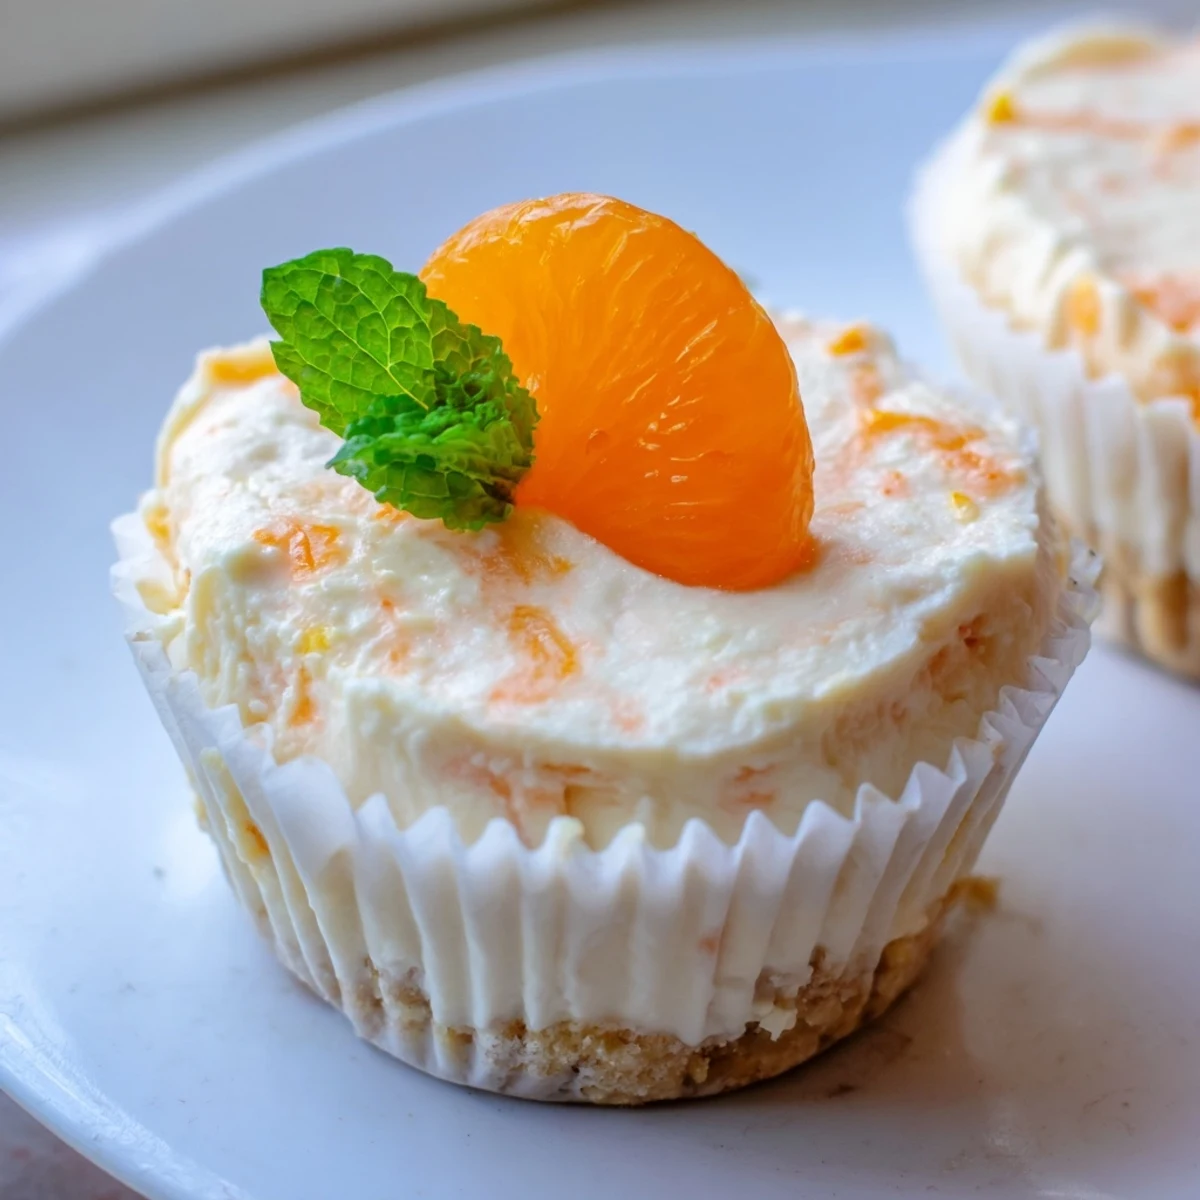
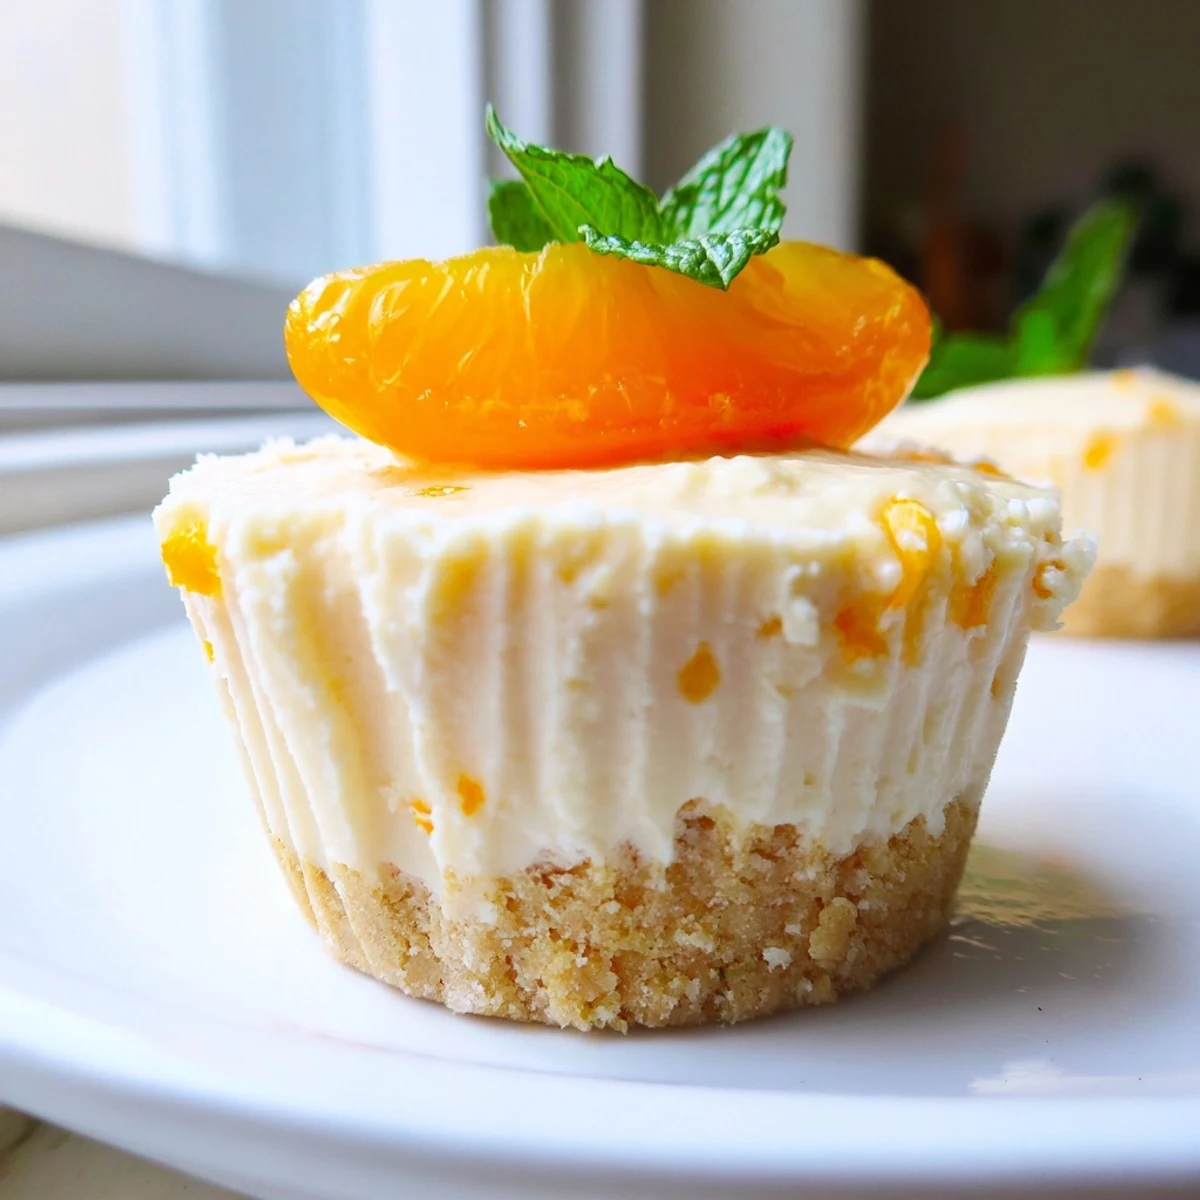
The whipped cream folded into the filling creates an airy, mousse-like texture that sets beautifully after a few hours in the fridge. Top with fresh orange segments and mint for an elegant finish.
There is something about the smell of orange zest hitting cream cheese that makes the whole kitchen feel like a sunny morning in July, even if it is pouring rain outside.
I brought a batch of these to a friends rooftop gathering last summer and watched three disappear before the main course even made it to the table.
Ingredients
- 120 g digestive biscuits or graham crackers: The foundation of every good crust starts here, and you want them crushed finely enough that no large chunks remain.
- 55 g unsalted butter, melted: This binds the crumbs together and gives the base its satisfying snap when you bite in.
- 250 g cream cheese, room temperature: Cold cream cheese will leave you with lumps, so set it out early and be patient.
- 60 g powdered sugar: Powdered dissolves seamlessly into the filling where granulated sugar would leave grittiness behind.
- 120 ml heavy cream, cold: Keeping it cold is essential for achieving those stiff peaks that give the filling its airy lift.
- 2 tsp orange zest (from 1 large orange): Most of the orange perfume lives in the oils of the zest, so zest before you juice and use a light hand.
- 2 tbsp fresh orange juice: Fresh squeezed makes a noticeable difference compared to bottled.
- 1 tsp vanilla extract: A quiet background note that rounds out the citrus beautifully.
- Topping (optional) of orange segments, zest, and mint leaves: Entirely optional but they turn a simple cheesecake into something that looks like it came from a bakery case.
Instructions
- Prep your molds:
- Line a standard muffin tin with paper liners or grab your silicone molds, whichever you have handy.
- Build the crust:
- Pulse the biscuits in a food processor until they resemble sand, then pour in the melted butter and blitz until the mixture holds together when pinched.
- Press and chill:
- Divide the crumb mixture among the liners and press down firmly with the back of a spoon, then tuck the tin into the fridge while you work on the filling.
- Beat the cream cheese:
- In a medium bowl, beat the cream cheese and powdered sugar together until completely smooth with no streaks remaining.
- Whip the cream:
- In a separate cold bowl, whip the heavy cream until it holds stiff peaks and looks cloud like.
- Bring it all together:
- Gently fold the whipped cream into the cream cheese mixture, then stir in the orange zest, orange juice, and vanilla until everything is evenly combined.
- Fill and smooth:
- Spoon or pipe the filling over the chilled bases and smooth the tops with a small spatula or the back of a spoon.
- Chill patiently:
- Refrigerate for at least 3 hours, because cutting corners here means a runny cheesecake.
- Decorate and serve:
- Top with orange segments, a scatter of extra zest, and a few mint leaves if you are feeling fancy.
 Save
Save Somewhere between the second and third batch I made, I realized these little cheesecakes had become my go to whenever someone needed cheering up.
Making Them Your Own
Swap the orange for lemon or lime and you have an entirely different dessert with almost the same effort.
Serving Suggestions
These are lovely on their own but even better alongside a cup of Earl Grey tea or a glass of sparkling water with a citrus wedge.
Storing Leftovers
Keep any leftovers in an airtight container in the fridge for up to two days, though honestly they rarely last that long.
- Cover them loosely at first to avoid condensation dripping onto the surface.
- Freezing works too, just thaw in the fridge for an hour before eating.
- Always add fresh toppings right before serving so nothing wilts.
 Save
Save Keep these in your back pocket for warm evenings when you want something sweet without heating up the kitchen.
Recipe FAQs
- → Can I make these mini cheesecakes ahead of time?
-
Yes, these cheesecakes can be prepared up to 2 days in advance. Keep them covered in the refrigerator until ready to serve. The flavors actually develop and improve after an overnight chill.
- → What can I substitute for digestive biscuits?
-
Graham crackers work perfectly as a direct substitute. For a gluten-free option, use your favorite gluten-free cookies. You could also try chocolate biscuits for a richer base that pairs wonderfully with the orange filling.
- → How do I get the smoothest cheesecake filling?
-
Ensure your cream cheese is fully at room temperature before beating—it should feel soft when pressed. Beat the cream cheese and powdered sugar thoroughly until completely smooth before folding in the whipped cream. This prevents any lumps in the final texture.
- → Can I use store-bought orange juice instead of fresh?
-
Freshly squeezed orange juice delivers the brightest, most natural citrus flavor. Store-bought juice can work in a pinch, but avoid concentrated versions as they tend to taste overly processed and may alter the delicate balance of the filling.
- → How long do these cheesecakes need to chill before serving?
-
Plan for at least 3 hours of chilling time for the filling to set properly. If you can manage it, overnight chilling yields the best texture. The bases firm up nicely, and the filling becomes wonderfully sliceable.
- → Can I freeze no bake orange cheesecakes?
-
You can freeze them for up to 1 month in an airtight container. Thaw overnight in the refrigerator before serving. Note that the texture may be slightly less airy after freezing, but the flavor will remain excellent.