
 Save
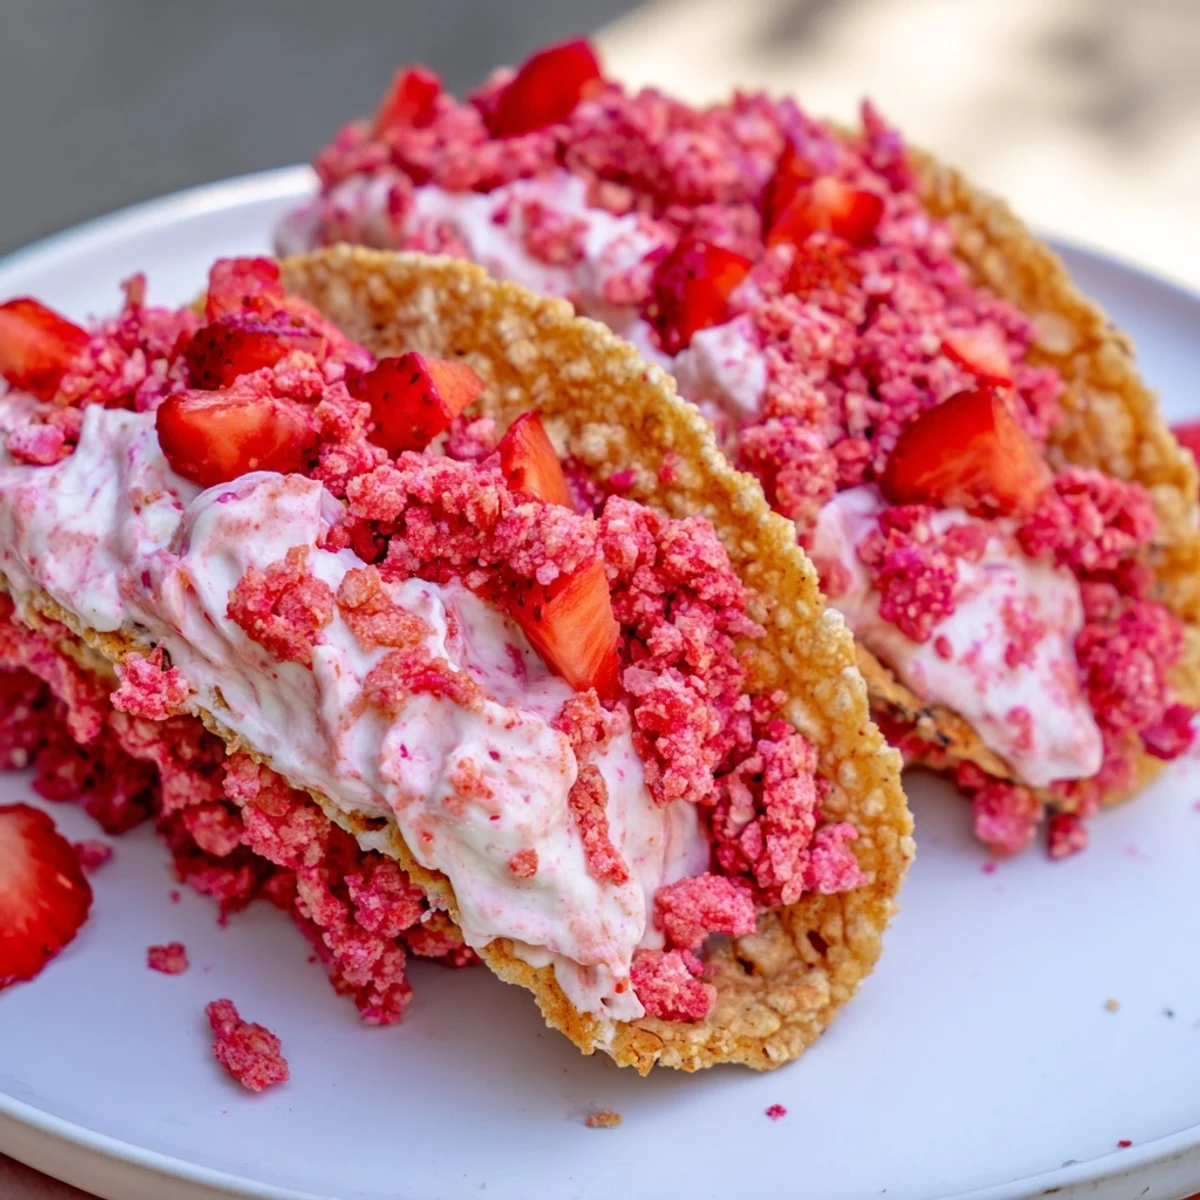
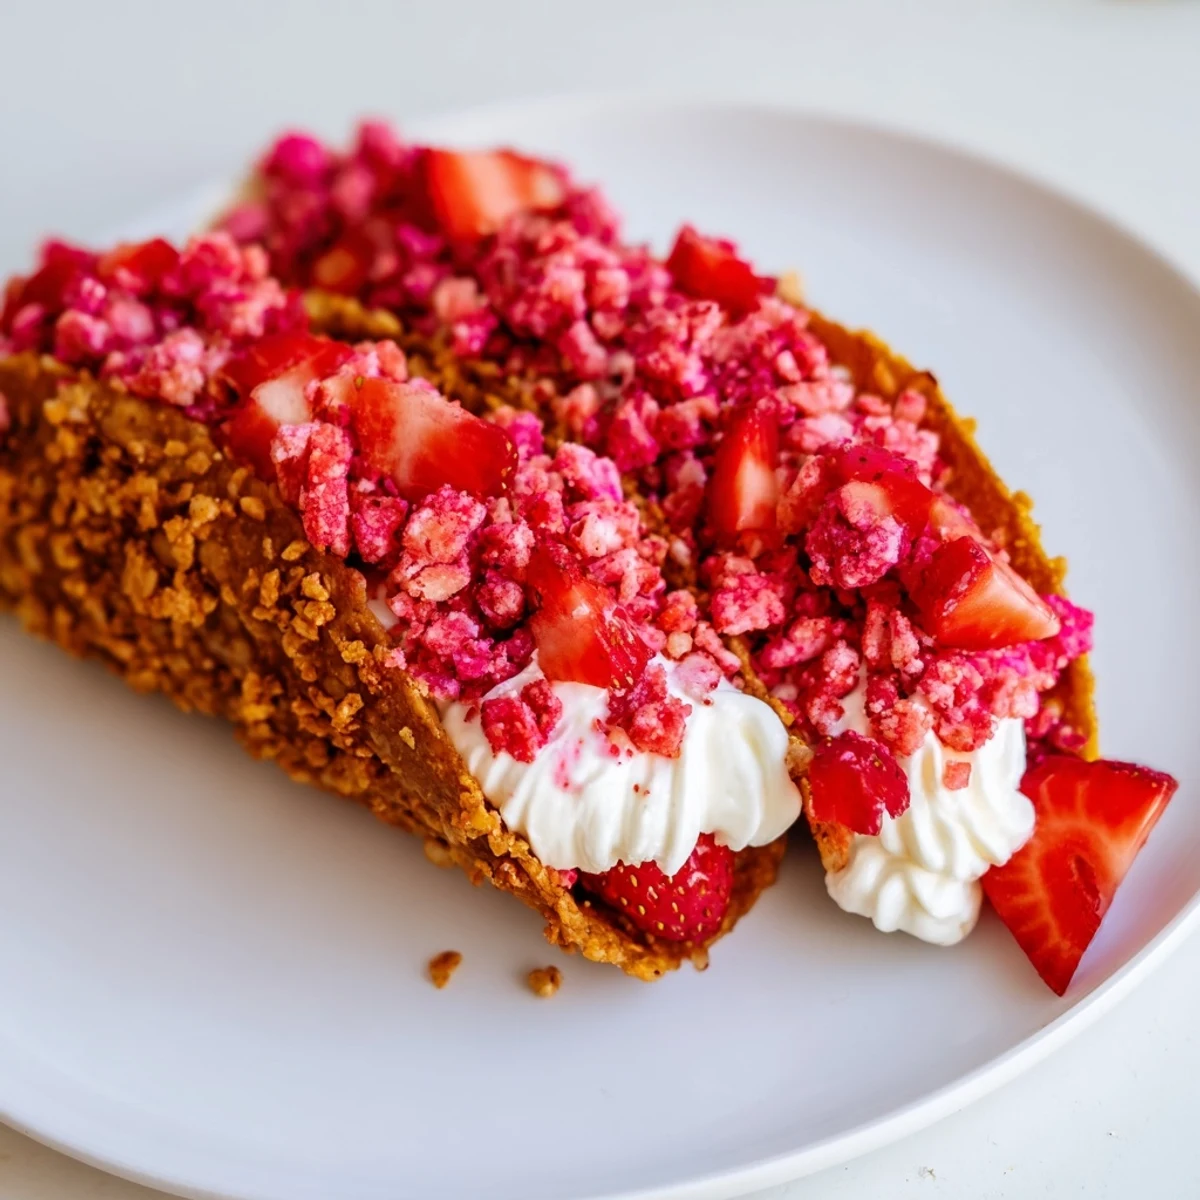
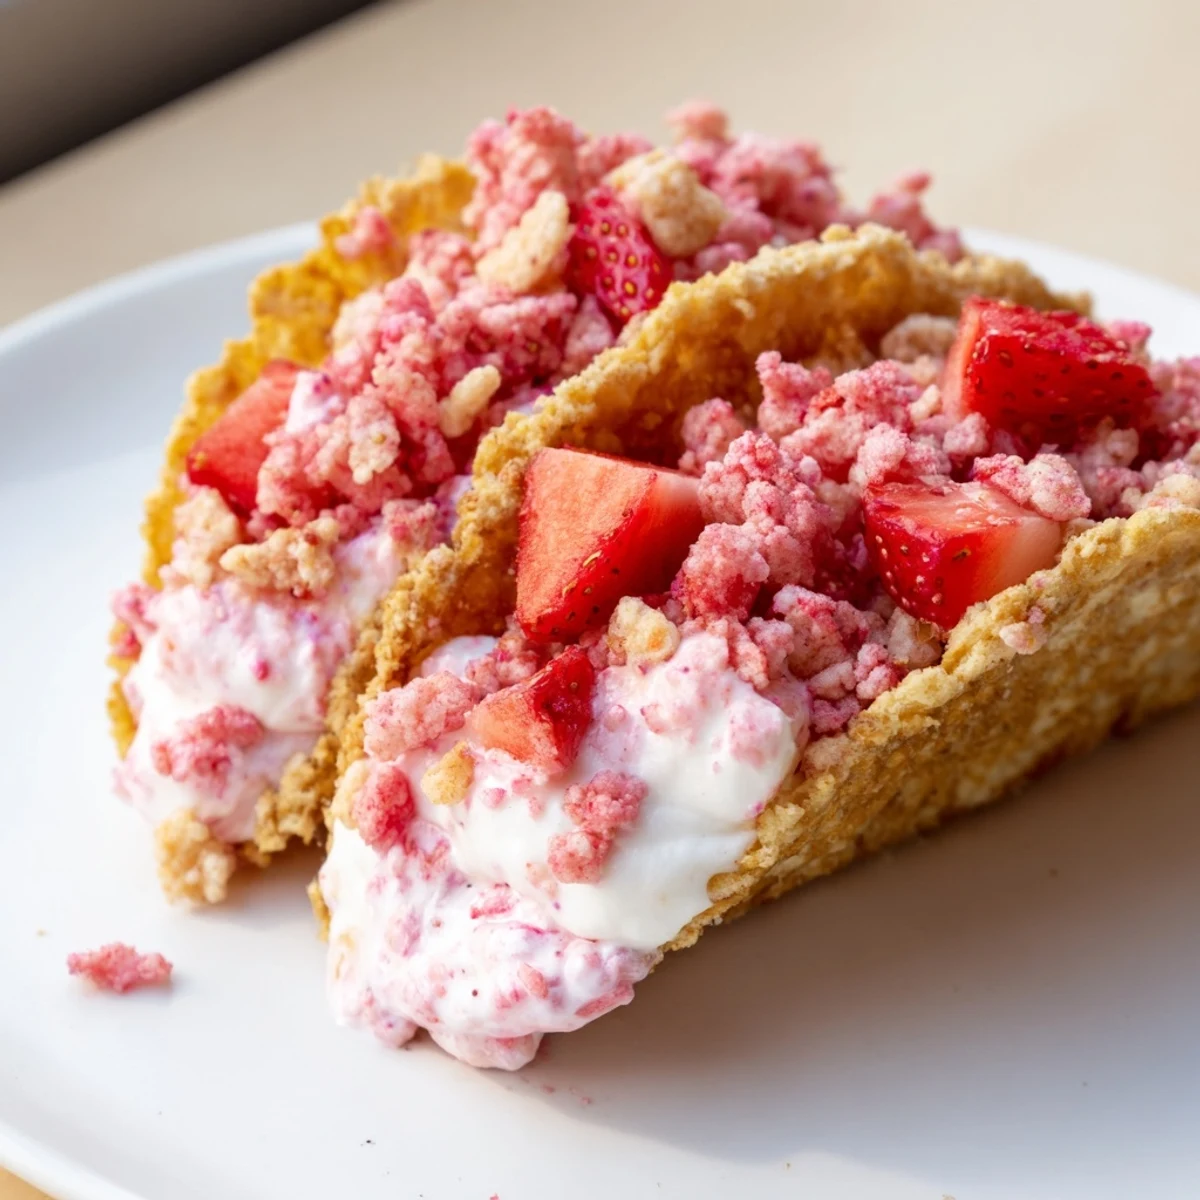
Save These strawberry crunch cheesecake tacos combine the best of both worlds — crispy cinnamon-sugar baked tortilla shells shaped like tacos, filled with a light and creamy cheesecake mousse, and finished with a vibrant strawberry-rice cereal crunch topping.
Ready in just 35 minutes with no special equipment required beyond a food processor and oven, they're perfect for parties, potlucks, or any occasion that calls for a show-stopping sweet treat. The freeze-dried strawberries give the crunch topping an intense berry flavor that pairs beautifully with the rich cream cheese filling.
Assemble them just before serving to keep the shells perfectly crisp. Each taco yields about 305 calories, making them a satisfying yet manageable indulgence.
The summer my neighbor brought over a flat of strawberries from the farmers market, I stood in my kitchen staring at them wondering what to do beyond the usual shortcake. Somewhere between a late night food scroll and a craving for something playful, the idea of a cheesecake taco took shape. The kitchen smelled like cinnamon and butter within minutes, and I knew this was going to be a keeper. It has shown up at every backyard gathering since.
I brought a tray of these to a potluck last July and watched a friend hold one up to the light, genuinely confused about whether she was holding dessert or something savory. The crunch gave way to that pillowy filling and she went quiet for a solid ten seconds before reaching for a second one. That reaction is really the whole point of making them.
Ingredients
- 8 small flour tortillas: The smaller six inch size is key because larger tortillas overwhelm the filling ratio and become floppy instead of crisp.
- 2 tbsp unsalted butter, melted: Brushed on generously so the cinnamon sugar actually adheres and the edges turn golden.
- 2 tbsp granulated sugar: Just enough sweetness in the shell without competing with the filling.
- 1 tsp ground cinnamon: This is what makes the taco shell taste like a churro and it pairs beautifully with strawberry.
- 225 g (8 oz) cream cheese, softened: Leave it out for at least an hour because cold cream cheese will leave you with lumps no matter how long you beat it.
- 120 ml (1/2 cup) heavy cream: Whipped separately and folded in for a mousse texture that pipes beautifully.
- 60 g (1/4 cup) granulated sugar: A modest amount that lets the tang of the cream cheese come through.
- 1 tsp vanilla extract: Use the real stuff here because it is the backbone of the filling flavor.
- 120 g (1 cup) freeze-dried strawberries: Do not substitute fresh or you will end up with a soggy mess instead of that signature crunch.
- 100 g (2 cups) crispy rice cereal: Adds structure and snap to the crumble topping.
- 2 tbsp unsalted butter, melted (for topping): Binds the crumble together so it actually clings to the filling.
- 2 tbsp granulated sugar (for topping): Enhances the natural sweetness of the freeze-dried berries.
- 150 g (1 cup) fresh strawberries, diced: A juicy bright finish that makes each bite feel complete.
Instructions
- Shape and bake the taco shells:
- Preheat your oven to 180C (350F) and brush both sides of each tortilla with melted butter. Sprinkle cinnamon sugar over them and drape each one over two rungs of your oven rack so they sag into a taco curve, then bake for 7 to 9 minutes until golden and crisp. Let them cool completely on the rack because moving them too early causes breakage.
- Whip the cheesecake mousse:
- Beat the softened cream cheese, sugar, and vanilla in a bowl until completely smooth and lump free, scraping down the sides once or twice. In a separate bowl, whip the heavy cream to medium peaks that hold their shape but still droop slightly, then gently fold it into the cheese mixture in three additions to keep everything airy.
- Build the strawberry crunch:
- Pulse the freeze-dried strawberries and rice cereal in a food processor until you get a coarse crumb with some texture remaining. Drizzle in the melted butter and sugar and pulse once or twice just to combine without turning it to powder.
- Fill and finish:
- Pipe or spoon the cheesecake mousse into each cooled taco shell, filling them generously to the edges. Sprinkle the strawberry crunch over the top with abandon and finish with a scattering of fresh diced strawberries.
- Serve right away:
- These are at their absolute best within the first thirty minutes of assembly when the shell is still shatteringly crisp. Arrange them on a platter and watch them disappear fast.
 Save
Save There is something about watching people bite into these for the first time, that brief crunch followed by the soft mousse, that makes the thirty five minutes of effort feel entirely worth it. They are messy and imperfect and exactly the kind of dessert that brings people together around the kitchen counter.
Making It Your Own
The cinnamon sugar shell is a starting point, and I have played around with different spice blends depending on the season. A pinch of cardamom in the shell or a handful of crushed graham crackers mixed into the topping can shift the whole personality of the dish with almost no extra effort.
Planning Ahead Without Losing the Crunch
You can prepare every component separately a full day before serving and keep them in airtight containers. The shells stay crisp at room temperature, the mousse holds perfectly in the fridge, and the crunch topping sits happily on the counter. This means you can assemble everything in about five minutes right before guests arrive.
Serving and Storing What Remains
If you somehow end up with leftovers, store the components separately rather than assembled, though honestly this has never happened in my kitchen. The filling can be repurposed as a fruit dip the next day and the crunch topping is incredible over vanilla ice cream.
- A drizzle of melted white chocolate over the top takes these from backyard party to dinner party with zero extra time.
- Gluten free tortillas work beautifully here, just check your cereal label as well since some brands sneak in barley.
- Always make a couple extra shells because one or two always crack during shaping and you will want backups.
 Save
Save Every time I make these I think about that first chaotic batch when I was guessing at everything, and how a little practice turned a wild idea into something reliable and joyful. They are a reminder that the best desserts do not have to be fussy, they just have to be fun.
Recipe FAQs
- → Can I make the taco shells ahead of time?
-
Yes, you can bake the taco shells up to 24 hours in advance. Store them in an airtight container at room temperature to maintain their crispness. Avoid refrigerating them, as moisture will make them soggy.
- → What can I substitute for freeze-dried strawberries?
-
Crushed strawberry-flavored sandwich cookies or freeze-dried raspberries work well as substitutes. Avoid using fresh or frozen strawberries in the crunch topping, as the moisture will soften the cereal and compromise the texture.
- → How do I shape the tortillas into taco shells?
-
After brushing with melted butter and sprinkling with cinnamon sugar, drape each tortilla over two bars of your oven rack so it sags into a taco shape. Bake at 180°C (350°F) for 7 to 9 minutes until golden and crisp. Let them cool completely on the rack before filling.
- → Can I make this gluten-free?
-
Absolutely. Swap the flour tortillas for gluten-free tortillas and verify that your crispy rice cereal is certified gluten-free. All other ingredients in the filling and topping are naturally gluten-free.
- → How long do assembled tacos stay crisp?
-
Assembled tacos will stay crisp for about 20 to 30 minutes at room temperature. After that, moisture from the cheesecake filling begins to soften the shells. For the best texture, fill and top the tacos just before serving.
- → Can I pipe the cheesecake filling?
-
Yes, transferring the cheesecake mousse to a piping bag fitted with a large star tip gives a clean, professional look. If you don't have a piping bag, a zip-top bag with the corner snipped off works just as well. Alternatively, you can simply spoon the filling into each shell.