 Save
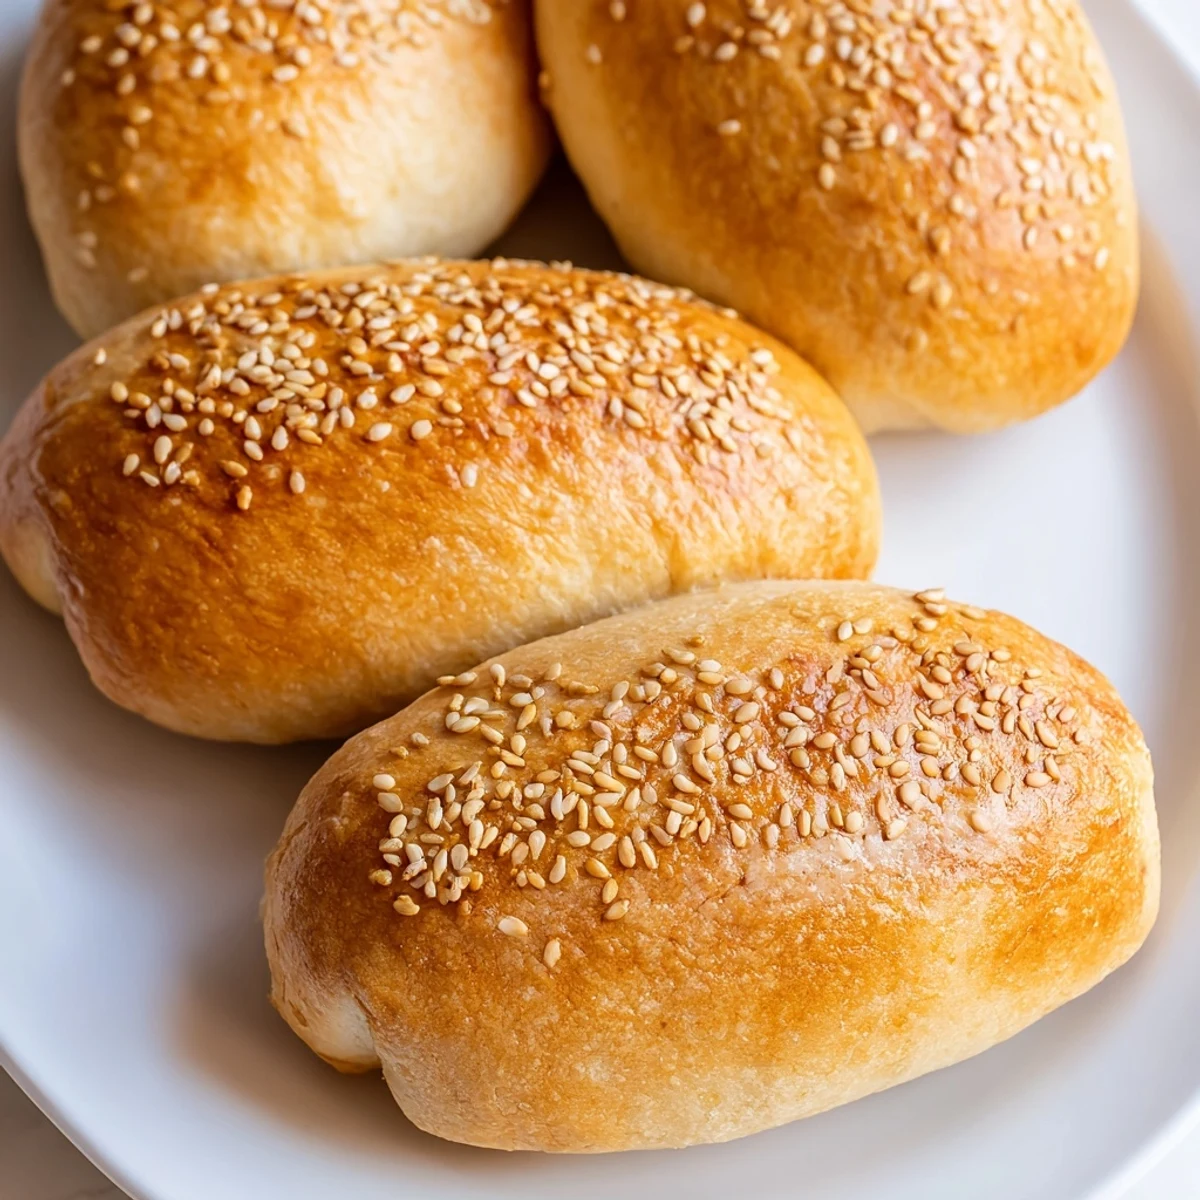
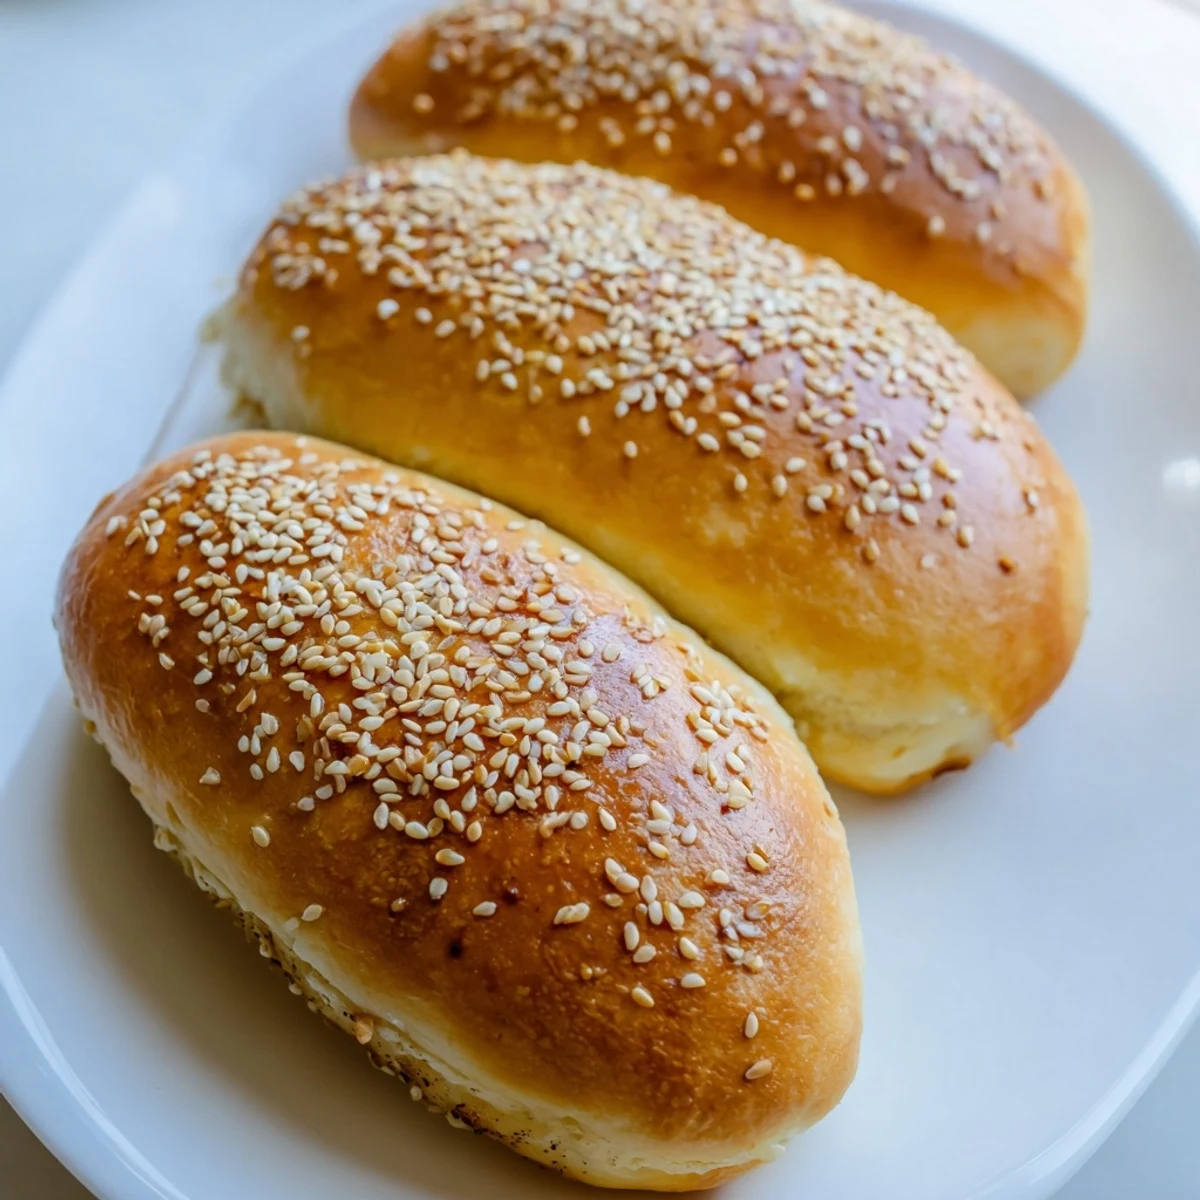
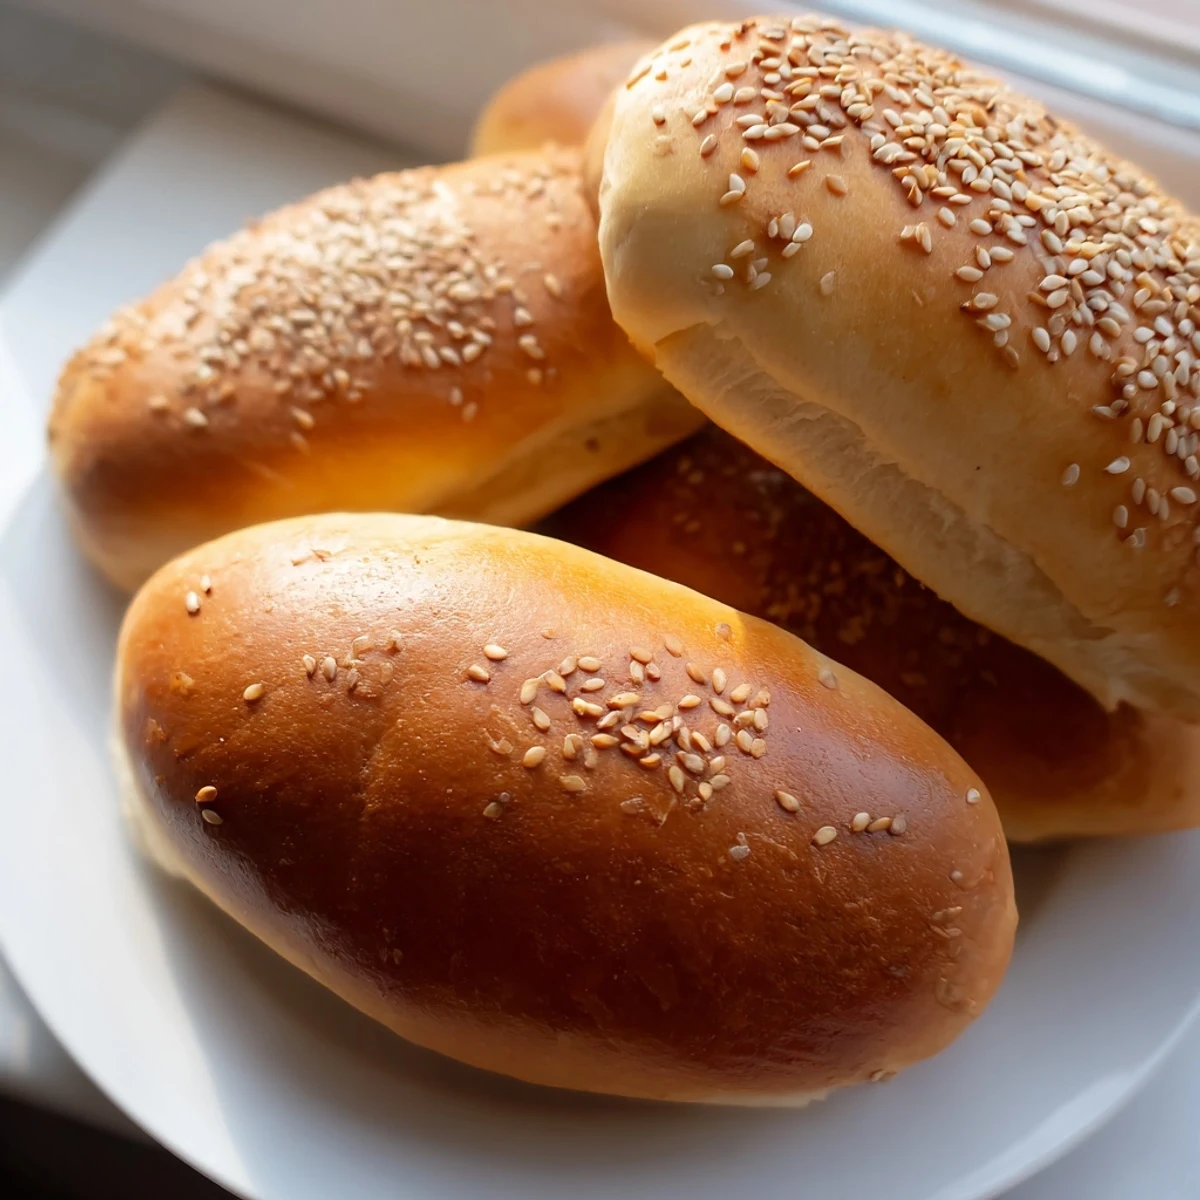
Save Transform your sourdough starter into pillowy, golden buns that elevate any cookout. These soft delights feature a subtle tangy depth, thanks to unfed starter, while the butter and egg create tender texture. Ready in under 3 hours with simple rising time, they bake into beautiful golden vessels perfect for your favorite franks or sausages.
The smell of these buns baking triggered something primal in my kitchen last weekend—my husband actually wandered in from the garage asking what bakery I had secretly visited. That subtle sourdough tang works magic with the sweetness, creating something that feels artisanal but comes together on a Tuesday afternoon without any special planning.
My first attempt at sourdough buns turned into dense hockey pucks because I could not stop adding flour, convinced the dough was too sticky. Now I understand that slight tackiness is exactly what creates the tender interior, and these buns have become the thing my kids actually request instead of store-bought rolls.
Ingredients
- Sourdough discard: Use unfed starter straight from your refrigerator, that 100 percent hydration ratio keeps the dough workable while contributing those subtle fermented notes
- Warm milk: Should feel like bath temperature, around 105 degrees Fahrenheit, anything hotter risks killing your yeast before it can work
- Unsalted butter: Melted and slightly cooled so it does not scramble the egg when you add everything together
- Sugar: Feeds the yeast and helps the buns develop that gorgeous golden brown crust in the oven
- Large egg: Adds richness and structure, creating a bun that can hold up to hearty toppings without falling apart
- Salt: Do not reduce this amount, it balances the sweetness and enhances all the other flavors
- All-purpose flour: Start with 3 and three quarter cups and only add more if absolutely necessary, environmental factors affect absorption
- Instant yeast: No proofing needed, it goes directly into the warm milk and gets to work immediately
- Milk for brushing: Creates that shiny, professional-looking finish and helps seeds adhere if you are using them
- Melted butter for finishing: This step is optional but makes such a difference in creating a soft, pillowy crust
- Sesame seeds: Classic topping that adds both visual appeal and a gentle nutty crunch
Instructions
- Wake up the yeast:
- Combine your warm milk and sugar in a large mixing bowl, then sprinkle in the instant yeast and give it about 5 minutes to wake up and get foamy
- Build the base:
- Stir in the sourdough discard, melted butter, egg, and salt until everything is incorporated
- Bring it together:
- Add flour gradually, starting with 3 cups and working up from there, mixing until you have a soft dough that pulls away from the sides but still feels slightly tacky
- Develop the gluten:
- Knead on a lightly floured surface for 7 to 8 minutes, the dough should smooth out and become elastic, bouncing back when you press it
- First rise:
- Place in a greased bowl, cover, and let rise until doubled, about 1 to 1.5 hours depending on how warm your kitchen is
- Shape the buns:
- Divide into 8 equal pieces and roll each into a 6 inch log, tuck the ends under for a smooth appearance
- Second rise:
- Arrange on a parchment-lined baking sheet with plenty of room between them, cover and let rise 30 to 45 minutes until puffy
- Heat things up:
- Preheat your oven to 375 degrees Fahrenheit while the buns complete their final rise
- Add the finishing touches:
- Brush with milk and sprinkle with seeds if you want that classic bakery look
- Bake to golden perfection:
- Bake 18 to 20 minutes until deeply golden on top, they should sound hollow when tapped
- The butter treatment:
- Brush immediately with melted butter while still hot, then cool completely before slicing
 Save
Save Last summer these became the star of our Fourth of July barbecue, my brother kept asking where I bought them and could not believe they came out of my home oven. Something about serving food you made from start to finish changes the whole energy of a gathering.
Making Them Dairy Free
I have made these successfully with oat milk and vegan butter for my sister-in-law, honestly most people could not tell the difference. The texture remains remarkably close to the original, just make sure your plant-based milk is unsweetened and at room temperature before mixing.
Freezing Instructions
Once completely cooled, these buns freeze exceptionally well for up to three months. I wrap each bun individually in plastic, then place them all in a freezer bag, thawing on the counter for about an hour before needing them.
Storage Tips
These buns stay fresh at room temperature for two days when stored in a plastic bag, though the texture is best on day one. For longer storage, slice and freeze, then toast directly from frozen.
- Place a paper towel inside the storage bag to absorb excess moisture
- Refresh day-old buns by warming them at 350 degrees for 5 minutes
- Never refrigerate bread, it stales much faster at cold temperatures
 Save
Save There is something deeply satisfying about pulling homemade buns out of the oven, knowing you have created something better than anything available at the store.
Recipe FAQs
- → Can I make these dairy-free?
-
Yes, substitute warm plant-based milk and vegan butter for the dairy ingredients. The texture remains equally pillowy and delicious.
- → What if my discard is thick?
-
Thick discard works beautifully. Simply add it directly—the warm milk and butter will hydrate it properly during mixing.
- → Can I freeze the shaped buns?
-
Absolutely. Shape the logs, freeze on a baking sheet, then transfer to a bag. Thaw in the refrigerator overnight before the final rise.
- → How do I know when they're fully baked?
-
Look for deep golden brown color and tap the bottoms—they should sound hollow. An instant thermometer should read 190°F internally.
- → Can I use active starter instead of discard?
-
Yes, active starter works perfectly. You might notice slightly faster rising times and a more pronounced tangy flavor in your finished buns.
- → Why brush with butter after baking?
-
The post-bake butter brush creates a softer, more tender crust while adding rich flavor. Skip if you prefer crunchier exterior texture.