Save
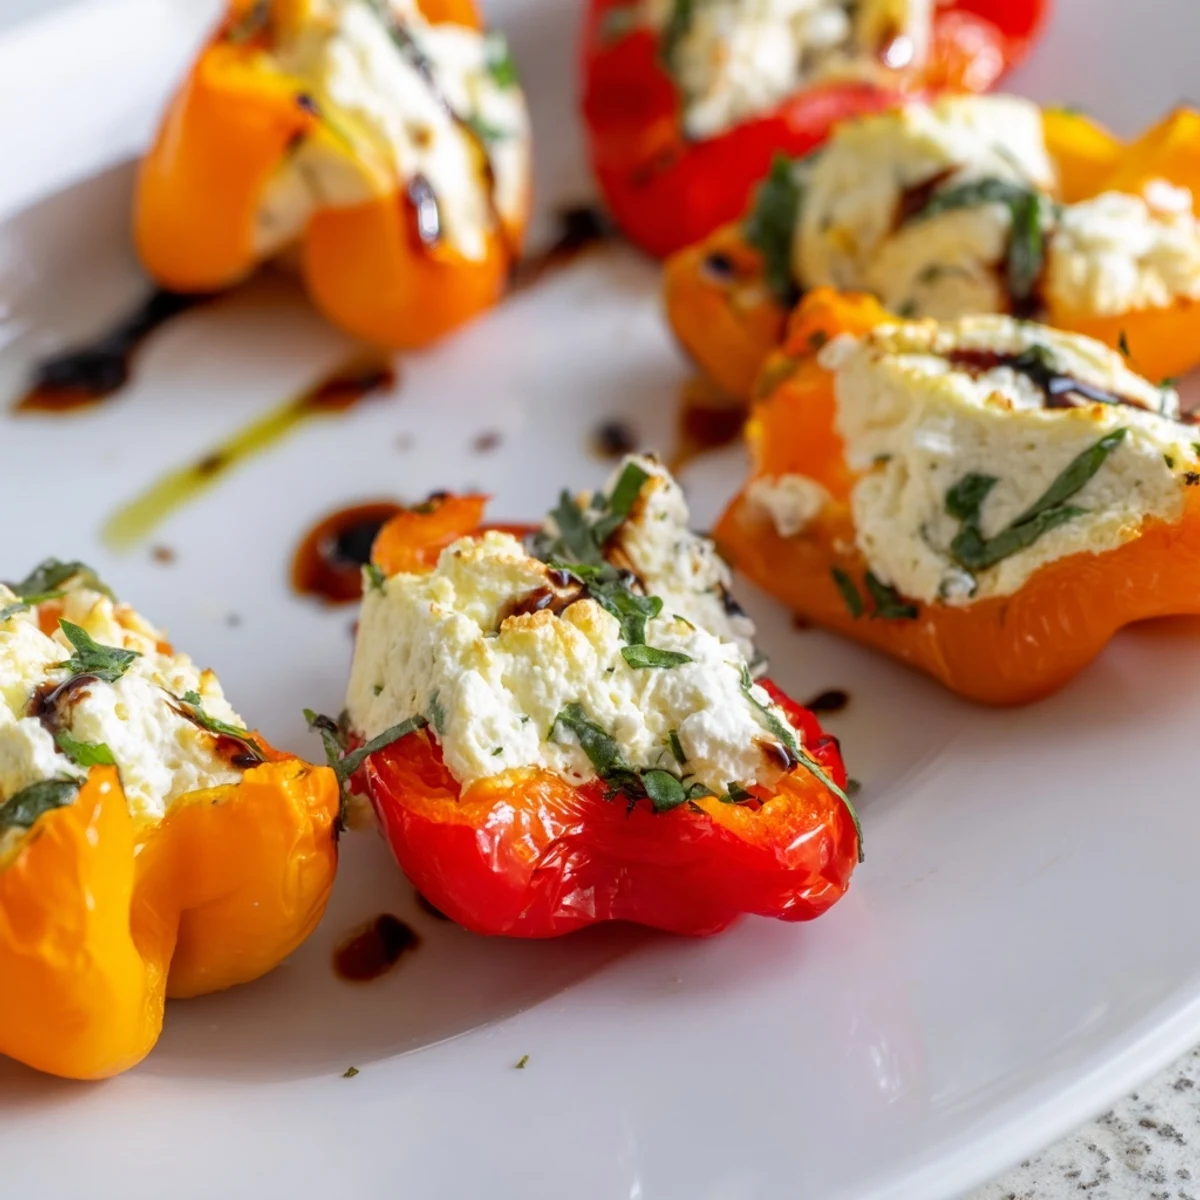
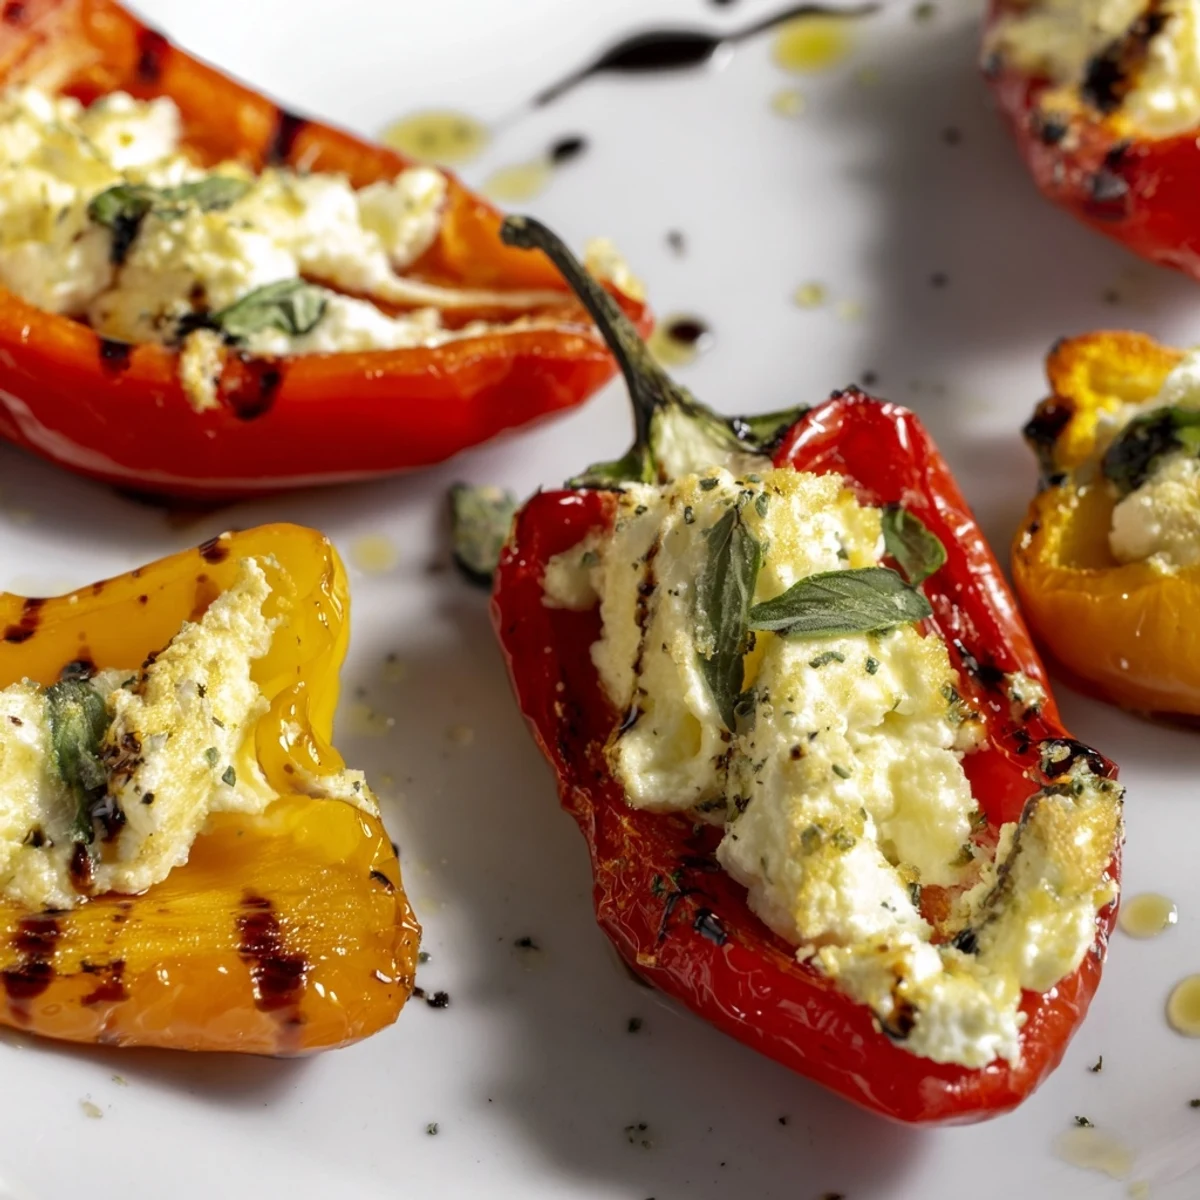
Save These vibrant mini peppers deliver a perfect balance of sweet and savory flavors. The sweet peppers are roasted until tender, then filled with a creamy goat cheese mixture blended with fresh chives, parsley, garlic, and lemon zest. The roasting process enhances the natural sweetness of the peppers while creating a slight char that adds depth to each bite.
Preparation is straightforward and takes just 15 minutes of active work. The cheese filling comes together quickly in a single bowl, and the peppers require only halving and seeding. After an initial roast to soften the peppers, they're stuffed and returned to the oven until the cheese becomes hot and slightly golden.
These stuffed peppers work beautifully as party appetizers, cocktail hour snacks, or light starters. The combination yields six generous servings, though they're likely to disappear quickly from any gathering. They can be served warm or at room temperature, making them ideal for entertaining.
The first time I made these stuffed peppers was for a last minute dinner party when my planned appetizer fell through. I raided the fridge and found a bag of mini peppers I had forgotten about. They became such a hit that my friends started requesting them for every gathering. Now I keep goat cheese stocked specifically for these moments.
My sister in law actually taught me the trick of roasting the peppers before stuffing them. She said it prevents the peppers from getting watery and concentrates their natural sweetness. After trying it both ways I have to agree, the texture difference is remarkable.
Ingredients
- Mini sweet peppers: These smaller peppers have thinner walls and sweeter flavor than regular bell peppers
- Fresh goat cheese: Room temperature cheese blends much smoother than cold
- Cream cheese: This adds body and helps the filling hold its shape
- Fresh chives and parsley: Do not substitute dried herbs here, fresh makes all the difference
- Garlic: Mince this finely so you do not hit large chunks while eating
- Lemon zest: Use a microplane to get just the yellow part, none of the bitter white pith
- Olive oil: A good quality extra virgin adds another layer of flavor
- Balsamic glaze: This optional drizzle adds a beautiful finish and tangy contrast
Instructions
- Preheat and Prep:
- Set your oven to 200°C (400°F) and line a baking sheet with parchment paper for easy cleanup
- Prepare the Peppers:
- Slice the peppers in half lengthwise and remove the seeds and membranes, then arrange them cut side up
- First Roast:
- Drizzle with 1 tablespoon olive oil and roast for 10 minutes until they start softening
- Make the Filling:
- Blend all cheese mixture ingredients until completely smooth
- Stuff and Roast Again:
- Fill each pepper generously and return to the oven for 10 more minutes until golden
 Save
Save Last summer I brought these to a neighborhood potluck and watched them disappear in minutes. The host asked for the recipe before she even finished her first pepper. Something about the colorful presentation makes people gravitate toward them immediately.
Make Ahead Magic
You can prepare the cheese filling up to two days in advance and store it in an airtight container. The peppers roast best the day of serving but can be sliced and kept ready in the refrigerator. This two stage approach makes party prep so much less stressful.
Serving Suggestions
These peppers pair beautifully with a crisp white wine like Sauvignon Blanc or a light Pinot Grigio. I have also served them alongside a simple arugula salad for a light lunch. For a cocktail party arrange them on a wooden board with some crusty bread to soak up any escaped cheese.
Flavor Variations
Sometimes I add a pinch of smoked paprika to the cheese filling for a subtle smoky note. During winter a little bit of finely chopped fresh rosemary instead of parsley works wonderfully. The basic recipe is quite forgiving and welcomes experimentation.
- Add chopped sun dried tomatoes to the filling for extra depth
- Try honey instead of balsamic for a sweeter finish
- Top each pepper with a tiny pine nut before the final roast
 Save
Save These little peppers have become my go to for everything from casual weeknight snacks to elegant dinner parties. Hope they become a favorite in your kitchen too.
Recipe FAQs
- → Can I prepare these stuffed peppers ahead of time?
-
Yes, you can prepare the cheese filling up to 24 hours in advance and store it refrigerated. The peppers can be roasted and stuffed several hours before serving, then kept at room temperature. Reheat briefly before serving if preferred warm.
- → What can I use instead of goat cheese?
-
Cream cheese, ricotta, or feta make excellent alternatives. For a dairy-free version, try vegan cream cheese or cashew cheese. The texture and flavor profile will change slightly but remain delicious.
- → How do I store leftovers?
-
Store cooled stuffed peppers in an airtight container in the refrigerator for up to 3 days. Reheat in a 180°C (350°F) oven for 10 minutes or serve at room temperature. Avoid freezing as the texture becomes watery.
- → Can I use regular bell peppers instead?
-
Yes, slice regular bell peppers into quarters or strips. Adjust roasting time to 15-20 minutes initially since larger pieces take longer to soften. The flavor will be less sweet than mini peppers.
- → What herbs work best in the filling?
-
Fresh chives and parsley provide classic Mediterranean flavor. You can also try thyme, oregano, basil, or dill. Use about 2 tablespoons total fresh herbs, or 1 tablespoon dried herbs combined.
- → Do I need to remove the cheese mixture before the second roast?
-
No, the cheese filling stays in the peppers during the second roasting phase. This heats the cheese through and creates a lightly golden top. The 10-minute second roast is just right without overcooking the peppers.