 Save
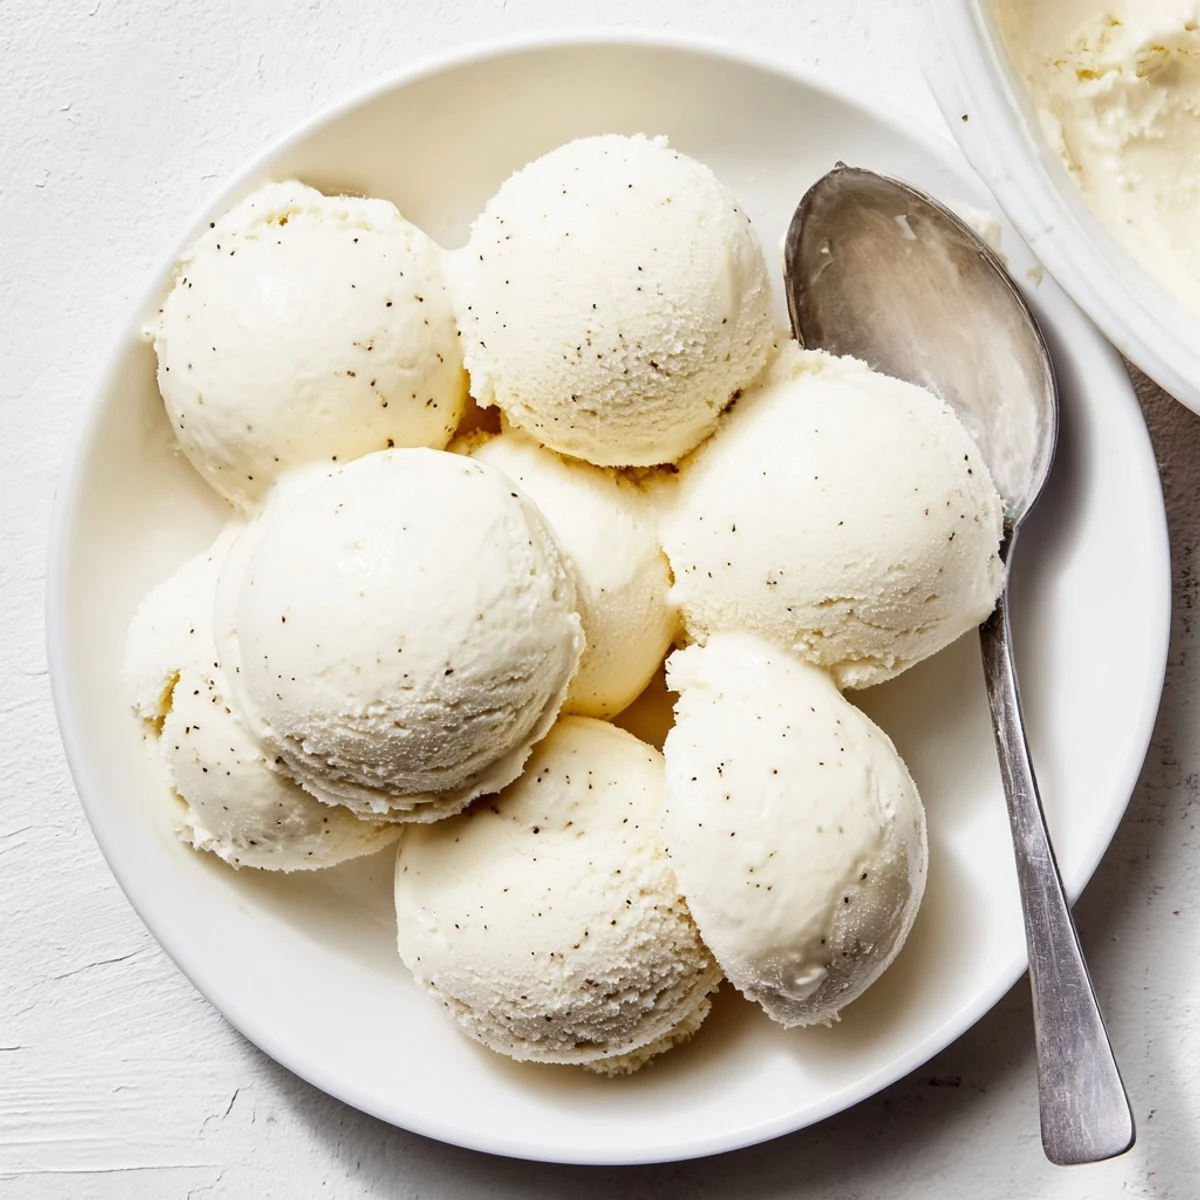
Save Create a luxurious frozen dessert using heavy cream, whole milk, and pure vanilla extract. This classic custard-based method produces incredibly smooth results through proper tempering of egg yolks and careful temperature control.
The process involves heating the dairy mixture, gradually combining it with whisked yolks, then cooking until thickened. After straining and chilling for at least 4 hours, churn until thick and creamy before freezing for 2 hours.
Customize with chocolate chips, fresh fruit, or swirls of caramel and fudge. For dairy-free alternatives, coconut milk works beautifully as a substitute.
The screen door slapped shut behind me and the July air hit like a wall, thick and damp enough to taste. My grandmother stood at the stove stirring something that smelled like warm sweetness and promise, a wooden spoon moving in slow circles through pale golden liquid. She turned around, caught me hovering, and said you might as well learn to do this right. That afternoon she taught me custard, patience, and the quiet joy of making something from nothing but cream, sugar, and eggs.
Years later I made a batch for a Fourth of July cookout, pulling the container from the freezer with more pride than was probably reasonable for dessert. My brother in law ate three bowls and refused to share with his own children, which remains the highest compliment I have ever received.
Ingredients
- Heavy cream (2 cups): The fat is what gives ice cream its silky body, so do not even think about substituting half and half here.
- Whole milk (1 cup): Balances the richness of the cream without making the base too dense to churn properly.
- Granulated sugar (3/4 cup): Dissolves into the warm base easily and provides the right level of sweetness without overwhelming the vanilla.
- Salt (pinch): A small amount makes every other flavor pop and prevents the ice cream from tasting flat.
- Pure vanilla extract (1 tablespoon): Use the real stuff, not imitation, because vanilla is the star here and corners will show.
- Large egg yolks (5): These create the custard foundation that gives the finished ice cream its creamy, scoopable texture.
Instructions
- Warm the base:
- Combine the cream, milk, sugar, and salt in a saucepan over medium heat, stirring gently until the sugar dissolves and the mixture is steaming hot but not boiling. You want tiny bubbles forming at the edges, not a rolling foam.
- Prep the yolks:
- Whisk the egg yolks lightly in a medium bowl just until they loosen up and the color becomes uniform. You are not trying to incorporate air, just break them down enough to blend smoothly.
- Temper the eggs:
- Slowly pour about one cup of the hot cream mixture into the yolks while whisking constantly and with confidence. This is the moment where patience prevents scrambled eggs, so pour in a thin steady stream and do not rush.
- Cook the custard:
- Pour the tempered yolk mixture back into the saucepan and stir continuously over medium low heat until the custard thickens slightly and coats the back of a spoon. Run your finger through the coating on the spoon and if the line holds, you are done.
- Add vanilla and strain:
- Remove from heat, stir in the vanilla extract, then pour the custard through a fine mesh sieve into a clean bowl. The straining catches any tiny cooked bits and guarantees a perfectly smooth base.
- Chill thoroughly:
- Let the custard cool to room temperature, then cover the surface directly with plastic wrap to prevent a skin from forming and refrigerate for at least four hours or overnight. The colder the base, the smoother the churn.
- Churn it up:
- Pour the chilled custard into your ice cream maker and churn according to the manufacturer instructions until it reaches a thick soft serve consistency. This usually takes twenty to twenty five minutes depending on your machine.
- Freeze to finish:
- Transfer the churned ice cream to a freezer safe container, press a piece of parchment against the surface, cover tightly, and freeze for at least two hours. This final freeze firms everything up into proper scoopable ice cream.
 Save
Save The best batch I ever made was eaten sitting on a porch step at midnight with two friends who had helped paint a kitchen all day, each of us with a single spoon and the container passed between us like a secret.
Tools That Actually Matter
You need a heavy bottomed saucepan for even heat distribution and a reliable whisk because the stirring is nonstop during the custard stage. A fine mesh sieve is non negotiable for that perfectly smooth texture, and any ice cream maker worth having will do the job as long as the bowl has been frozen solid for at least twenty four hours beforehand.
Fun Ways to Change It Up
Fold in a handful of chocolate chips or toasted pecans during the last minute of churning for instant indulgence. Swirl in warm caramel or fudge sauce after churning by layering it gently through the ice cream in the storage container. For a fruit version, macerate sliced strawberries or peaches in a spoonful of sugar and fold them in cold so they do not turn the base icy.
Storing and Serving
Homemade ice cream is best eaten within one week because it does not contain the stabilizers that keep commercial brands smooth for months. Let it sit at room temperature for five minutes before scooping so you do not bend your spoon or tear the ice cream.
- Press parchment paper directly against the surface before sealing to prevent ice crystals from forming.
- A shallow wide container freezes more evenly than a tall deep one.
- Always return the ice cream to the freezer immediately after serving to maintain texture.
 Save
Save There is something quietly powerful about making ice cream from scratch, the way a few humble ingredients become something people close their eyes to taste. Every batch is a small act of care worth savoring.
Recipe FAQs
- → How long does it take to make this frozen dessert?
-
Preparation takes about 20 minutes, with 10 minutes of active cooking time. The total process requires approximately 6 hours, including the essential 4-hour chilling period and 2 hours of freezing time.
- → Can I make this without an ice cream maker?
-
While an ice cream maker produces the smoothest texture, you can freeze the mixture in a shallow container, stirring every 30 minutes for the first 3 hours to break up ice crystals. The texture will be slightly denser but still delicious.
- → What's the purpose of tempering the egg yolks?
-
Tempering gradually warms the yolks to prevent scrambling when combined with hot dairy. This step ensures a silky, smooth custard base that's essential for creamy texture and proper structure.
- → How should I store leftovers?
-
Keep in an airtight, freezer-safe container for up to 2 weeks. Place a piece of parchment paper directly on the surface before sealing to prevent ice crystal formation. Let soften 5-10 minutes before serving.
- → What causes ice crystals to form?
-
Ice crystals develop when water content freezes too quickly. Proper chilling time before churning, using full-fat dairy, and minimizing temperature fluctuations during storage all help prevent crystallization.