 Save
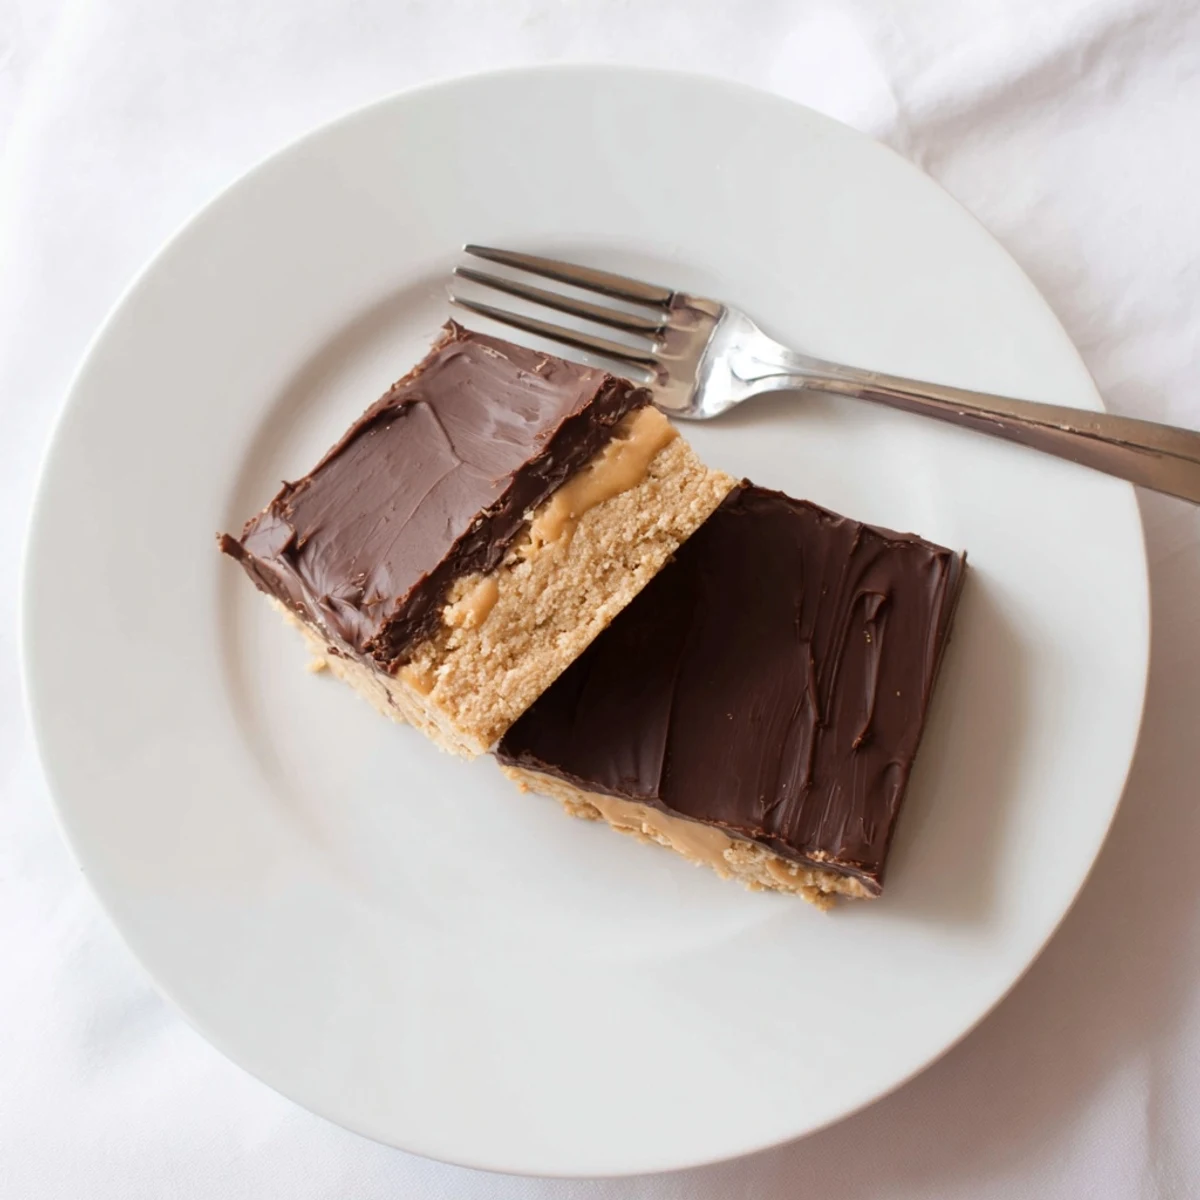
Save These indulgent bars start with a buttery peanut butter and graham cracker base, pressed into a pan and topped with melted chocolate chips mixed with extra peanut butter for a silky finish. The entire assembly takes just 15 minutes of active prep time before chilling sets the layers into firm, sliceable squares. The combination of smooth peanut butter, sweet powdered sugar, and crisp graham crumbs creates a dense, cookie-like foundation that perfectly balances the rich chocolate ganache topping. Keep these refrigerated for the best texture—the cold enhances the creamy peanut butter filling while keeping the chocolate layer snappy and intact.
The oven stayed off all afternoon and nobody complained once. These peanut butter bars have a way of making the whole kitchen smell like a candy shop without ever turning on a single burner, which is exactly the kind of magic a humid July afternoon demands. I stumbled onto this recipe during a blackout, armed with nothing but a bowl and a spoon, and by the time the power returned nobody cared anymore because the pan was already half gone.
My neighbor Carla knocked on the door last September holding a plate of these, and I immediately demanded the recipe with zero shame. She laughed and said even her twelve year old had made them successfully, which honestly made me feel even better about burning my first batch of brownies that same week.
Ingredients
- 1 cup creamy peanut butter: Use the standard commercial kind here, not the natural stir variety, because the stabilizers help the bars set firmly and slice cleanly.
- 1/2 cup unsalted butter, melted: Let it cool slightly after melting so it does not scramble the texture when mixed with the peanut butter.
- 2 cups powdered sugar, sifted: Sifting is nonnegotiable unless you enjoy finding tiny white lumps in an otherwise silky base.
- 1 1/2 cups graham cracker crumbs: Pulse whole crackers in a bag if you cannot find pre crushed ones, and do not obsess over perfect uniformity.
- 1 1/2 cups semisweet chocolate chips: Semisweet gives you that classic candy bar snap without being cloying.
- 1/4 cup creamy peanut butter for topping: This extra bit stirred into the chocolate keeps it from cracking when you cut the bars later.
Instructions
- Line the pan:
- Tear a sheet of parchment paper large enough to press into a 9 by 9 inch baking dish with edges hanging over two sides like handles, because those handles will save you later.
- Build the base:
- Stir the melted butter and one cup of peanut butter together until they become one glossy, golden mass, then dump in the powdered sugar and graham crumbs all at once and mix until the dough clumps together like wet sand.
- Press it down:
- Transfer the thick dough into the prepared dish and use the back of a spoon or your palms to press it into an even, tightly packed layer that reaches every corner.
- Melt the topping:
- Combine the chocolate chips and remaining quarter cup of peanut butter in a microwave safe bowl, heating in twenty second bursts and stirring between each until the mixture flows like silk.
- Pour and spread:
- Pour the chocolate over the pressed base and gently tilt the dish so the topping blankets the entire surface without needing aggressive spreading.
- Chill until firm:
- Slide the dish into the refrigerator for at least two hours, resisting the urge to peek and poke, because patience here means clean edges later.
- Cut and serve:
- Grab the parchment overhang to lift the whole slab out, then slice into sixteen squares with a sharp knife dipped in hot water and wiped dry between cuts.
 Save
Save The night my younger cousin silently ate four bars in a row during a family movie, then looked up with chocolate smeared across his cheek and declared them better than any store bought candy, was the moment I knew this recipe had earned a permanent spot in my folder.
Making Them Your Own
Chunky peanut butter adds a welcome crunch that surprises people expecting smoothness, and a handful of chopped roasted peanuts folded into the base takes that texture even further. A friend of mine swaps graham crumbs for crushed pretzels and swears the salt hike changes everything. I have also pressed a layer of raspberry jam between the base and the chocolate when feeling ambitious, and the tartness cuts through the richness beautifully.
Storage That Actually Works
Stack the bars between sheets of parchment inside an airtight container and they keep beautifully in the refrigerator for up to a week. They also freeze surprisingly well for up to three months if you wrap each square individually so they do not stick together. Thaw them in the fridge overnight rather than on the counter to avoid condensation making the chocolate look cloudy.
Troubleshooting Common Hiccups
Most problems with these bars trace back to one of three things, and none of them require starting over.
- If the base feels crumbly and will not hold together, knead in another tablespoon of melted butter until it cooperates.
- If the chocolate layer separates or looks streaky, stir in a teaspoon of neutral oil and gently reheat for ten seconds.
- If the bars weep condensation after refrigeration, pat the surface dry with a paper towel before slicing and serve immediately.
 Save
Save Keep the recipe close because someone will always ask for it, and honestly that is the highest compliment a pan of no bake bars can receive.
Recipe FAQs
- → Do these need to be refrigerated?
-
Yes, these bars must be refrigerated for at least 2 hours to firm up before cutting. The cold sets the chocolate layer and gives the peanut butter filling its structure. Store leftovers in the refrigerator in an airtight container for up to one week.
- → Can I use natural peanut butter?
-
Natural peanut butter can work, but the results may be softer and less stable due to the oil separation. For the best texture, use creamy commercial peanut butter like Jif or Skippy. If using natural, stir thoroughly and consider adding 2-3 tablespoons more powdered sugar to help bind the base layer.
- → What's the best way to cut clean squares?
-
For clean cuts, let the bars sit at room temperature for 5-10 minutes before slicing. Use a sharp knife warmed under hot water and wiped dry between cuts. Lift the entire block from the pan using the parchment paper overhang, then cut on a cutting board for easier handling.
- → Can I make these ahead of time?
-
Absolutely—these bars actually improve after a day or two in the refrigerator as the flavors meld together. You can make them up to 5 days in advance. The chocolate may lose some shine over time but the texture remains perfect. For longer storage, wrap tightly and freeze for up to 3 months.
- → What can I substitute for graham cracker crumbs?
-
Digestive biscuits, vanilla wafers, or even crushed Oreos work well as substitutes. For a gluten-free version, use certified gluten-free graham-style crackers or crushed vanilla sandwich cookies. Each option will slightly alter the flavor profile but maintains the necessary crumb structure for the base layer.
- → Why add peanut butter to the chocolate topping?
-
The peanut butter in the chocolate layer creates a glossy, fudge-like ganache that sets firmly without becoming brittle. It also enhances the peanut butter flavor throughout the bars and helps the chocolate adhere smoothly to the base layer when cutting. The combination yields a creamy, melt-in-your-mouth texture.