 Save
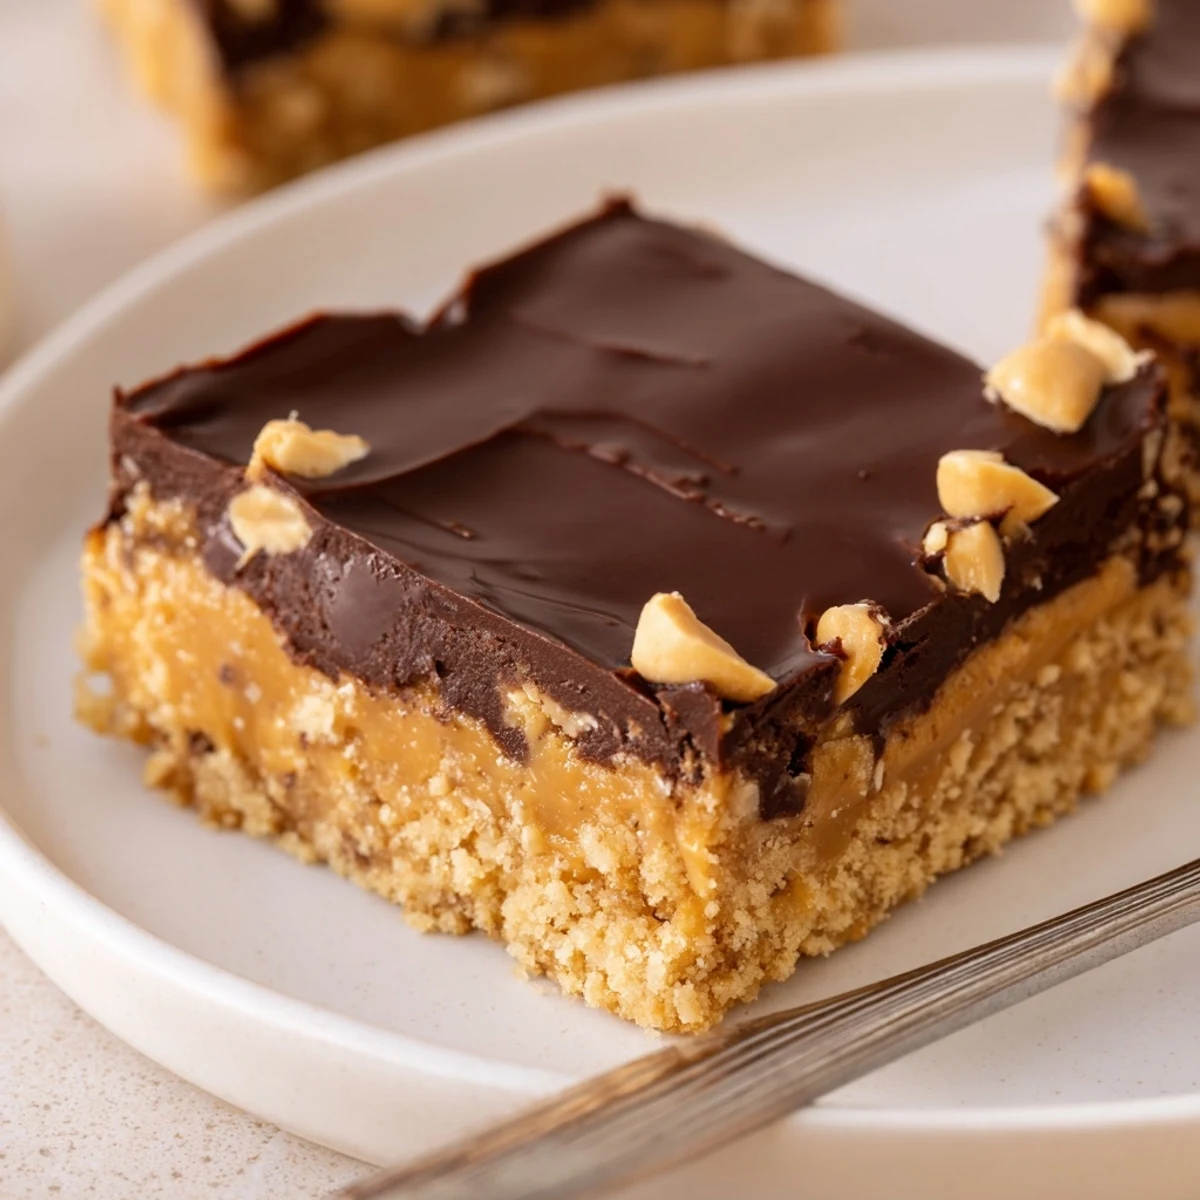
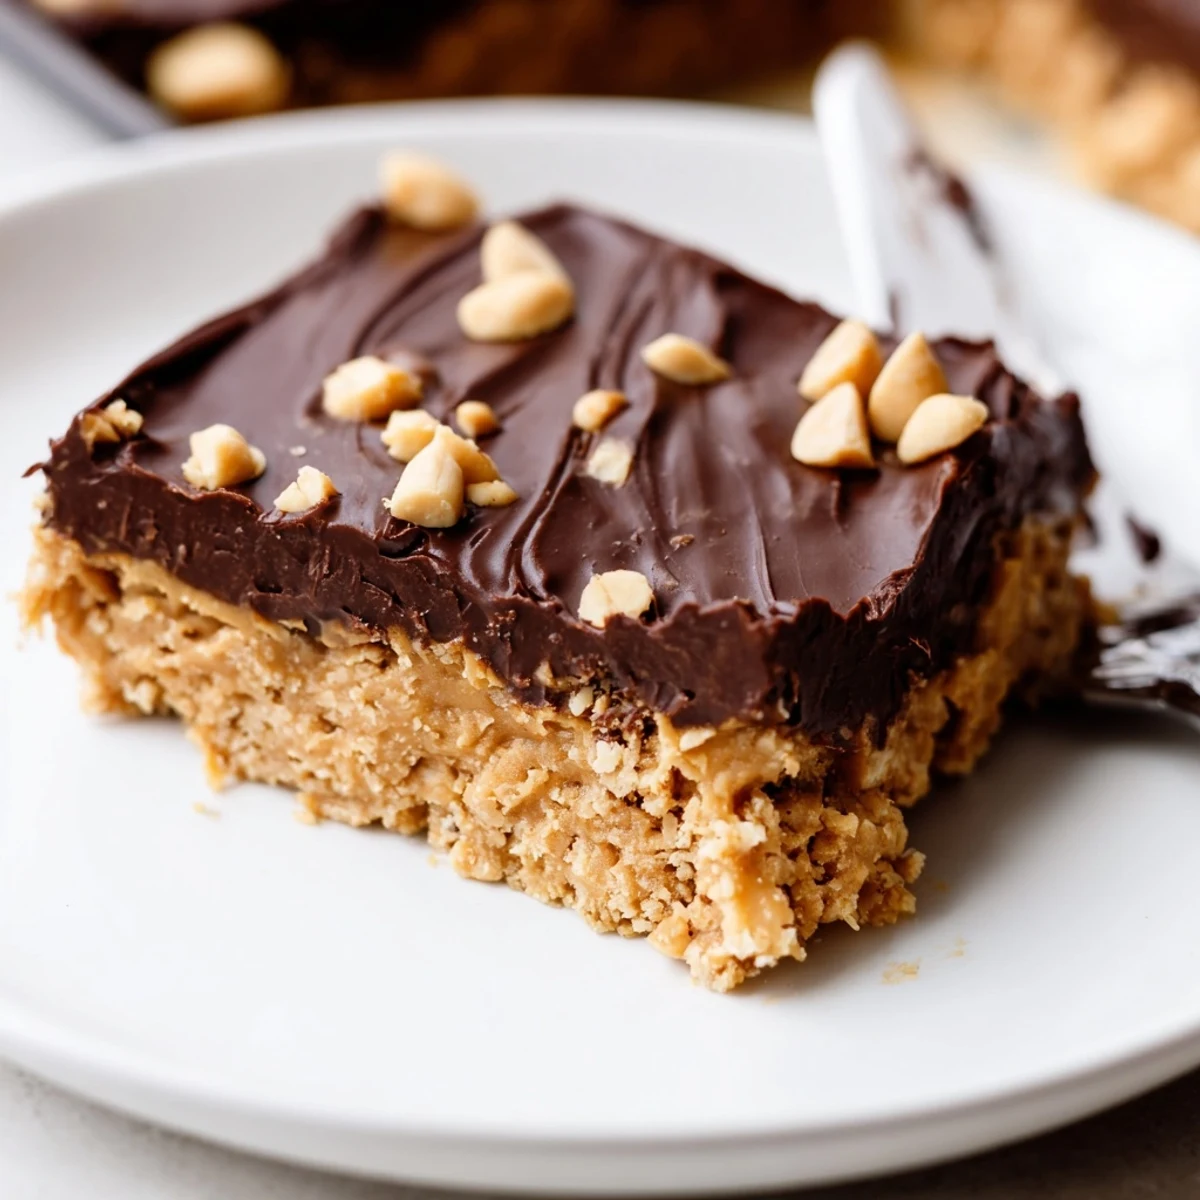
Save These chewy peanut butter bars begin with creamy peanut butter and melted butter combined with graham cracker crumbs and powdered sugar, pressed into a pan for a firm, sliceable base. A melted chocolate-and-peanut-butter topping is spread over the chilled layer, then refrigerated until fully set. Optional chopped roasted peanuts add crunch; digestive biscuits can replace graham crackers. Store chilled or freeze for longer keeping.
The smell of peanut butter and chocolate hit me before I even opened the fridge, and I knew right then these bars were going to be a problem. I had volunteered to bring dessert to a potluck, waited until the last possible hour, and panicked into this no bake solution. Two hours of chilling felt like torture, but the result was a thick, fudgy slab that disappeared faster than anything I had ever brought to a gathering. Now it is the only thing people ask me to make.
My neighbor stopped by once while I was pressing the peanut butter mixture into the pan and ended up standing in the kitchen eating warm scraps off the spatula for ten minutes.
Ingredients
- 1 cup (240 g) creamy peanut butter: Use a brand you would eat straight from the jar because that flavor is the backbone of the entire recipe.
- 1/2 cup (115 g) unsalted butter, melted: Melt it fully but let it cool slightly so it does not melt the sugar when you mix.
- 2 cups (200 g) graham cracker crumbs: Pulse whole crackers in a bag or food processor until fine, uneven crumbs make the texture grainy.
- 2 cups (240 g) powdered sugar: Sift it if it has been sitting in the pantry a while, lumps will ruin the silkiness of the base.
- 1 1/2 cups (270 g) semi sweet chocolate chips: A good quality chip melts smoother and sets with a nicer snap than bargain brands.
- 1/4 cup (60 g) creamy peanut butter: This goes into the chocolate topping and keeps it from cracking when you cut the bars.
Instructions
- Prep the pan:
- Line your 9x13 inch dish with parchment paper, leaving enough hanging over the edges to lift the whole slab out later like a handle.
- Blend the base wet ingredients:
- Stir the peanut butter and melted butter together in a large bowl until you get a glossy, uniform mixture that looks like liquid gold.
- Add the dry ingredients:
- Pour in the graham cracker crumbs and powdered sugar, then stir until every last bit is coated and the mixture feels like thick, moldable dough.
- Press into the dish:
- Use your hands or the back of a spatula to press the mixture firmly and evenly into every corner, packing it tight so the bars hold their shape.
- Melt the chocolate topping:
- Combine the chocolate chips and remaining peanut butter in a microwave safe bowl, heat in 30 second bursts, and stir between each until perfectly smooth and pourable.
- Spread and chill:
- Pour the melted chocolate over the base and spread it edge to edge with a spatula, then refrigerate for at least two full hours until completely set.
- Cut and serve:
- Lift the entire block out using the parchment paper, set it on a cutting board, and slice into 16 even bars with a sharp knife.
 Save
Save The first time I brought these to a friend's barbecue, three people asked for the recipe before the tray even made it to the dessert table.
Variations Worth Trying
Fold half a cup of chopped roasted peanuts into the base if you want a crunch that surprises people in the best way. You can also swap the graham crackers for digestive biscuits, which lend a slightly deeper, maltier flavor. A friend of mine drizzles white chocolate over the top before chilling and swears it makes them bakery quality.
Storage That Actually Works
These bars keep beautifully in the fridge for up to a week, tightly covered, and the cold actually improves the texture. I have frozen them for three months with no loss in flavor, just layer them between sheets of parchment in an airtight container so they do not stick together. Let frozen bars thaw in the fridge overnight rather than on the counter to keep the chocolate from blooming.
Allergens and Swaps
This recipe contains peanuts, dairy, wheat, and possibly soy depending on your chocolate chips, so always check labels if you are serving a crowd. For a gluten free version, use certified gluten free graham crackers or crushed gluten free cookies in the same quantity.
- Coconut oil can replace the butter if you need a dairy free option, though the flavor shifts slightly.
- Almond butter works instead of peanut butter for the base, but the flavor profile changes dramatically.
- Always label these clearly when bringing them to events since peanut allergies are serious and sometimes invisible.
 Save
Save Some recipes earn a permanent spot in your rotation because they ask almost nothing of you and give everything back. These bars did that for me, and I suspect they will do the same for you.
Recipe FAQs
- → Can I make the base firmer or softer?
-
Adjust the powdered sugar and graham crumb ratio: more powdered sugar firms the base, while slightly more peanut butter yields a softer, chewier texture. Press firmly into the pan for a compact foundation.
- → What's the best way to melt the chocolate topping?
-
Warm chocolate chips and peanut butter in 30-second microwave intervals, stirring between each until smooth. Alternatively, use a double boiler over low heat to avoid scorching and keep the mixture glossy.
- → How do I add crunch without changing texture?
-
Fold in 1/2 cup chopped roasted peanuts into the base mixture before pressing it into the pan. This preserves the chewy interior while introducing a crunchy contrast in every bite.
- → Can I substitute the graham crackers?
-
Yes—digestive biscuits or finely crushed shortbread work well. Choose a slightly drier crumb if you want a firmer base, and adjust the peanut butter slightly to achieve the desired consistency.
- → How long do the bars keep and how should I store them?
-
Store the bars in the refrigerator for up to one week in an airtight container. For longer storage, freeze for up to three months; thaw in the fridge before serving to maintain texture.
- → Any tips for cleanly slicing the bars?
-
Lift the chilled block from the pan using the parchment paper, chill until very firm, then use a sharp knife warmed under hot water and dried between cuts for smooth, tidy slices.