 Save
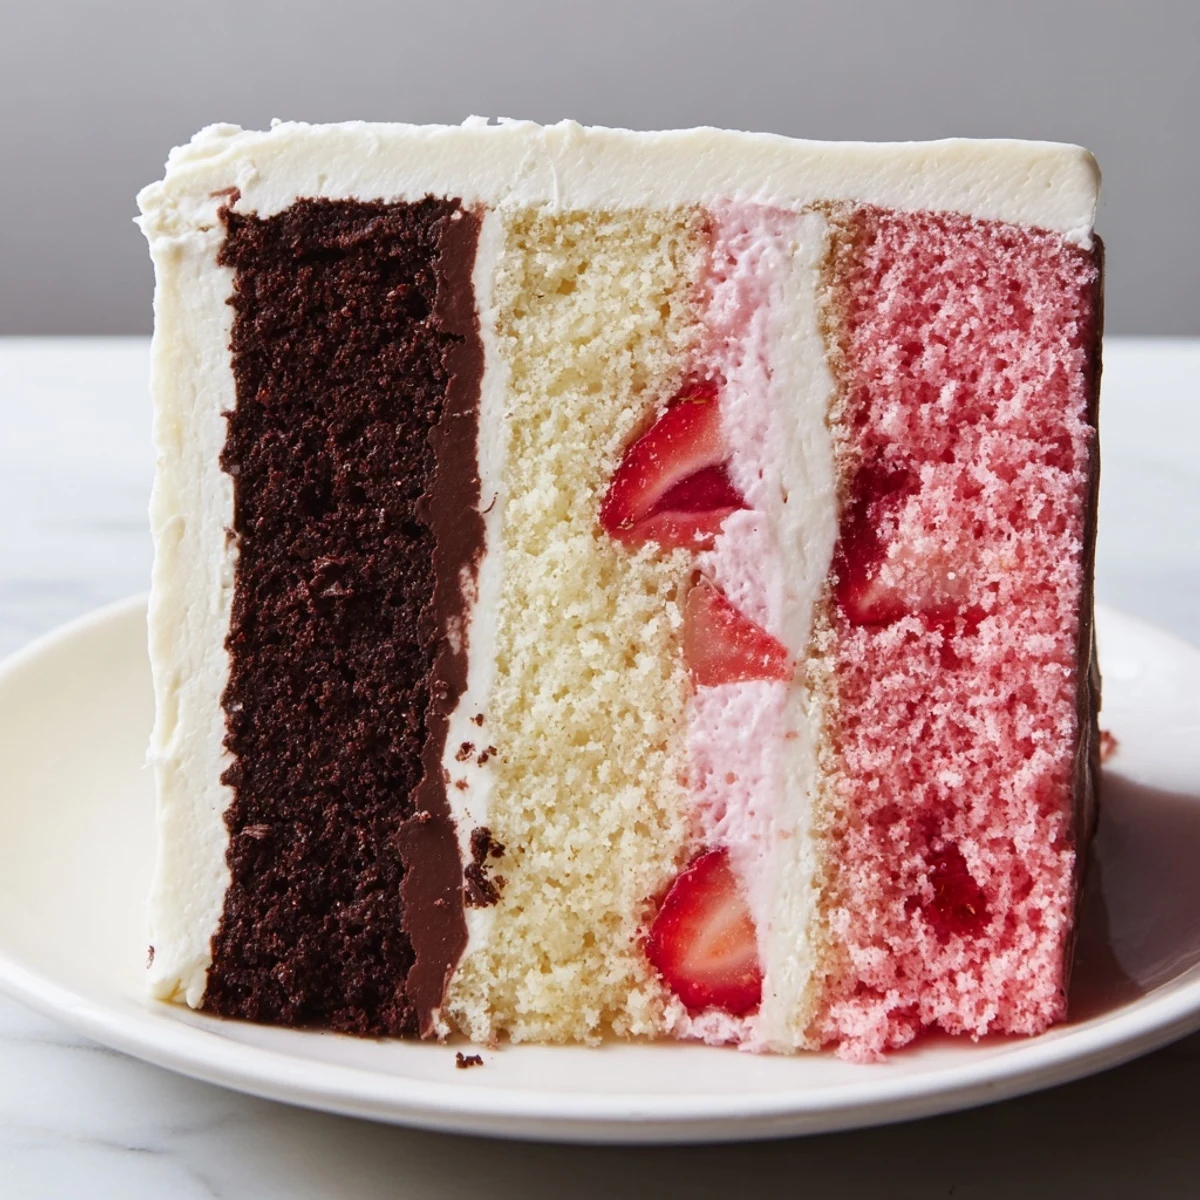
Save This stunning dessert features three distinct layers of chocolate, vanilla, and strawberry cake, each baked separately then assembled with creamy buttercream frosting. The result captures the classic Neapolitan ice cream combination in cake form, creating both visual appeal and complementary flavors.
Preparation involves dividing a single butter cake batter into three portions, flavoring each separately with cocoa powder, fresh strawberries or puree, and pure vanilla extract. The layers bake simultaneously, then cool completely before assembly.
The buttercream frosting provides a rich, creamy finish that ties all three flavors together. For the cleanest presentation, chill the assembled cake before slicing. This dessert serves 12 generously, making it ideal for birthdays, holidays, and special gatherings where presentation matters.
The first time I attempted a Neapolitan cake, I stood in my kitchen staring at three bowls of different colored batter, feeling like a mad scientist. My daughter had requested it for her birthday, and I was determined to capture those classic ice cream flavors in cake form. When I pulled those three layers from the oven, something magical happened—the whole house smelled like chocolate, vanilla, and strawberry all at once.
I made this cake again for a summer potluck last year, and watching peoples faces as I cut into it was priceless. Someone actually gasped when they saw the three colors revealed. The best part was that it tasted even better than it looked—moist, balanced, and not overly sweet like some frosted cakes can be.
Ingredients
- All-purpose flour: The backbone of your cake layers, providing structure without being too dense
- Unsalted butter: Room temperature butter is nonnegotiable for proper aeration and tender crumb
- Granulated sugar: Sweetens and helps create that tender, fine texture we want
- Large eggs: Bind everything together and add richness—bring them to room temperature too
- Whole milk: Adds moisture and fat for a tender cake that doesnt dry out
- Unsweetened cocoa powder: Gives the chocolate layer its intense, deep flavor without making it heavy
- Fresh strawberries: The real fruit pieces create pockets of authentic strawberry flavor throughout that layer
- Powdered sugar: Sift it first to prevent lumps in your silky buttercream frosting
Instructions
- Prep your pans and oven:
- Preheat to 350°F and line three 8inch round pans with parchment—grease the sides thoroughly so nothing sticks.
- Whisk the dry ingredients:
- Combine flour, baking powder, baking soda, and salt in a medium bowl, then set it aside.
- Cream butter and sugar:
- Beat them together until the mixture is pale and fluffy, about 3 to 4 minutes.
- Add the eggs and vanilla:
- Beat in eggs one at a time, then stir in the vanilla until everything is incorporated.
- Build the base batter:
- Alternate adding the flour mixture and milk, starting and ending with the flour—mix only until just combined.
- Create the chocolate layer:
- Mix cocoa powder with 3 tablespoons milk until smooth, then fold gently into one third of the batter.
- Mix the strawberry layer:
- Fold chopped strawberries, strawberry extract, and food coloring into the second third of batter.
- Prepare the vanilla layer:
- Leave the final portion plain—this is your classic vanilla canvas.
- Bake all three layers:
- Smooth each batter into its prepared pan and bake for 25 to 30 minutes until a toothpick comes out clean.
- Cool completely:
- Let them rest in pans for 10 minutes, then move to a wire rack until completely cool.
- Make the buttercream:
- Beat butter until creamy, then gradually add sifted powdered sugar, vanilla, cream, and salt until fluffy.
- Assemble the cake:
- Stack chocolate, strawberry, and vanilla layers with buttercream between each, then frost the outside.
 Save
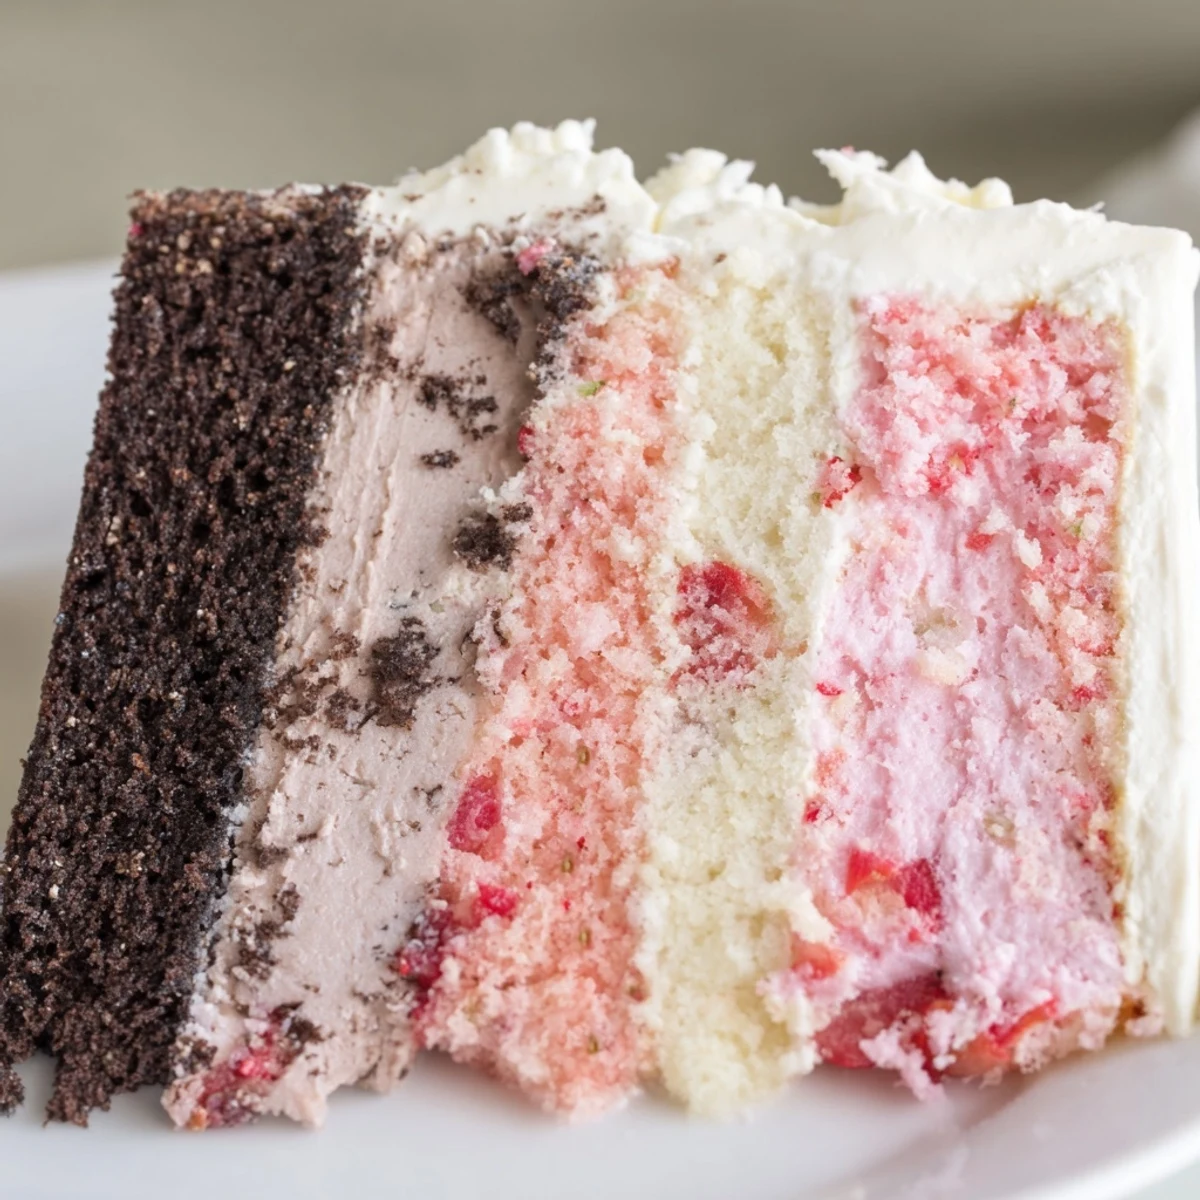
Save This cake has become my goto for celebrations because it always sparks conversation. People love guessing which layer theyll get, and somehow every slice disappears, even from self proclaimed chocolate only fans.
Making Ahead
Ive learned that the cake layers actually develop better flavor if baked a day ahead. Wrap them tightly in plastic and store at room temperature—this also makes assembly less stressful since everything is ready to go.
Serving Suggestions
Cold cake cuts cleaner, so pop the finished cake in the fridge for an hour before serving. The buttercream firms up beautifully and those layers slice into perfect, neat stripes that show off all your hard work.
Flavor Variations
Once you master the base technique, the combinations are endless. Try swapping strawberry for raspberry, or replace chocolate with coffee for a mocha version that feels equally sophisticated.
- Freeze unfrosted layers for up to three months if you want to prep way ahead
- Add a teaspoon of instant espresso to the chocolate layer for depth
- Use freeze dried strawberries instead of fresh for a more concentrated flavor
 Save
Save Theres something joyful about a cake that refuses to pick just one flavor. Every slice is a little surprise, and honestly, thats exactly what dessert should be.
Recipe FAQs
- → Can I make this cake ahead of time?
-
Yes, bake the layers up to 2 days in advance. Wrap each cooled layer tightly in plastic wrap and store at room temperature. The buttercream can be prepared 1-2 days ahead and refrigerated. Bring to room temperature before frosting. Fully assembled cakes keep well refrigerated for up to 3 days.
- → What's the best way to achieve even layers?
-
Use a kitchen scale to divide the batter equally among the three bowls for precise portions. Before assembling, use a serrated knife to trim any domed tops so each layer sits flat. This ensures stability and professional-looking slices.
- → Can I use frozen strawberries instead of fresh?
-
Frozen strawberries work if thoroughly thawed and well-drained to prevent adding excess moisture to the batter. Puree them before folding into the batter. Fresh strawberries provide the best texture and color, but frozen are acceptable when out of season.
- → How do I prevent the layers from sliding during assembly?
-
Apply a thin crumb coat of buttercream first and refrigerate for 30 minutes to set. This creates a stable foundation. When adding layers, spread frosting evenly to the edges. Chill briefly between layers if your kitchen is warm.
- → What's the best way to store leftovers?
-
Store cut pieces in an airtight container in the refrigerator for up to 4 days. For whole cakes, cover with a cake dome or plastic wrap. Bring to room temperature 30 minutes before serving for the best texture and flavor.