 Save
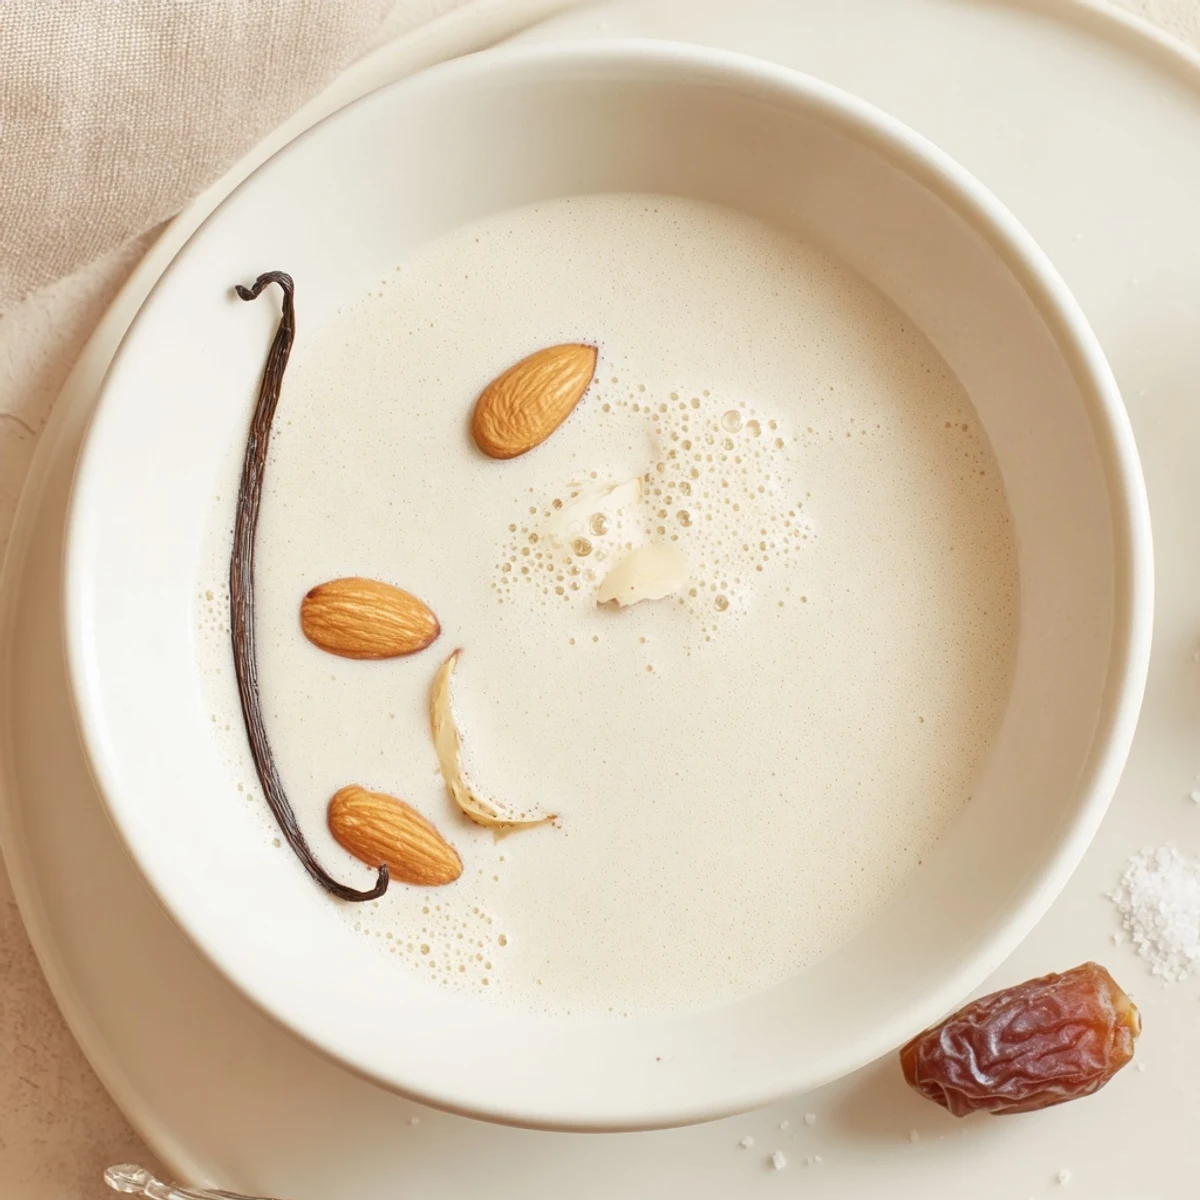
Save Soak raw almonds overnight, drain, then blend with filtered water at roughly 1 cup almonds to 4 cups water until very smooth. Add dates for sweetness, vanilla for flavor, and a pinch of sea salt if desired. Strain through a nut milk bag or fine cloth and squeeze thoroughly to extract liquid.
Transfer to a sealed jar and refrigerate, shaking before use. Use within 3-4 days. Reserve the almond pulp for baking or smoothies; adjust water for thinner or creamier results.
The whir of my blender at six in the morning has become a sound my dog recognizes better than his own name. He tilts his head, ears perked, because he knows it means fresh almond milk is minutes away and a stray almond might land on the floor. Making it yourself changes everything about how you think about milk.
A friend watched me strain a batch through a nut milk bag one Sunday and called it the most satisfying kitchen task she had ever seen. She went home and bought almonds that same afternoon.
Ingredients
- Raw almonds (1 cup, 150 g): Use truly raw almonds, not roasted or salted, because the soaking process depends on them being pliable and free of oils from roasting.
- Filtered water (4 cups, 1 liter, plus more for soaking): Since water is the main ingredient, filtered water makes a noticeable difference in the final clarity and taste.
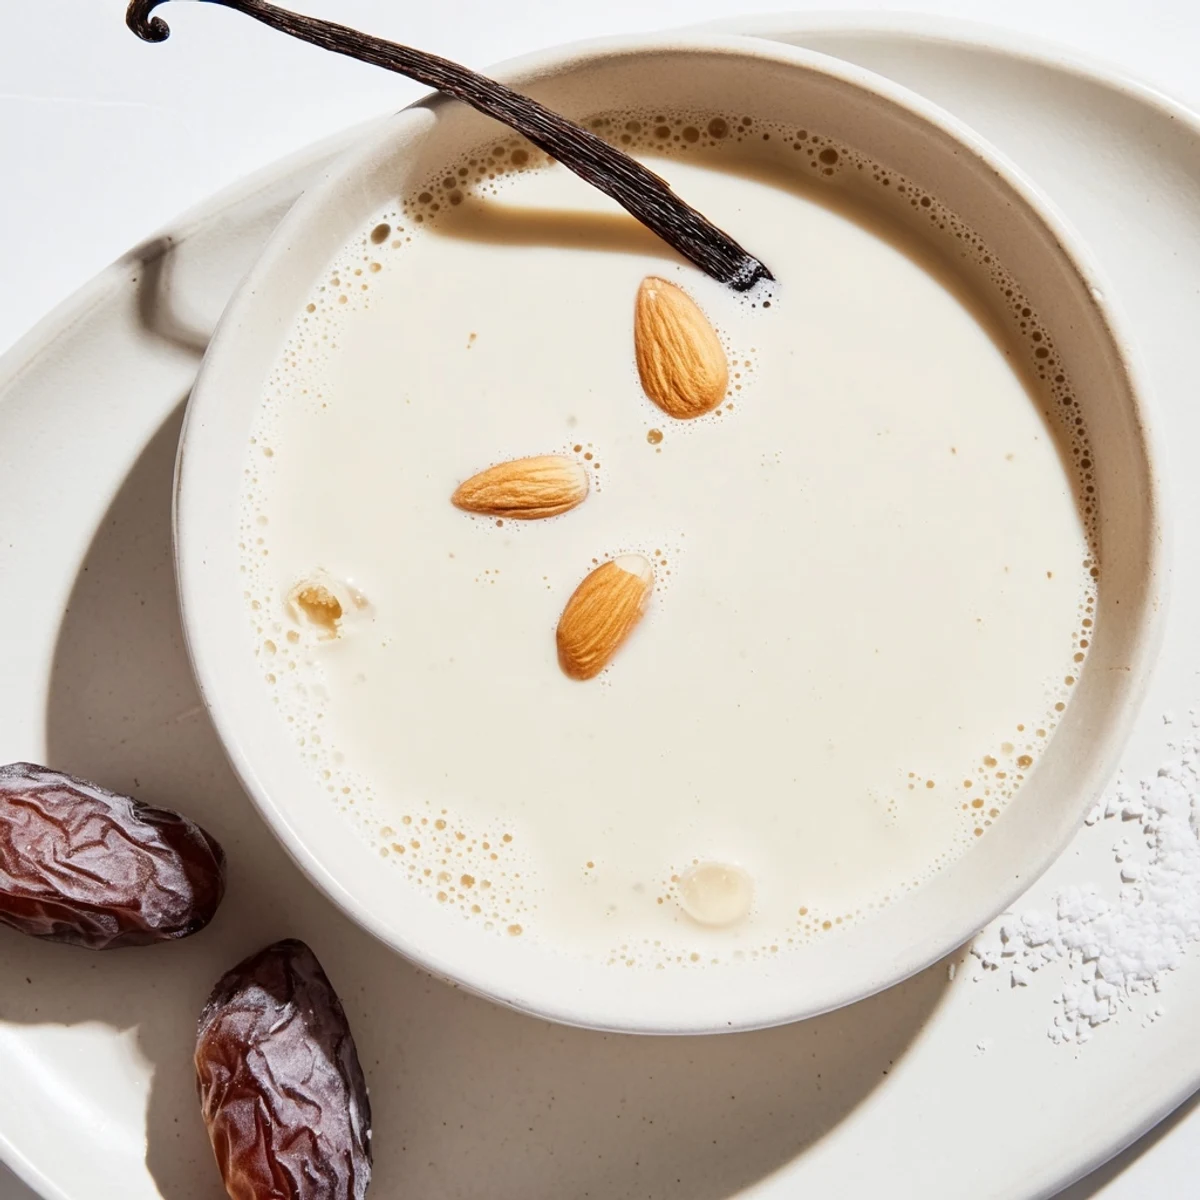
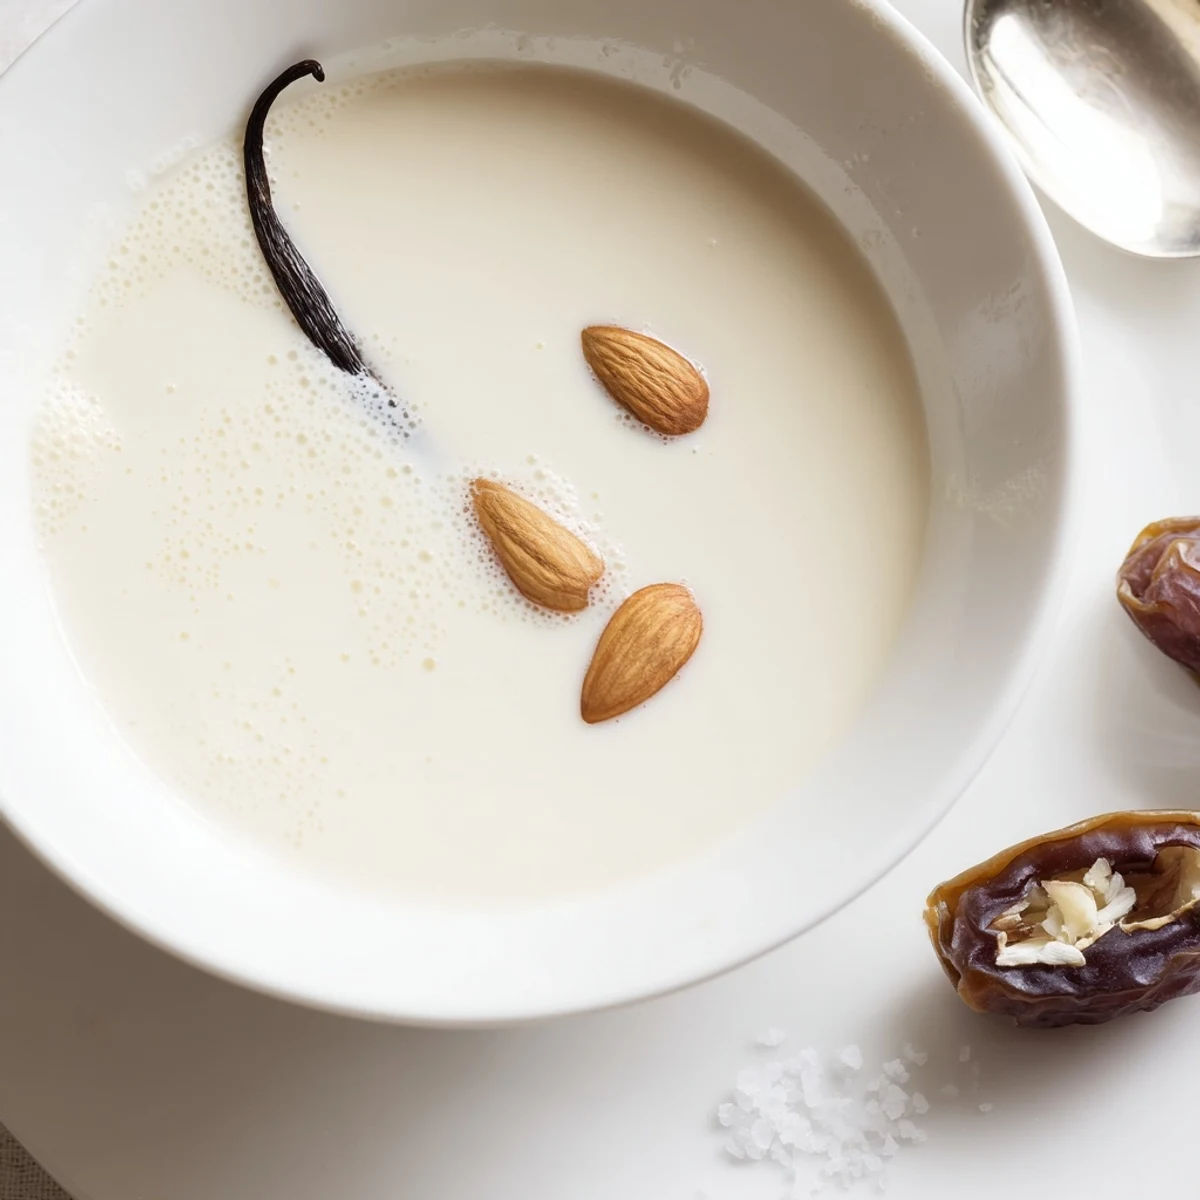
- Dates, pitted, 1 to 2 (optional): A single date adds gentle sweetness without making the milk taste dessert like, which is perfect for savory uses too.
- Vanilla extract, 1 tsp (optional): Real vanilla extract, not imitation, turns plain almond milk into something you genuinely want to pour over everything.
- Sea salt, a pinch (optional): Just a pinch rounds out the flavors and keeps the milk from tasting flat, the same reason you salt pasta water.
Instructions
- Soak the almonds:
- Cover the almonds generously with water in a bowl and leave them on the counter for at least 8 hours or tuck them into the fridge overnight. You will know they are ready when they feel plump and you can squeeze one easily between your fingers.
- Drain and rinse:
- Dump the soaking water and rinse the almonds under cool running water until it runs completely clear. This step washes away enzyme inhibitors and any lingering bitterness.
- Blend everything:
- Toss the rinsed almonds into your blender with 4 cups of fresh filtered water, plus the dates, vanilla, and salt if you are using them. Crank the blender to its highest setting and let it run for a full 2 minutes until the mixture looks pale, creamy, and completely smooth.
- Strain the milk:
- Pour the mixture through a nut milk bag or a double layer of cheesecloth into a large bowl, gathering the fabric and twisting to squeeze out every last drop. This is the part my friend found so satisfying, watching the clean white milk separate from the pulpy remains.
- Bottle and chill:
- Pour the strained milk into a clean glass bottle or jar, seal it, and pop it into the refrigerator. Give it a hearty shake before each pour because natural almond milk separates, and that is perfectly normal.
 Save
Save Somewhere along the way, pouring homemade almond milk into my morning coffee stopped being a health choice and started being a small ritual I actually look forward to.
Choosing Your Tools
A high speed blender like a Vitamix or Blendtec will give you the smoothest results and the highest yield, but any decent blender will do the job if you blend a little longer. The nut milk bag is the real game changer and costs almost nothing. Cheesecloth works in a pinch but you will go through a lot of it, and a fine mesh sieve alone leaves too much sediment behind for my taste.
What About the Leftover Pulp?
Do not throw that pulp away. Spread it on a baking sheet and dry it in a low oven around 200 degrees Fahrenheit for 2 to 3 hours, then pulse it in the blender into almond flour. I have used it in cookies, muffins, and even as a crust for baked chicken, and it works beautifully every time.
Adjusting Texture and Flavor to Your Taste
The beauty of making your own milk is that you control everything about it. Once you have the basic method down, the variations are endless.
- For a richer, creamier milk, reduce the water to 3 cups and the result will be closer to half and half.
- A tablespoon of maple syrup and a dash of cinnamon turns this into something kids will happily drink by the glass.
- Always shake well before using because separation means there is nothing artificial holding it together, and that is a good thing.
 Save
Save A jar of fresh almond milk in the fridge is a quiet little luxury that costs almost nothing and asks for even less. Once you start making it, going back to the carton version feels like settling for a photograph of a place you could actually visit.
Recipe FAQs
- → How long should almonds be soaked?
-
Soak raw almonds at least 8 hours or overnight to soften them. Longer soaking makes blending easier and helps achieve a smoother texture.
- → What is the best water-to-almond ratio?
-
Use about 1 cup (150 g) almonds to 4 cups (1 liter) filtered water for a balanced, creamy milk. Increase water for a thinner drink or reduce for a richer result.
- → How do I sweeten or flavor the milk?
-
Add 1–2 pitted dates while blending for natural sweetness, or stir in 1 tsp vanilla extract. A pinch of sea salt enhances the overall flavor.
- → What can I do with the leftover almond pulp?
-
Save the pulp for baking, cookies, muffins, or add to smoothies and granola. Dry it in a low oven to make almond flour or use fresh pulp in baked goods for moisture.
- → How should I strain the milk without special tools?
-
Use cheesecloth or a fine mesh sieve if a nut milk bag isn't available. Line the sieve with a double layer of cheesecloth, pour the blend, and gather the cloth to squeeze out the liquid.
- → How long does homemade almond milk keep?
-
Store in a sealed jar in the fridge and use within 3-4 days. Shake well before each use, as separation is natural.