 Save
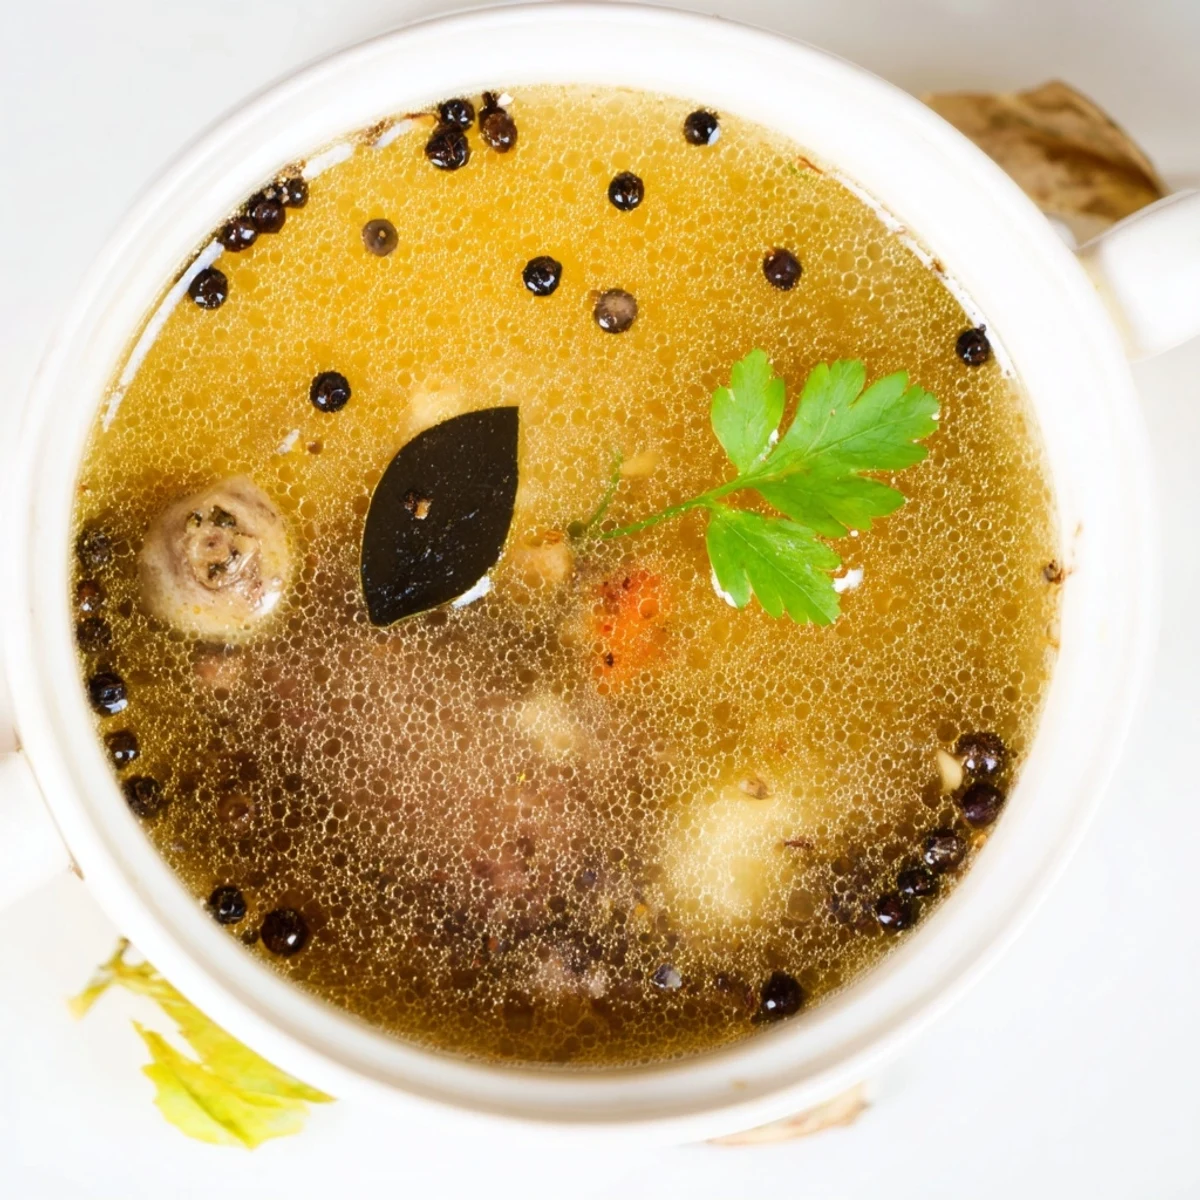
Save Simmer beef marrow, knuckle or oxtail bones with carrots, celery, onion, garlic, bay and parsley in cold water and a splash of apple cider vinegar. Bring to a gentle simmer, skim impurities, then cook uncovered for 12+ hours until deeply flavored and gelatinous. Strain through a fine sieve, season with salt, chill to remove fat, and refrigerate or freeze for later use. Roasting bones first deepens color and flavor.
The kitchen smelled like something ancient and irreproducible, the kind of aroma that makes neighbors knock on your door and pretend they came to borrow sugar. My first attempt at bone broth was a disaster of ambition, I used a pot far too small and woke at 3 a.m. to find it had boiled dry. Now it is a weekend ritual I guard fiercely, a slow unattended simmer that fills the house with warmth while I go about my day.
A friend who was recovering from surgery once told me that the jar of broth I left on her porch was the only thing she could keep down. She called it witchcraft and I did not correct her.
Ingredients
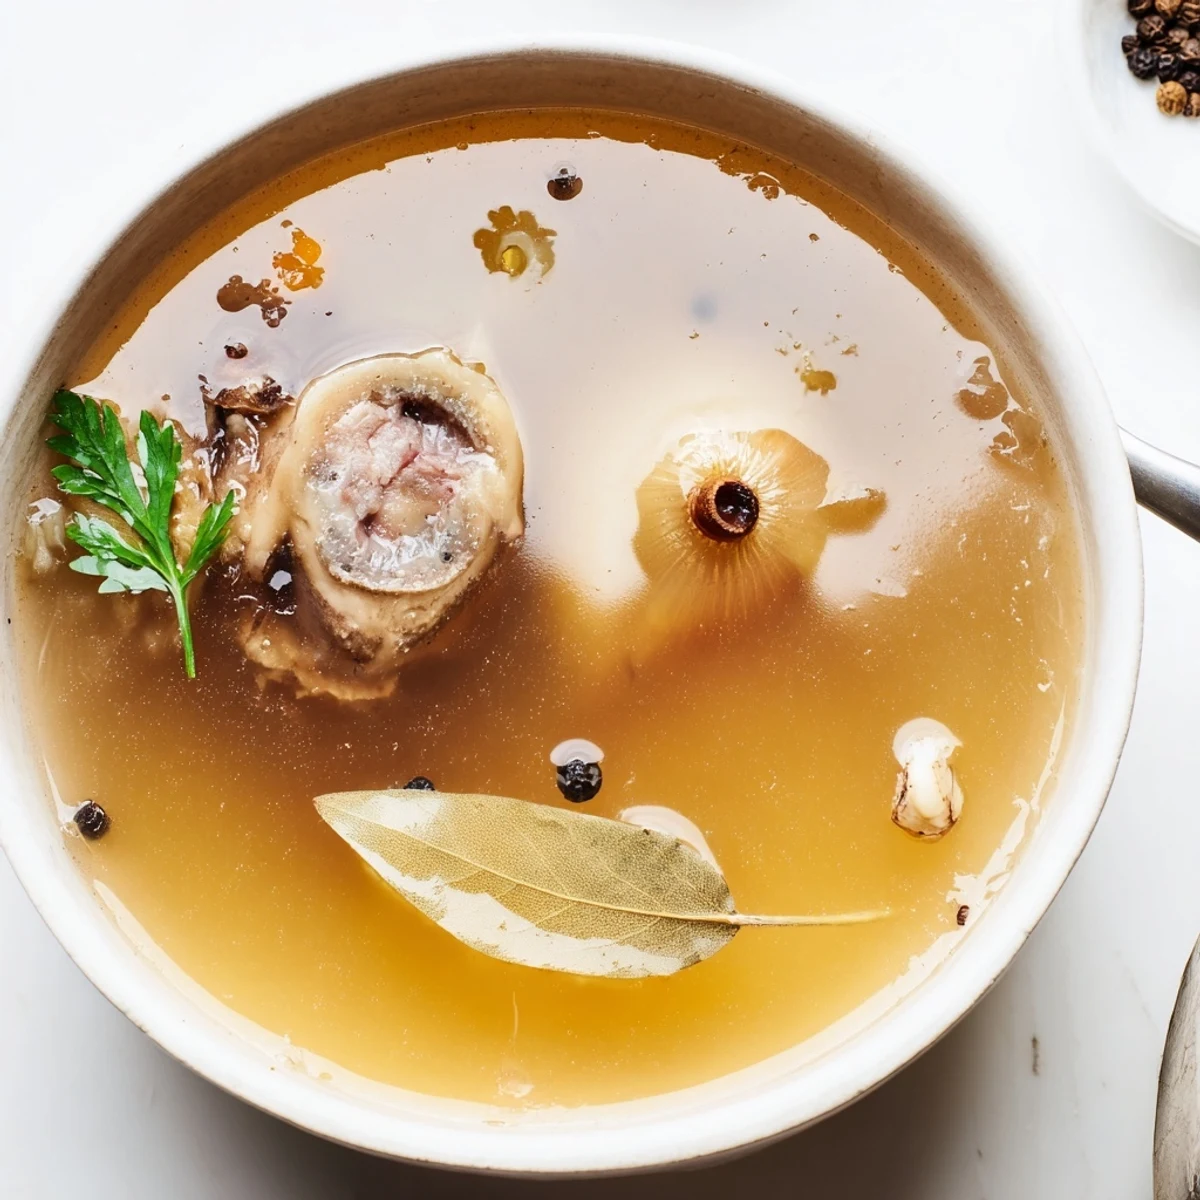
- Beef bones (2.5 lbs, marrow, knuckle, or oxtail): Mix different types for the best balance of collagen and flavor. Marrow bones give body, knuckle bones give that satisfying gel.
- Carrots (2, roughly chopped): No need to peel them, just scrub well and chop coarse since they will be discarded anyway.
- Celery stalks (2, roughly chopped): These add a subtle savory backbone that you will miss if you skip them.
- Large onion (1, quartered): Leave the skin on for a deeper amber color in the finished broth.
- Garlic cloves (4, smashed): Smashing rather than mincing lets them release flavor slowly over the long simmer.
- Bay leaves (2): A quiet but essential layer of herbal depth.
- Fresh parsley (1 small bunch): Toss it in stems and all, they hold up beautifully during the long cook.
- Whole black peppercorns (1 tsp): Whole peppercorns give gentle warmth without clouding the broth the way cracked pepper would.
- Apple cider vinegar (2 tbsp): This is the secret that helps draw minerals from the bones into the liquid.
- Cold water (12 cups): Always start with cold water, it extracts more from the bones than hot water will.
- Salt (to taste): Wait until the very end to salt so you can control the concentration precisely.
Instructions
- Roast the bones if you choose to:
- Spread the bones on a baking sheet and roast at 400 degrees F for about 30 minutes until deeply browned. This step is optional but rewards you with a broth that tastes rounder and more complex.
- Load the pot:
- Place the bones into a large stockpot or slow cooker and pile in the carrots, celery, onion, garlic, bay leaves, parsley, and peppercorns. Pour the apple cider vinegar over everything.
- Cover with cold water:
- Pour in all 12 cups of cold water, making sure the bones and vegetables are well submerged. Press down gently on any stubborn pieces that stick above the surface.
- Bring to a simmer and skim:
- Set the pot over medium heat and bring it to a gentle bubble, not a rolling boil. Use a ladle or skimmer to remove the grey foam that rises during the first hour, since it can make the broth cloudy and bitter.
- Let it go low and slow:
- Reduce the heat to the lowest setting and let it simmer uncovered or partially covered for at least 12 hours. Check occasionally and add a splash of water if the level drops below the bones.
- Strain and season:
- Pour the broth through a fine mesh sieve or cheesecloth into a large bowl or second pot, discarding all the solids. Taste and add salt until it sings on your tongue.
- Cool and store:
- Let the broth cool to room temperature, then refrigerate overnight so the fat hardens into a solid cap you can lift off easily. Keep in the fridge for up to 5 days or freeze for up to 3 months.
 Save
Save Every winter I pour some of this broth into a thermos before walking the dog, and it keeps my hands warm on the coldest mornings.
Choosing the Right Bones
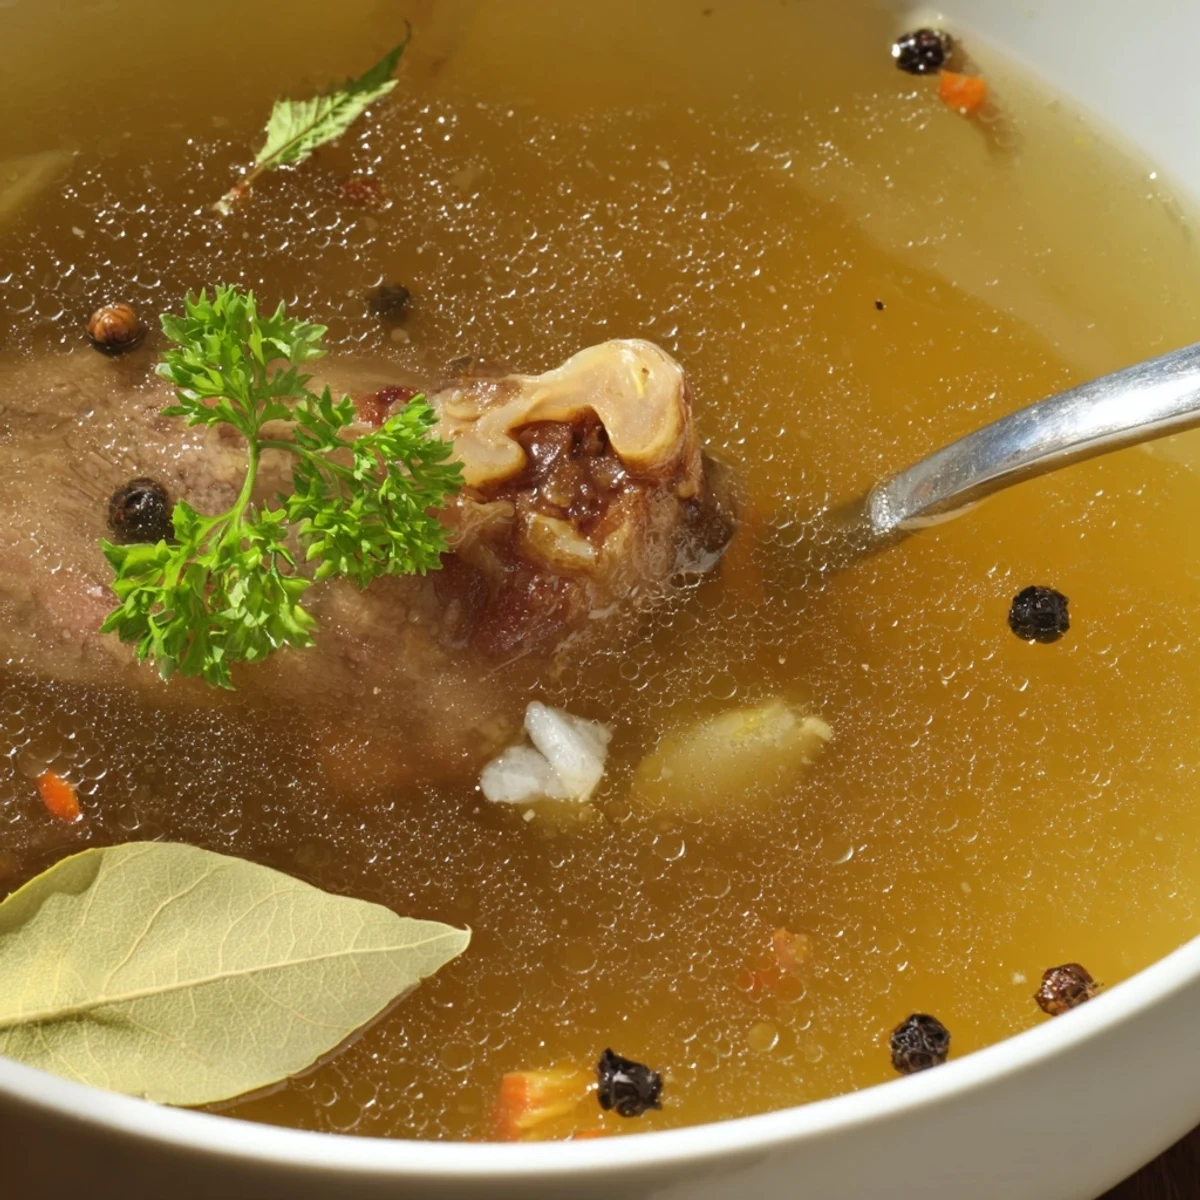
Your butcher is your best ally here, so ask for a mixed bag of marrow, knuckle, and a few oxtail pieces. Grass fed bones produce a cleaner tasting broth but conventional bones work perfectly well too. If you see joints with visible cartilage, grab them because that is where the magic gelatin lives.
Slow Cooker vs Stovetop
Both methods produce excellent broth, but the slow cooker wins for convenience since you can leave it running overnight without worry. On the stovetop you get slightly better evaporation and concentration, so the flavor can be a touch deeper. Choose based on your comfort level and whether you trust your stove for a half day unattended.
Ways to Use Every Drop
Once you have a stash in the freezer you will find excuses to use it in nearly everything. It elevates simple things like cooking lentils or deglazing a pan into something that tastes deliberate and layered.
- Freeze portions in ice cube trays for quick small amounts when a recipe calls for a splash.
- Use it instead of water when cooking grains like quinoa or rice for an instant upgrade.
- A warm mug with a pinch of salt and a squeeze of lemon is the simplest and most satisfying way to enjoy it.
 Save
Save There is something primal and deeply satisfying about transforming bones and water into something so nourishing. Let the slow simmer do its quiet work and your future self will thank you every time you reach into the freezer.
Recipe FAQs
- → Why roast the bones before simmering?
-
Roasting develops Maillard flavors and adds a deeper color and richness to the final broth. It’s optional but gives a more robust taste.
- → What does the apple cider vinegar do?
-
A splash of vinegar helps extract minerals and gelatin from the bones during the long simmer, improving body and mouthfeel.
- → How long should I simmer the bones?
-
Plan for at least 12 hours for beef bones; longer (up to 24 hours) yields a richer, more gelatinous liquid. Keep at a gentle simmer and add water as needed.
- → How can I tell if the broth is gelatinous enough?
-
After chilling, a well-made broth will set into a soft gel. Use marrow and knuckle bones for higher collagen; longer simmering encourages gel formation.
- → What’s the best way to store the broth?
-
Refrigerate for up to 5 days or freeze for up to 3 months. After cooling, skim or remove the solidified fat if you prefer a leaner liquid; leave it on to seal for storage if desired.
- → Can I vary the aromatics and vegetables?
-
Yes. Add leeks, thyme, rosemary or parsnip for different flavor notes. Avoid strong onion family additions late in cooking if you want a cleaner taste.